Home and Learn: Intermediate Programming
Creating the Visual Studio Database Project

In previous lessons, you learned how to set up a database with one table. In this section, you'll learn how to set up a database with more than one table, and write the code to display the results. Along the way, you'll learn about Foreign Keys, Joins, and Stored Procedures. As before, we'll use SQL Server as our database system.
Create a new Windows Forms App project for VB or C# for this. (If you're using Visual Studio 2019, make sure you select either C# or Visual Basic from the Language dropdown at the top. This will narrow down your choices and ensure that you don't select a different form by mistake. Easy to do!)
For the project name, call it anything you like.
Now create a Service-based database by clicking Project > Add
New Item from the menu at the top of Visual Studio:

From the Add New Item dialog box, select Service-based database. Change the name to StudentsDB.mdf:

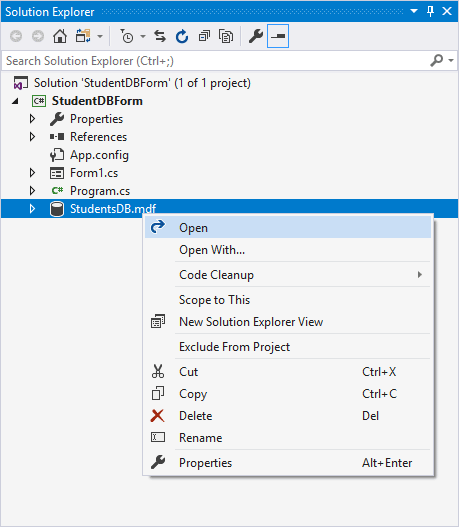
Once you have your database, right-click it in the Solution Explorer and select Open:
On the left of Visual Studio, have a look at the Server Explorer and the Data Connections item. (If you can't see the Server Explorer, click the View menu at the top of Visual Studio. From the View menu, select Server Explorer.) It should look like this:

We're going to create two tables. One will hold a list of Students and the other will hold information about the courses the student is taking. We'll create the first table in the next lesson below.

Create a Table in Sql Server >>
Back to the Intermediate Programming Contents Page