Home and Learn: AI Beginners Course
Overlay a Main Image onto a Background Image
Created:
In the previous lesson, we removed the background from an image. The subject was then ready to be used in a different artwork. In this lesson, we'll do the second part of that image manipulation - add a character to a new image. Like the previous lesson, we'll use FooocusPlus because it has all the tools we need in one place.
Grab the Lesson Resources
We'll use a new image for this, a manga character. The background has already been removed. We just need to place her onto a new image. Here is our AI-generated manga character for you to download. Right-click the image and save to your own computer:

We are going to place her onto this AI-generated comic book cover:
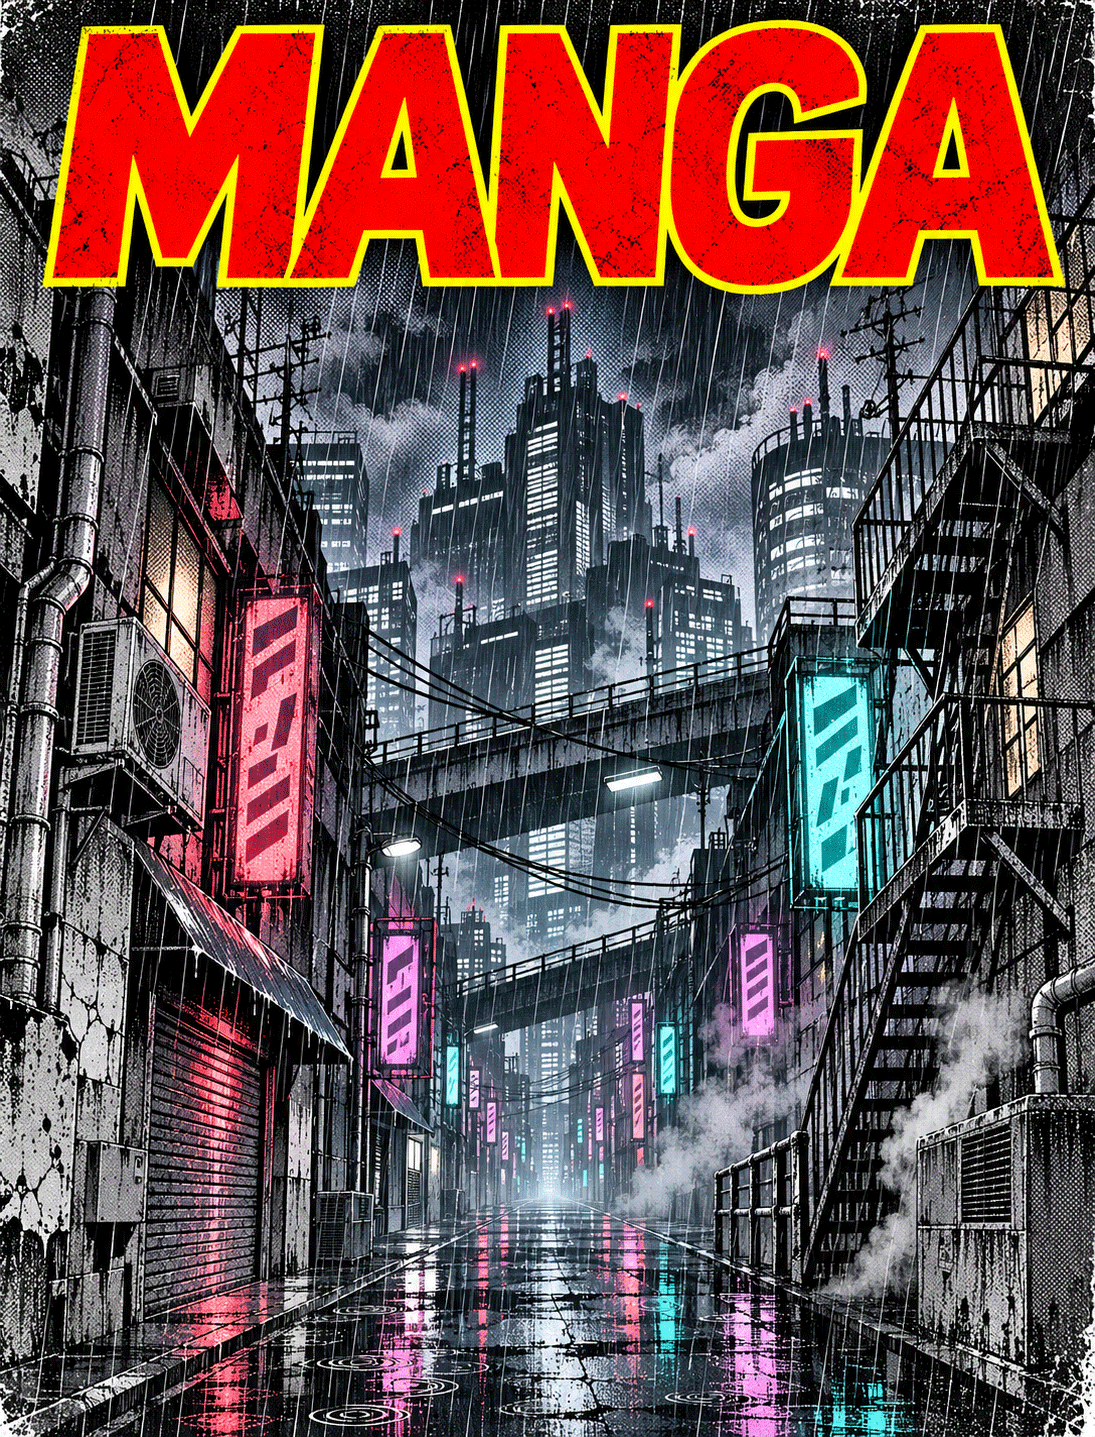
Again, download the cover above and save it to your own computer. (It's nearly a megabyte in size, so not small.)
Now let's make a start.
Overlay an Image using FooocusPlus
Start Pinokio and launch FooocusPlus. We did all this in a previous lesson so won't repeat how to do this.
Select the two items Advanced and Features:

The first thing we can do is to set the resolution of the output image. So, on the right side of the interface, expand the section Resolution | Aspect Ratio. The default is 1024 pixels wide by 1024 pixels high, a square 1:1 ratio:
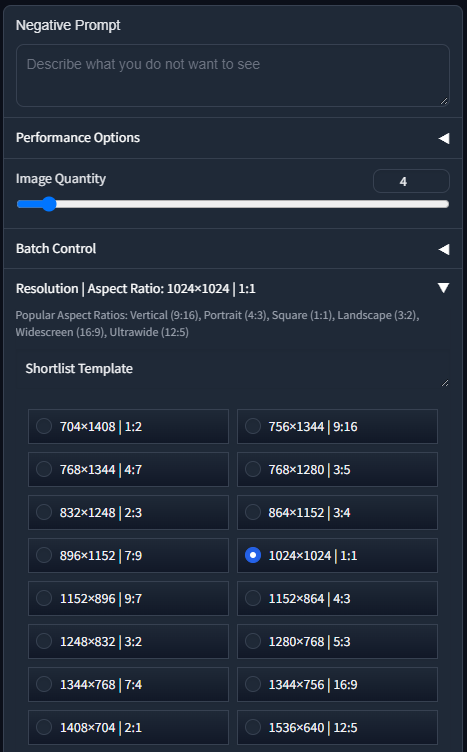
Change the resolution to 768x1280, which is 3:5 ratio: (Don't worry about the image quantity being 4.)

This is a nice size for our two images, even though the manga cover image you downloaded is 1095x1437 and the character image is 832x1216. FooocusPlus will reize for us. It''s not always successful, and you'll see how to do a manuall resize later.
With the resolution set, load your manga character image by clicking in the Image Editor area, the one on the left:
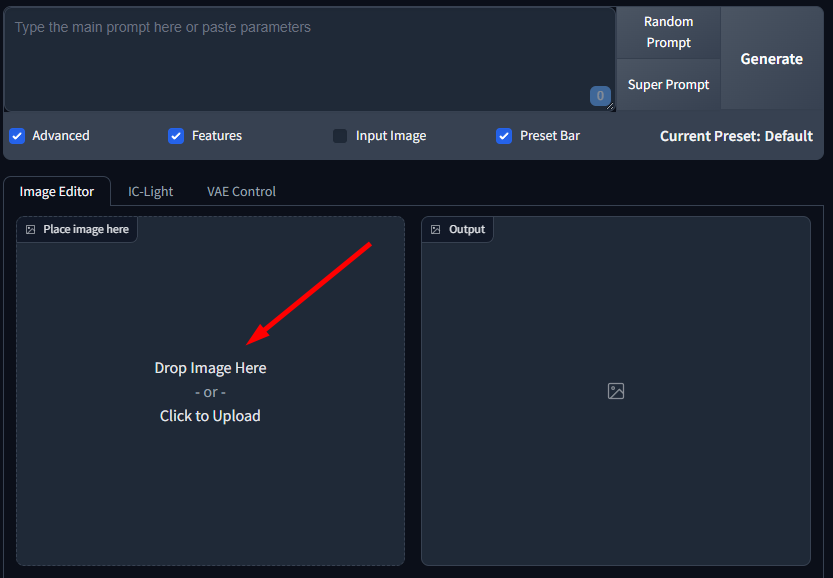
The character will load and also copy itself to the output pane on the right:

To add this character to a new image, we need an area called Overlay the Output Image onto a Base. This is in the Transparency & Composition section, which you can see in the image above. So expand that section to see the area we need:
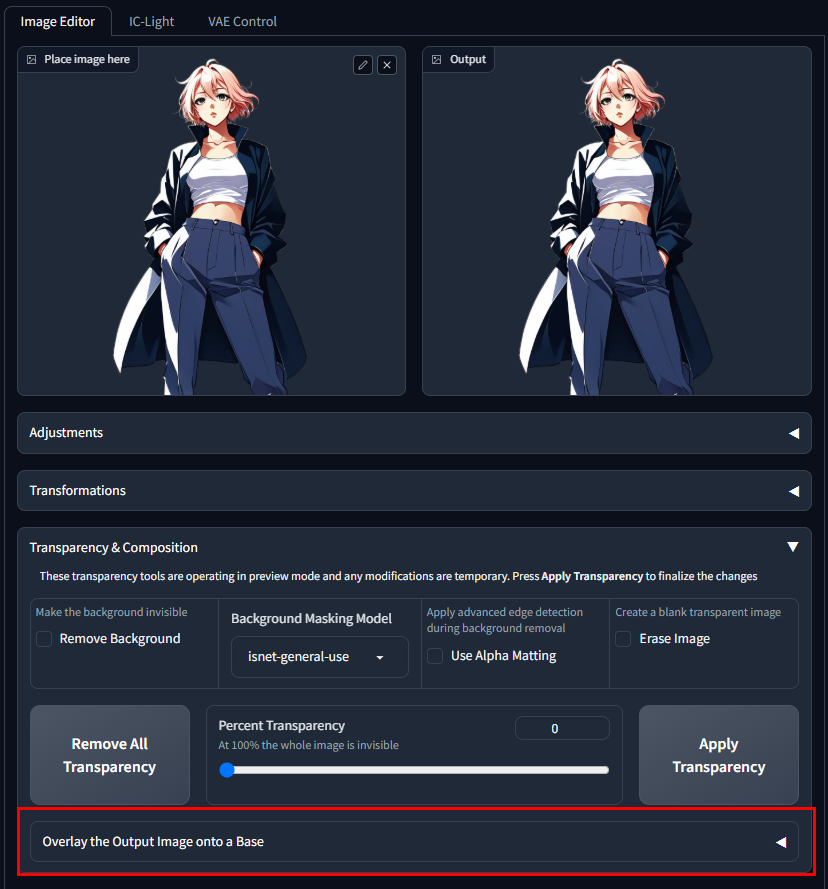
This time, because we have already removed the background, we don't need to do it again. But you can if you need to, just like we did previously. In which case, you could be performing three operations: removing a background, resizing the resulting image, overlaying the result onto the new background.
But expand Overlay the Output Image onto a Base, highlighted with a red rectanlge, in the image above. You'll see the following:

On the left, where it says Drop Image Here or Click to Upload, load the manga cover you downloaded. The image will load. But it will also be copied to the area on the right. Not only that, but you should also see the manga character appear on top of the background image:
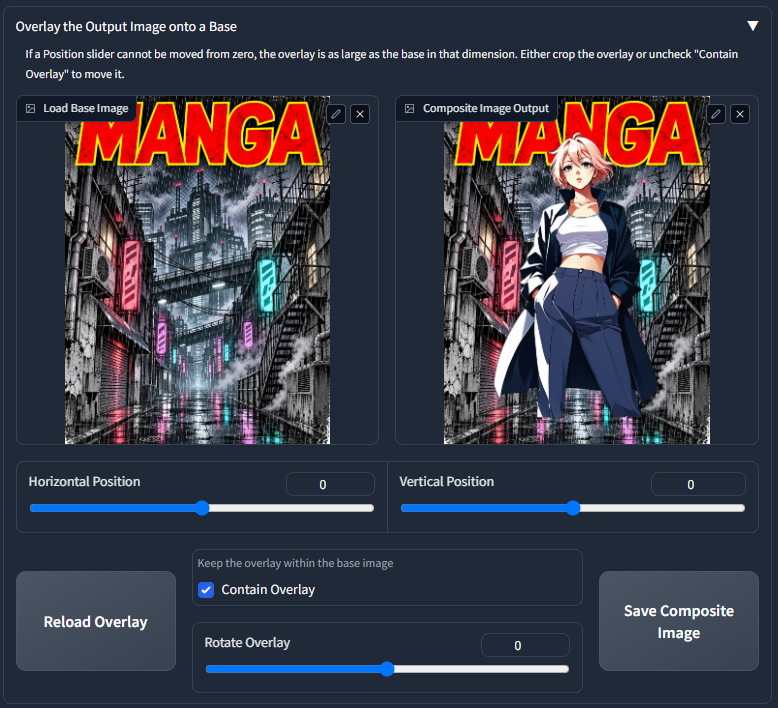
As you can see, though, she is too far up. You can adjust the position of your character. Change the Vertical Position slider so the value reads -135. This will move the character down. However, it may not move that far down if Contain Overlay is checked, as it is by default. So uncheck this option:

You can also change the horizontal position of your character, if you wanted to move it left or right. Just move the Horizontal Position slider, or type a value in the box.
Once you are happy with the position of your character, click the button to save the composite image.
Image size
If you find that the size of the image you want on your new background is too big (or too small), you can change its size.
Expand the Transformations section to see the following:
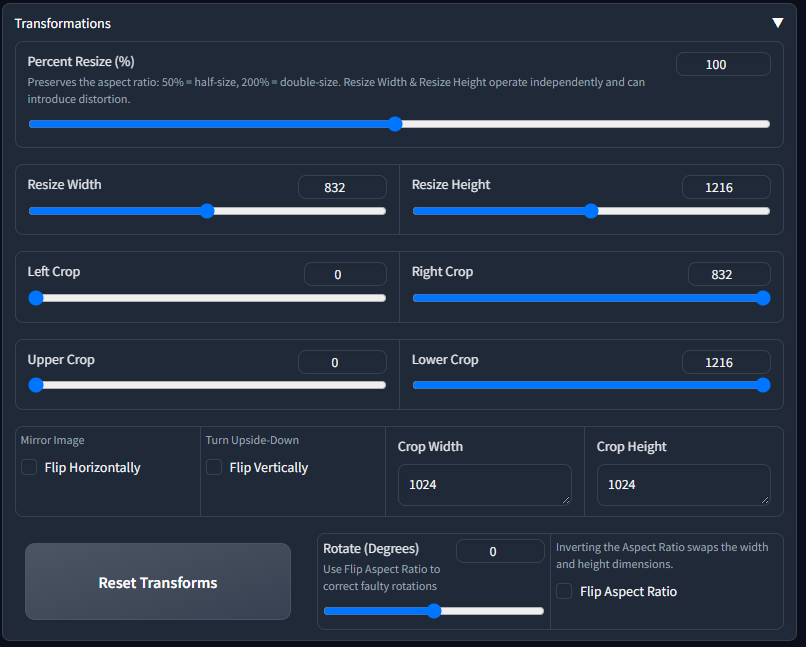
The slider at the top, Percent Resize, preserves the aspect ratio of your image. Adjust the slider left to make your image smaller and adjust it right to enlarge it. As you can see, there are lots of other transformations you can apply to your new image. These are something you can play around with, if you need to.
Once you have changed the image size, you may need to reposition it in the Overlay the Output Image onto a Base section again. Play around with the Horizontal and Vertical position sliders until you have the position you want.
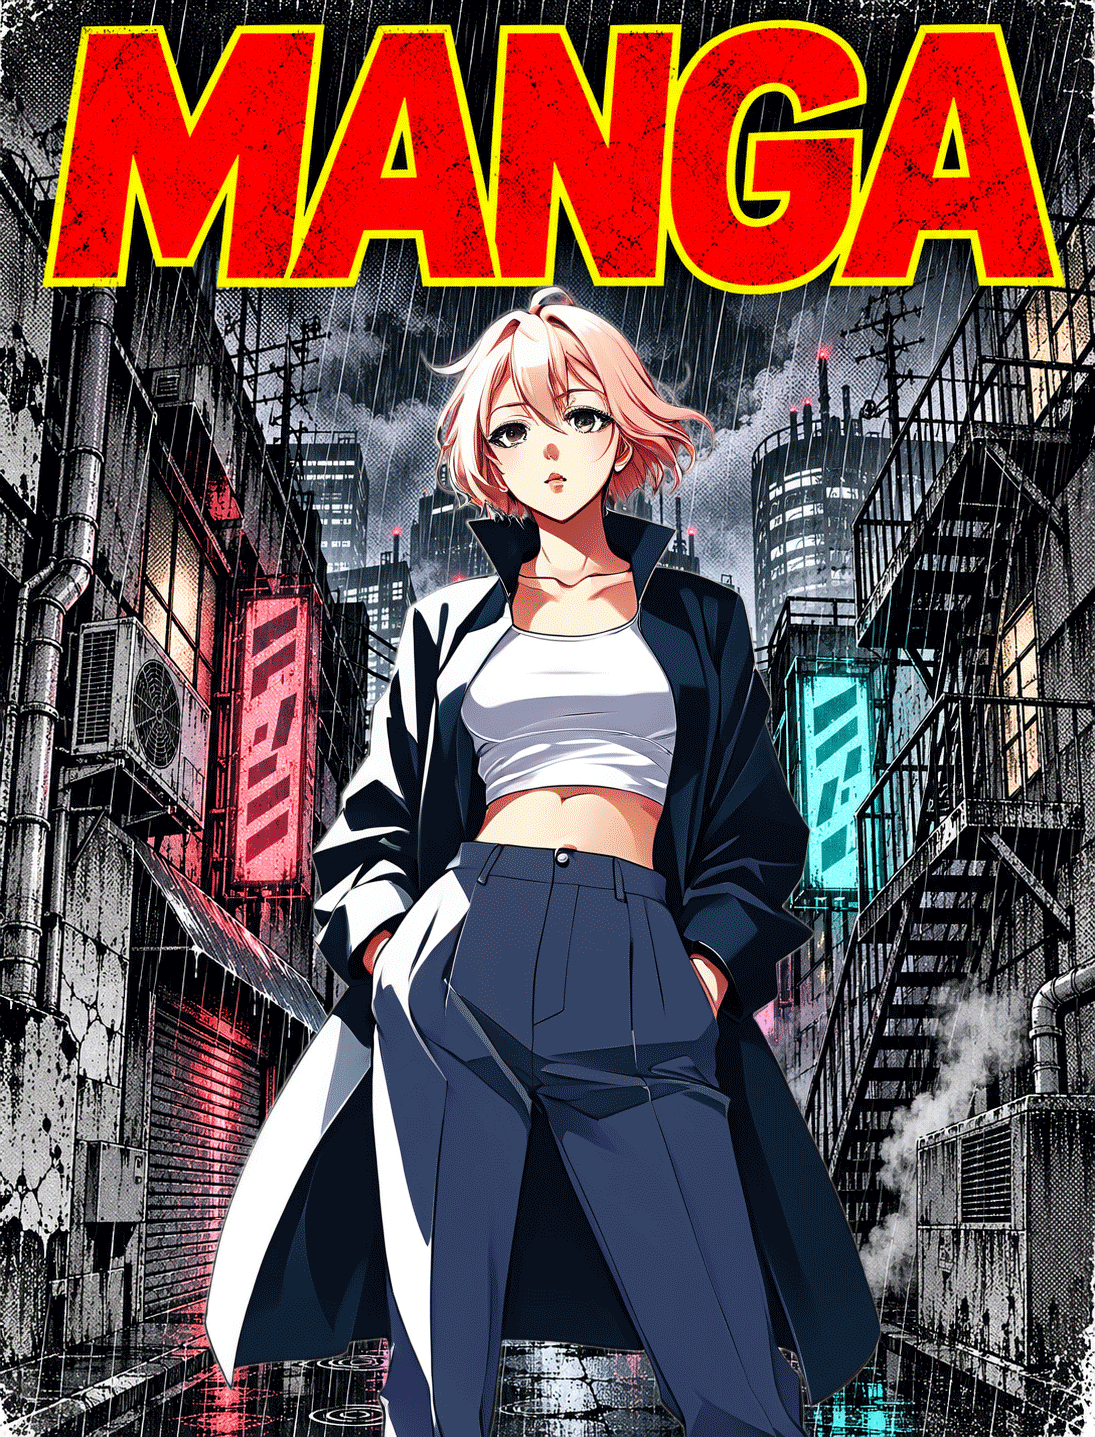
Here is our finished image:
All this AI image and video creation can eat into your VRAM. Especially if you haven't got much to start with. In the next lesson, you'll learn how to get more VRAM.