Home and Learn: Android Course
Designing an XML layout for landscape view
Now that we have a portrait layout designed, let's tackle the landscape layout.
Load up your activity_main.xml file, the one in the layout-land folder. You'll know when you have the right one because it looks like a wide rectangle in landscape mode. Portrait view is a long rectangle.
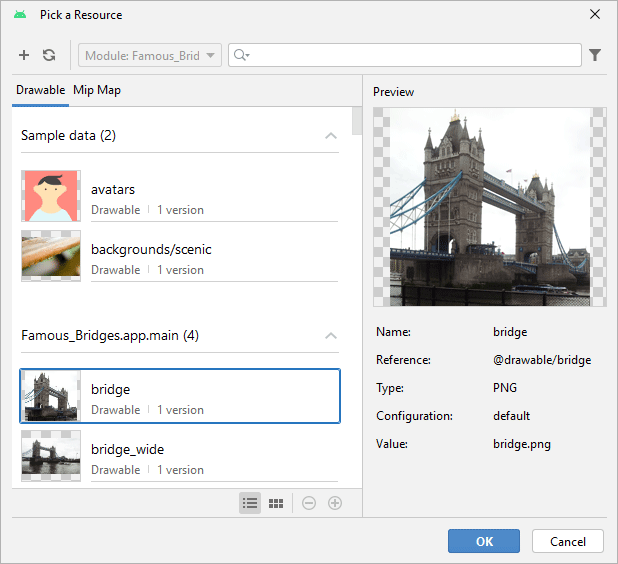
Now drag an ImageView from the Palette onto the Component Tree, or onto the white layout canvas. When you get the Pick a Resources dialogue box up, select your bridge image:
Click OK to add the image. The ImageView on the white layout might be in the upper left corner. Drag it out and down a bit to give yourself some room to add the constraints.
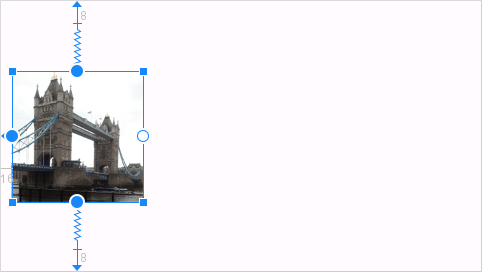
Have a look at the Attributes area on the right. Set the top constrain to 8 and the left one to 16. Set the bottom one to 8:

You can set a bigger left margin, if you like. We've set ours to 16:
For the contentDescription attribute, set that to your tower_bridge_landscape string resource:
Now we can add the TextView.
Android Landscape TextView
Now that we have an ImageView on the left, we need a TextView to go alongside it.
From the Palette, drag a TextView widget onto your Component Tree (or onto the layout). If it ends up in the top left corner, drag it somewhere in the middle:
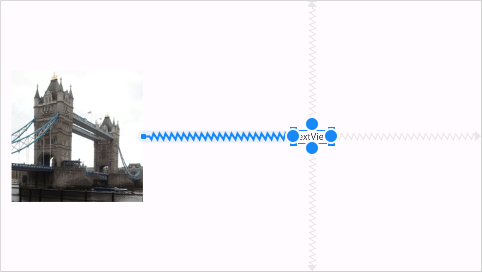
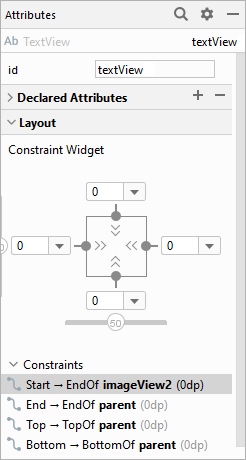
To add the constraint now, drag from the right middle of the TextView to the right edge of the screen. Now drag from the left middle of the TextView to the right edge of the ImageView. Drag from the top middle to the top of the screen to add a top contraint for your TextView. Add a constraint from the bottom of the TextView to the bottom of the screen:
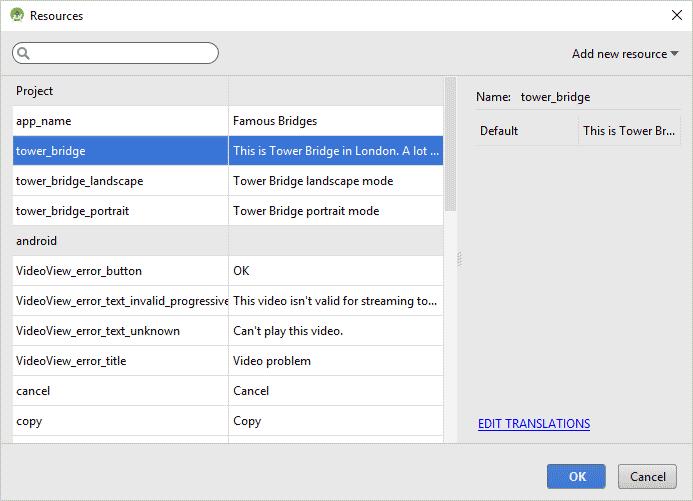
With the TextView still selected, click the Pick a Resource button:

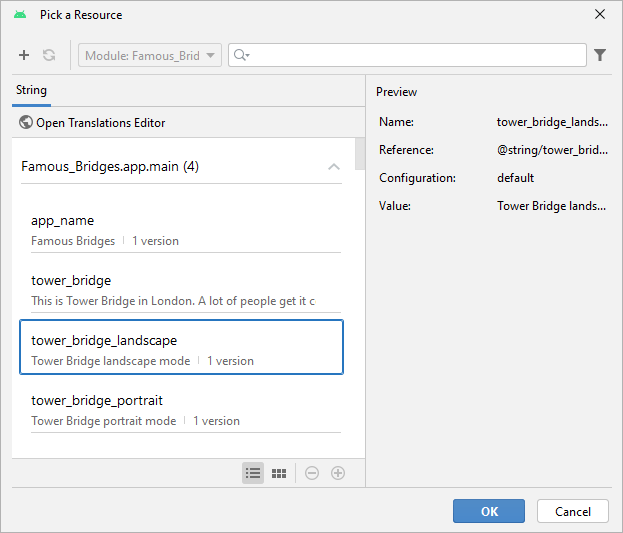
From the Pick a Resources dialogue box, select your tower_bridge string:
Click OK and your layout may look like this:
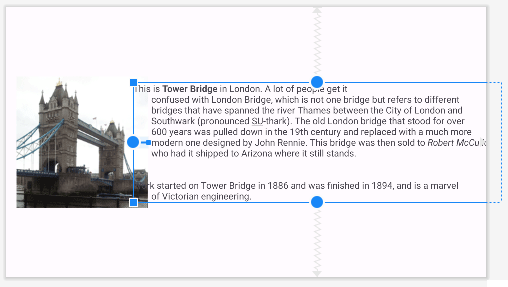
You can add adjust the left and right margins.
In the Attributes area, change the left margin for the TextView to 128, and the right margin to 128, as well. For the layout_width, change it to 439dp: (But you may need to play around with these values.)

You can try it out, now. Run your app. Rotate the device so that it's in landscape view. You should see your new design displayed:
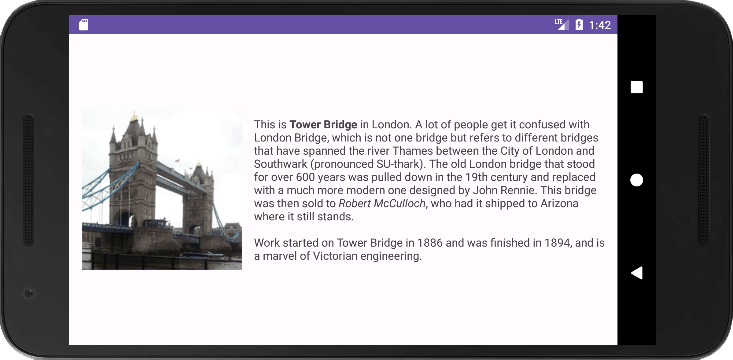
The new display is being pulled from the layout-land folder and is the activity_main XML file we created there. Android is switching between the two all by itself!
In the next section, we'll move on and tackle Action Bars and Toolbars.
< Portrait View Design| Action Bars and Toolbars >
Back to the Android Contents Page