Home and Learn: Android Course
Action Bars and Toolbars
One thing you will have noticed, because they are on a lot of Android apps, is some sort of toolbar at the top. The toolbar is where you place shortcut icons, back arrows, share button, search bars, and lots more besides.
Whenever you create an Empty Views Activity in Android Studio, you get a blank Activity with no toobar at the top. Let's see how to add a toolbar to an app.
Create a new Empty Views Activity project for this section. Call it Custom Toolbar. When your project loads, click on the activity_main.xml tab and take a look at the default Activity in Design view:
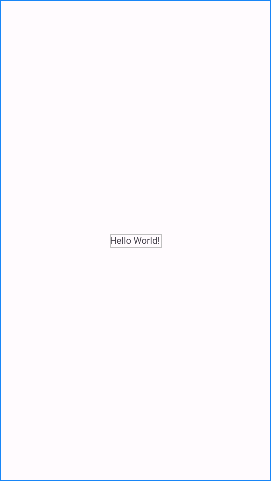
Not much to look at, as it's just a blank screen with a default TextView!
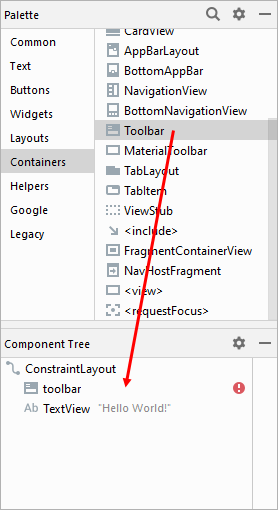
If you have a look in the Palette to the left of Android Studio, you'll see that there is a section called Containers section. Locate the Toolbar item. Drag one of these onto your layout. It's easier to drag one onto the Component Tree, though, just below the ConstraintLayout item:
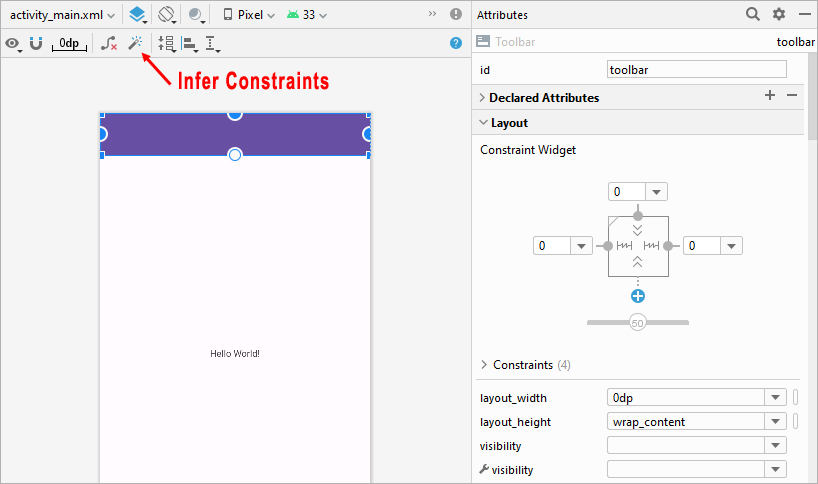
To get rid of the red warning, add some constraints. Your toolbar will then look like this:
We can keep the default TextView. We'll use it as a display area. When a toolbar button is clicked, we'll add some text here.
Click on your TextView to selet it. Change the id at the top of the Attributes window of the TextView to displayText. For the text, instead of "Hello World", we'll add a string.
Double click your strings.xml file to open it (it's in the res > values folder. You should already see one string set up:
<resources>
<string name="app_name">Custom Toolbar</string>
</resources>
The value for the string called app_name is Custom Toolbar. Change this to something else, anything you like.
Now go back to your activity_main.xml file. Click on your toolbar to select it. In the Attributes area on the right expand the All Attributes item. From the new list of properties, locate the title property. Click the Pick a Resource button:
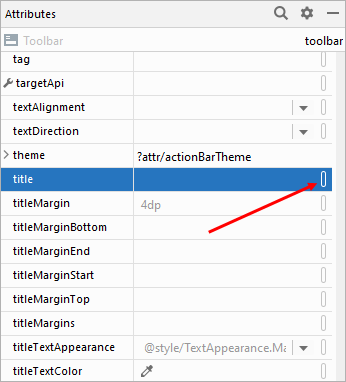
(Notice that there's a titleTextColor attribute at the bottom.)
From the Pick a Resource dialogue box, select your app_name string:
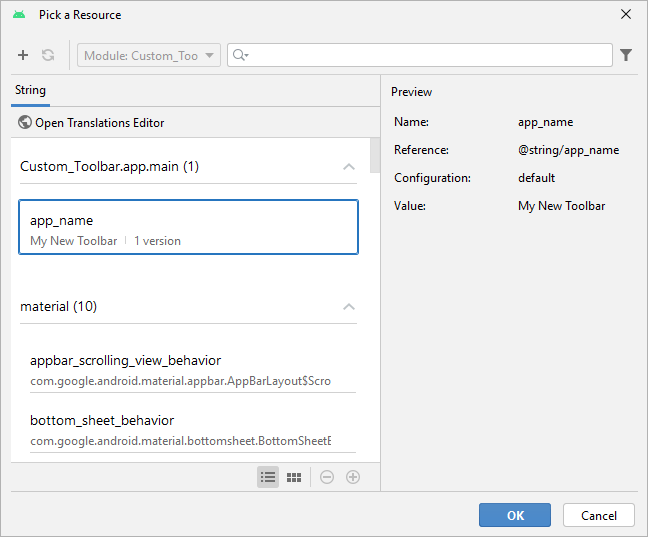
When you click OK, the title will appear on your toolbar:
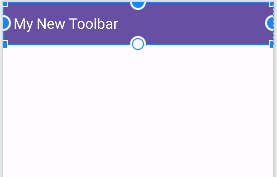
We've set the titleTextColor to white.
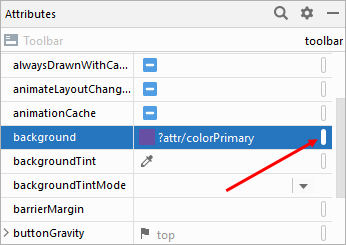
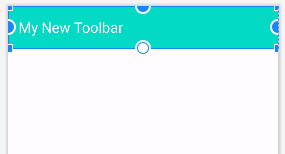
You can also select a different color for the toolbar, if you don't like purple. With your toobar selected in the Component Tree, scroll down the All Attributes section and locate the background attribute:
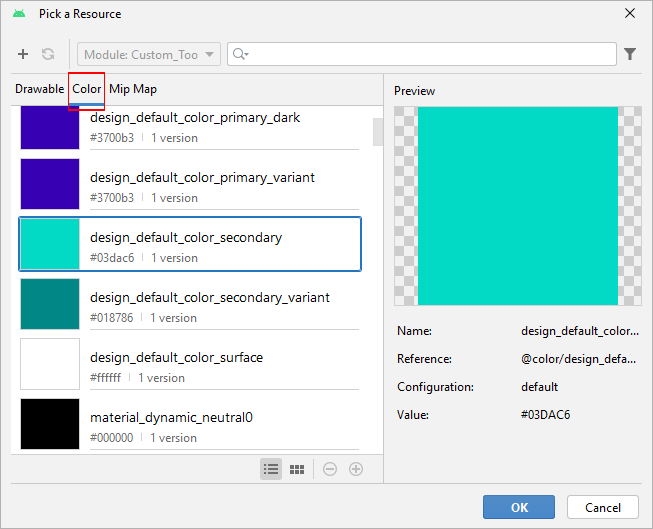
From the Pick a Resource dialog box, make sure you're on the Color tab. Select a new color. We've went for design_default_color_secondary:
The toobar will then look like this:
While we have the strings.xml file open, let's set up some more strings. Set up the following strings, as we can make use of them later:
You can now set one of your strings as the text for the TextView. In place of your Hello World default text, then, replace it with your Display Area text from the string resource file. (You should know how to do this by now.)
In the next lesson, we'll start adding some icons to the Toolbar.
< Configure a TextView | Toolbar Menu Items >
Back to the Android Contents Page