Home and Learn: AI Beginners Course
Invoke AI Image Model Settings
Created:
In the previous lesson, you installed InvokeAI, downloaded a model, and created your very first image. In this lesson, you'll learn about the options you can tweak to create better images.
We created an image like this previously:
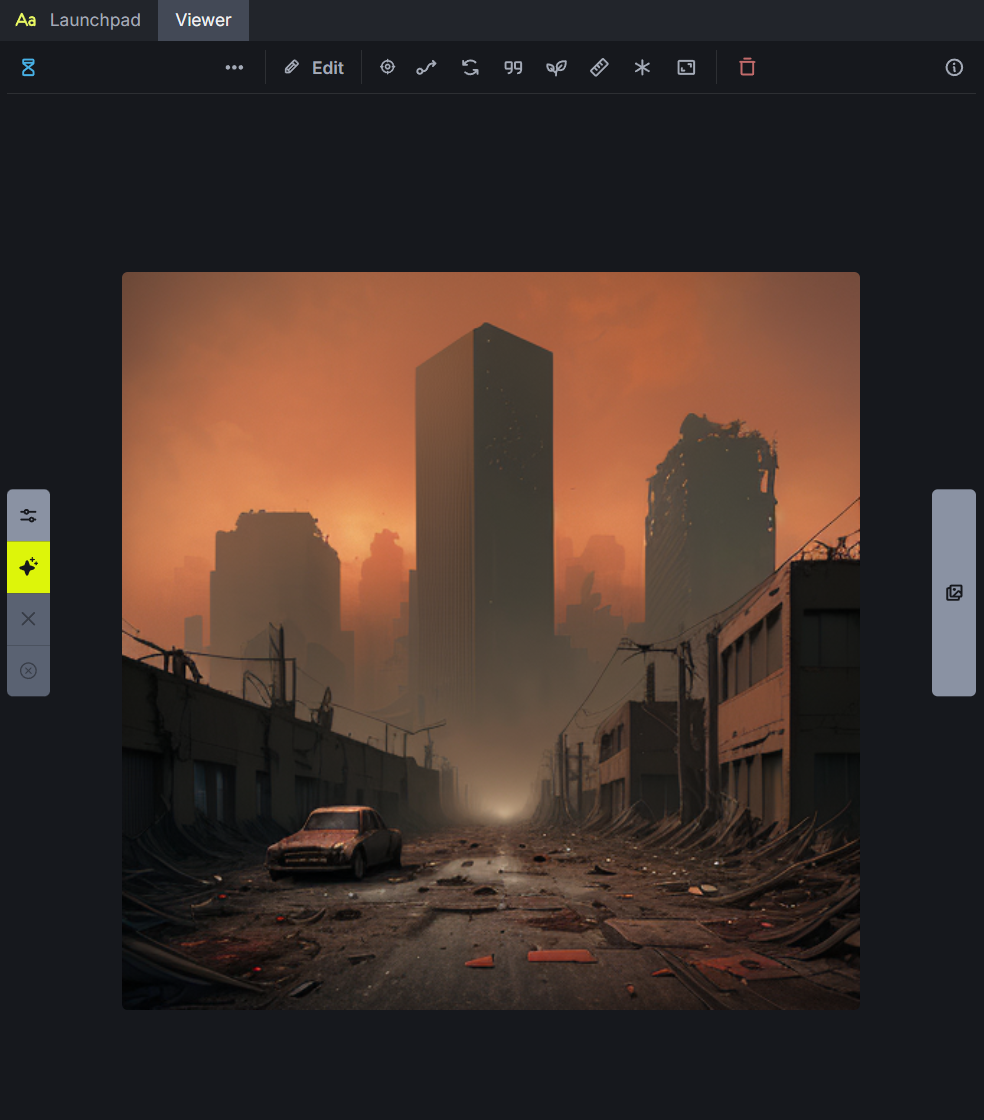
On the left-hand side of InvokeAI, you can see the settings for this image:

Now examine the prompt box at the top:
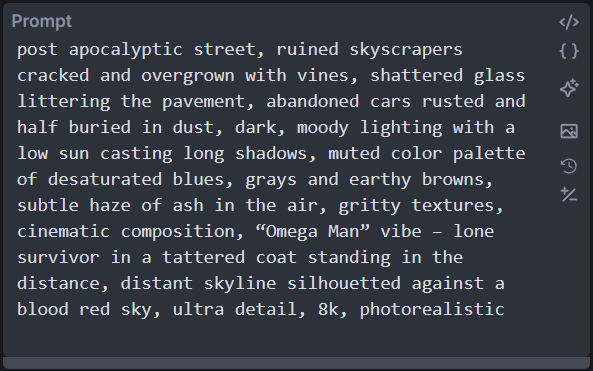
Notice the icons on the right of the box. Here's a rundown of what they do:
 Add Prompt Trigger: opens a list of registered LoRA or text-to-image trigger words so you can insert one into the prompt with a single click.
 Show Dynamic Prompts: toggles a preview panel that expands dynamic-prompt syntax, such as
 {red|blue}, so you can see generated variations before running the batch. Text LLM status: shows whether a text-to-image model is selected. Once a model is loaded, the model name appears beside the icon.
 Vision model status: indicates whether a vision-capable model is active for features such as image-to-image, inpainting or ControlNet.
 Prompt History: opens your recent prompts so you can quickly reuse or edit one.
 Add negative prompt: reveals the negative-prompt field, where you can list things the model should avoid, such as
 blurred, extra limbs
.
We won't worry about most of these yet, except the negative prompt, which you'll use in the next lesson.
Above the Prompt box is a dropdown list labelled Choose Prompt Template:

We'll discuss templates in a later lesson. As well as the built-in templates, Invoke lets you make your own from scratch or from a generated image, and supports previewing or flattening the combined prompt.
Image Settings
Just below the prompt box and the Reference Image area, which we will cover later, is the Image settings area:
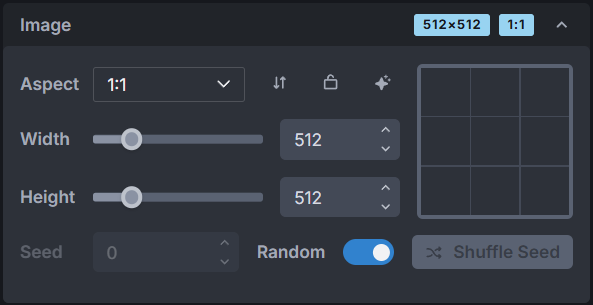
Use the Width and Height sliders to choose the size of the image Invoke will generate. You can also choose an aspect ratio from the dropdown list. With the 1:1 ratio selected, the image is square.
Image models work best at particular sizes. Choose the DreamShaper 8 model, set the aspect ratio to 1:1, move the Width and Height sliders away from 512 × 512, then click Optimize. Invoke resets the size to 512 × 512 because DreamShaper 8 is an SD 1.5-based model, for which that is the usual recommended square generation size. You can generate at other sizes and aspect ratios, but staying close to the model's recommended resolution usually gives more reliable results.
Image Settings: Seeds
Below the width and height settings is the Seed option, which is set to Random by default. A diffusion model starts from pure noise and gradually denoises that noise until a recognisable picture emerges. The seed is the integer that decides the initial pattern of noise.
With the exact same prompt, seed, model and parameters, you will get the identical image every time. The seed locks the randomness in place.
To see this in action, turn the Random slider off and click the Shuffle Seed button. A long integer appears in the Seed box:
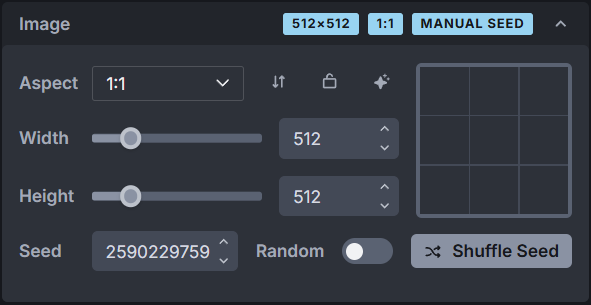
Keep that seed and do not change any other setting, including the prompt, and you should produce the identical image every time you click Invoke. Changing the seed, even by one, gives a new noise pattern and a different result. This makes seeds useful for exploring variations without rewriting your prompt.
You can copy a seed from an existing image: right-click it, then select Recall Metadata > Use Seed.
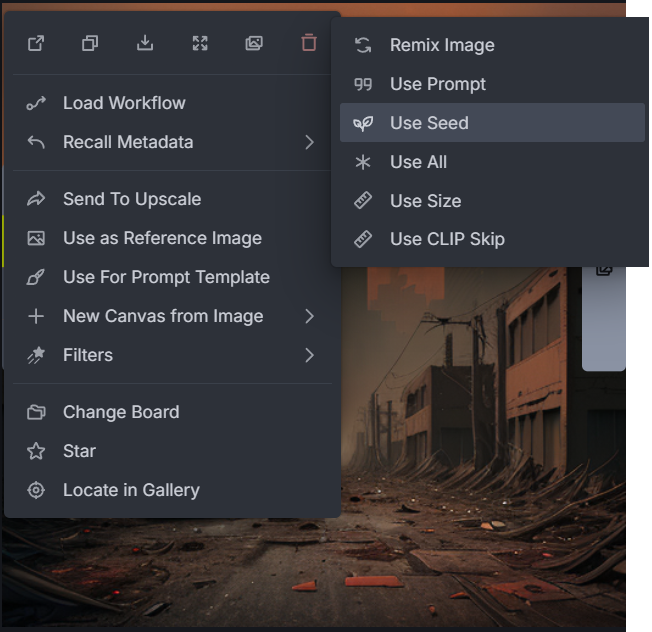
In short, the seed is the hidden dice roll that starts the noise field. Keeping it with the prompt is a good habit because it makes your image-creation process repeatable and easy to share.
Generation Settings
Below Image settings is the Generation panel:

At the top, the selected model is DreamShaper 8. Other downloaded models appear in this dropdown:
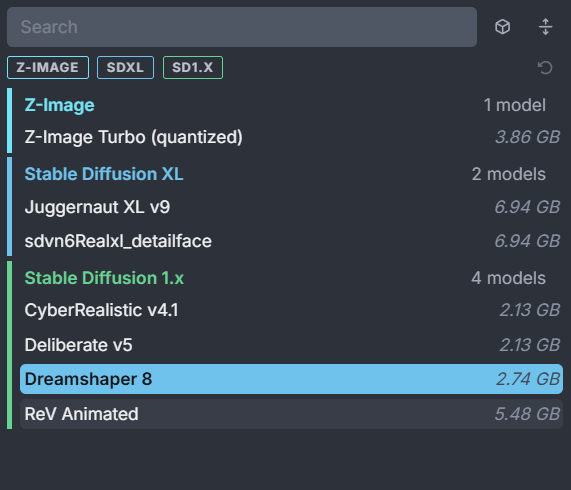
In this example, six models are installed from three model families: Z-Image, SDXL and SD1.X.
Concepts: No Compatible LoRAs
This means Invoke cannot find any installed LoRAs that work with the selected image model. LoRA means Low-Rank Adaptation: a small add-on that teaches an existing image model an extra concept, such as an illustration style, a character or clothing style, or a kind of lighting, texture, pose or camera look. It adjusts the main image model; it does not replace it.
LoRAs must match the main model's family. For example, an SD 1.5 LoRA will not normally work with an SDXL or FLUX model. So this message usually means that you have not installed LoRAs, or the LoRAs you have are for a different model type.
Scheduler: DPM++ 3M Karras
A scheduler is the method Invoke uses to turn starting noise into an image, step by step. Different schedulers can produce slightly different detail, smoothness, contrast and composition, even with the same prompt and seed. DPM++ 3M is the denoising method; Karras describes the schedule used to space that denoising work. Euler is another popular choice.
Keep the model's default scheduler when you are starting. Later, experiment by changing only the scheduler while keeping the prompt and seed the same.
Steps
Steps are the number of rounds of improvement the model performs while turning noise into an image. More steps usually take longer. They can improve detail up to a point, but very high values do not guarantee a better result and can sometimes make it worse. For many traditional Stable Diffusion models, 30 to 35 steps is a reasonable beginner starting point; fast or distilled models may need far fewer. Start with Invoke's default or the model creator's recommendation.
CFG Scale
CFG means Classifier-Free Guidance. CFG Scale controls how strongly the model tries to follow your prompt. Lower CFG gives the model more freedom, which can look more natural or surprising but may drift from your wording. Higher CFG follows your prompt more firmly, but too high can create harsh, oversaturated, unnatural or poorer-quality images.
For many SD 1.5 and SDXL-style models, 5 to 8 is a useful range, with 6 to 7 a good starting point. Do not assume this works for every model: some fast models are designed to use CFG around 1 or handle guidance differently.
In short: a scheduler is how the image is refined, steps are how long it is refined, and CFG is how firmly the prompt directs it. Read the DreamShaper 8 model overview, then look at its Practical Tips section for recommended scheduler and CFG values.
There are more options under the Advanced heading at the bottom of Generation. Leave them at their defaults for now.
In the next lesson, we'll take a look at negative prompts and see how they work.