Home and Learn: AI Beginners Course
Install InvokeAI, Download a Model, Create an Image
Created:
In the previous lesson you saw how to check your computers VRAM to see what, realistically, you can do as regards image generation. Hopefully, you computer is good enough to create some kind of image, even if it might be slowly. In this lesson you'll install InvokeAI, download an image creation model, and then create your first AI image.
If you didn't download the software, you can do that now from here:
(Windows, macOS, Linux)
Install the software and fire it up. Once it is loaded, you'll see the Launcher screen:
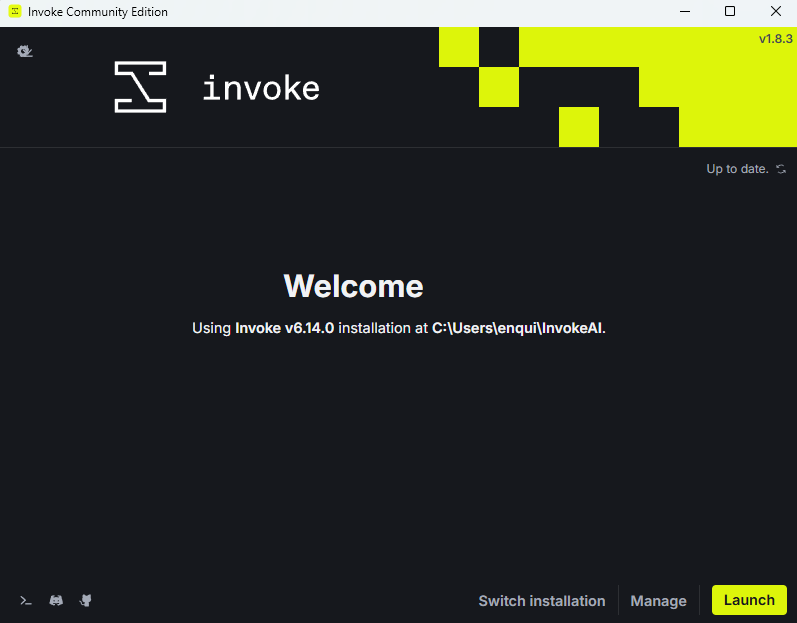
Click the Launch button.
If this is the first time you have launched InvokeAI, you'll be taken through the rest of the install stages. Let's go through it.
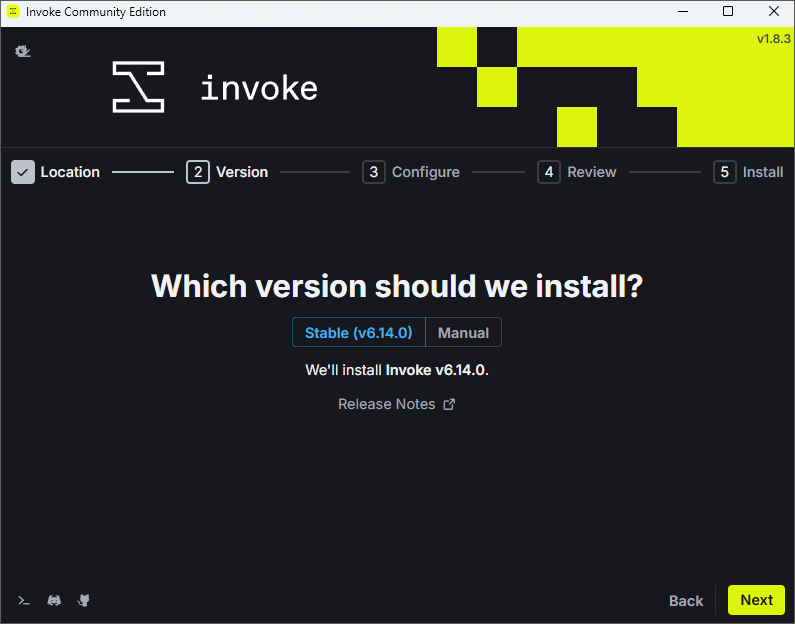
Make sure the Stable option is selected here. Then click Next.
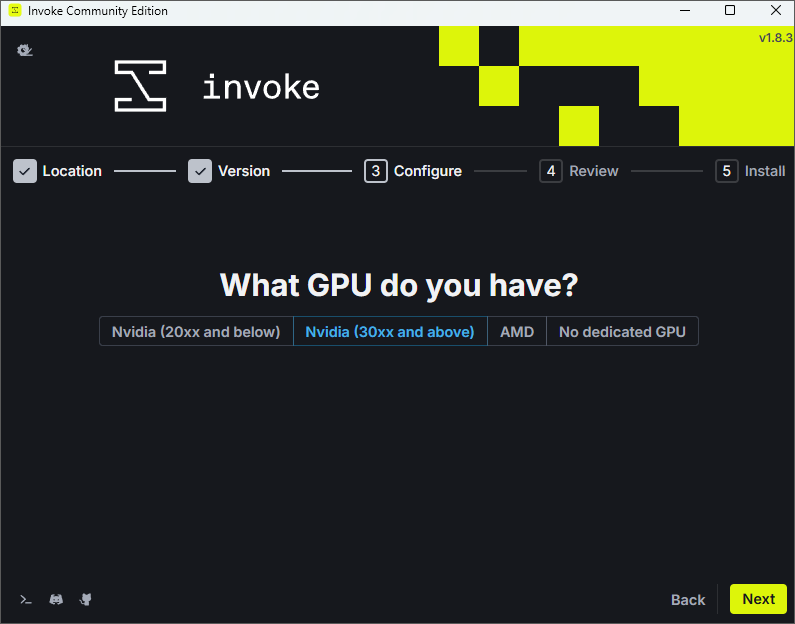
Here, InvokeAI will try to detect your GPU. If it has, click Next. If it hasn't, then you may have no dedicated GPU. In which case, that option will be selected. Image creation with no dedicated GPU is possible in Invoke, but it will be incredibly slow.
The next screen is a review screen:
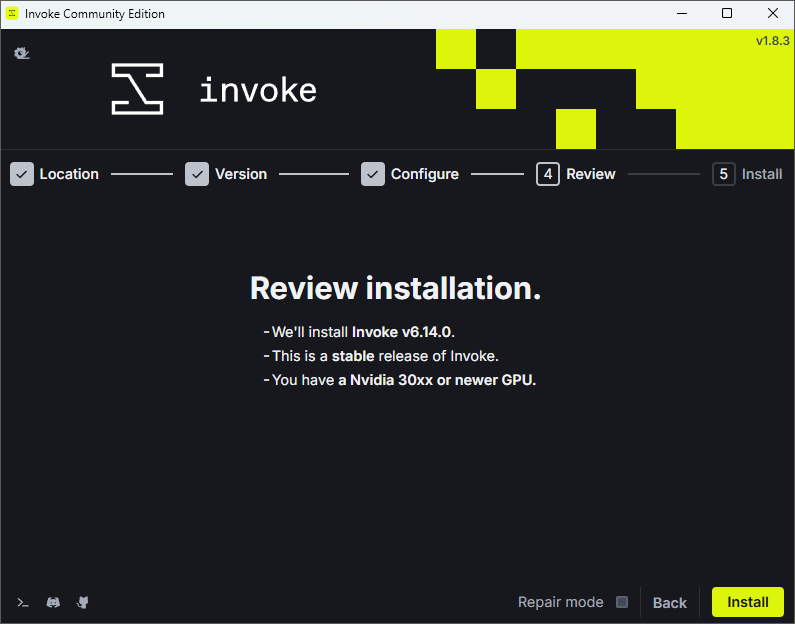
It is a review of the options you have selected. You can go back if you have selected the incorrect options. But click Install to see something like this:
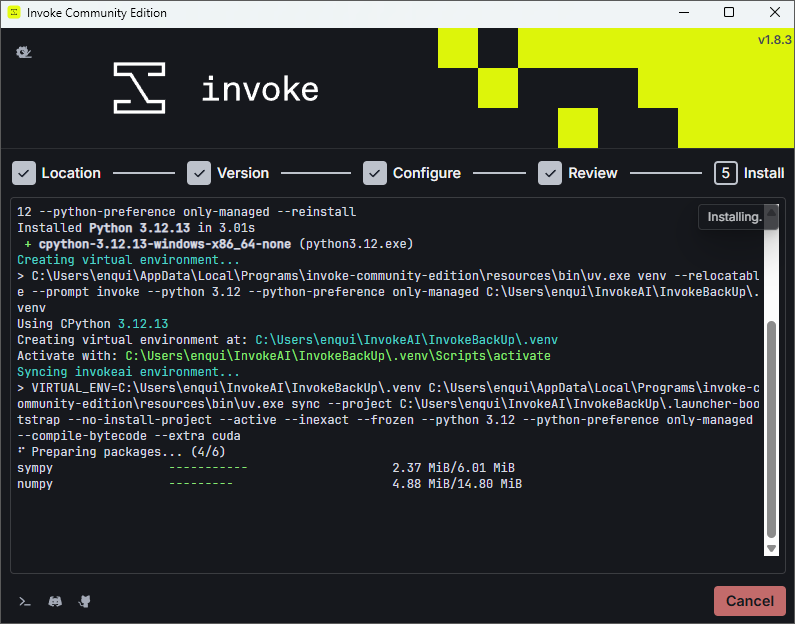
When the install has finished, you'll see this:
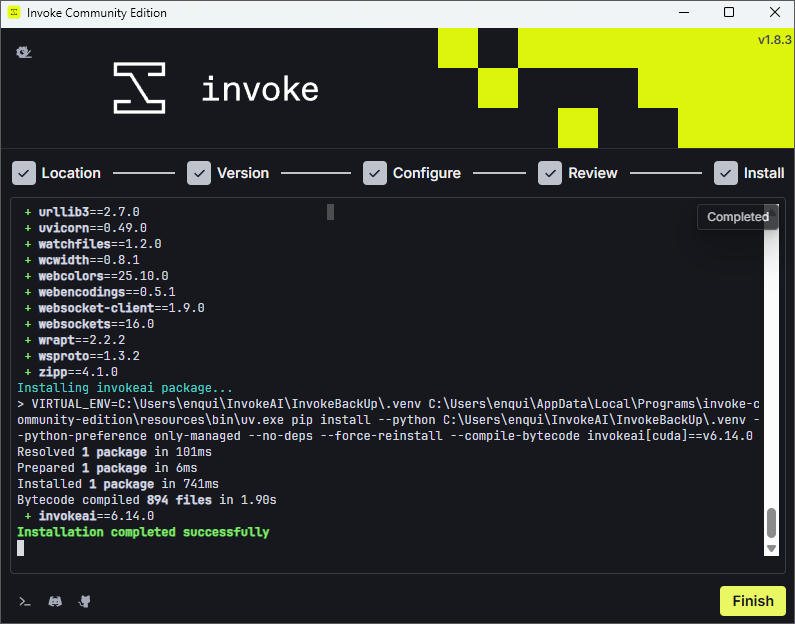
Here, the install is complete and we can click Finish. We'll be taken back to the launch screen:
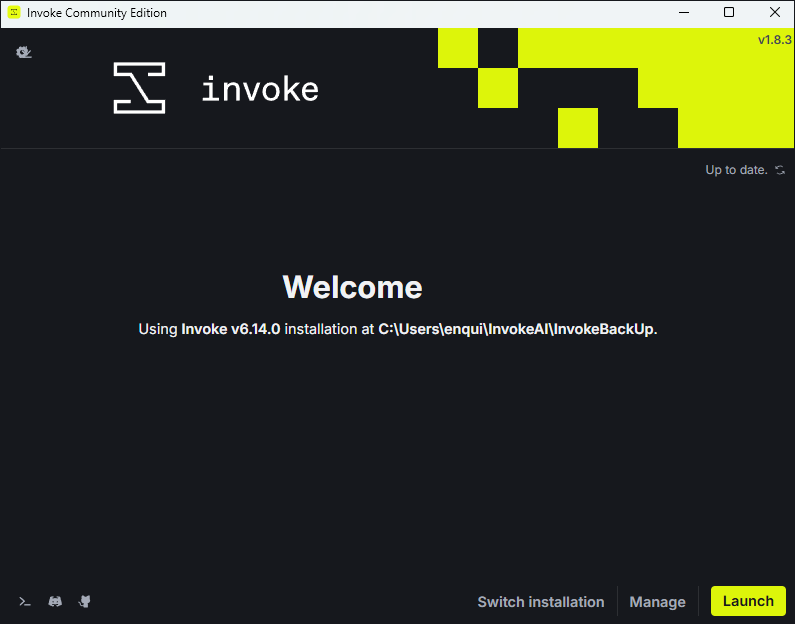
Click Launch in the bottom right to get your first look at InvokeAI:
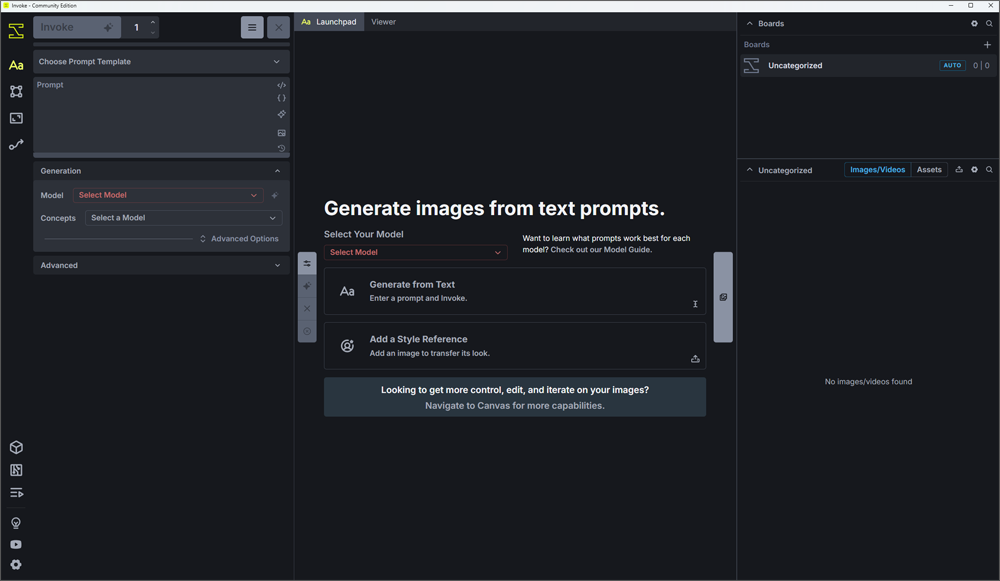
Before you can make a start, you'll need to install an AI image creation model. In the middle, where it says, "Generate images from text prompts", click the dropdown list under Select your Model. Here's a closer look:
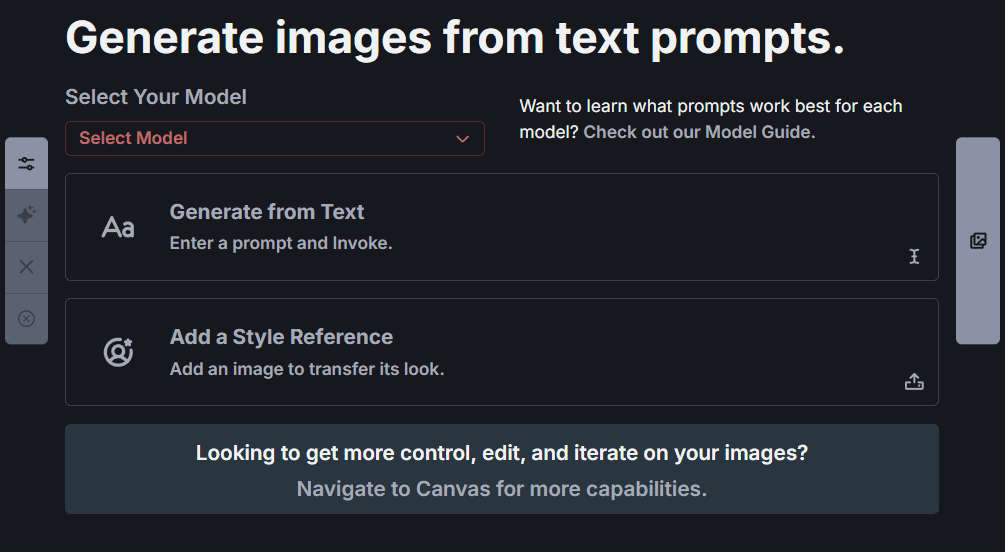
When you click the dropdown for the first time, you'll see this:
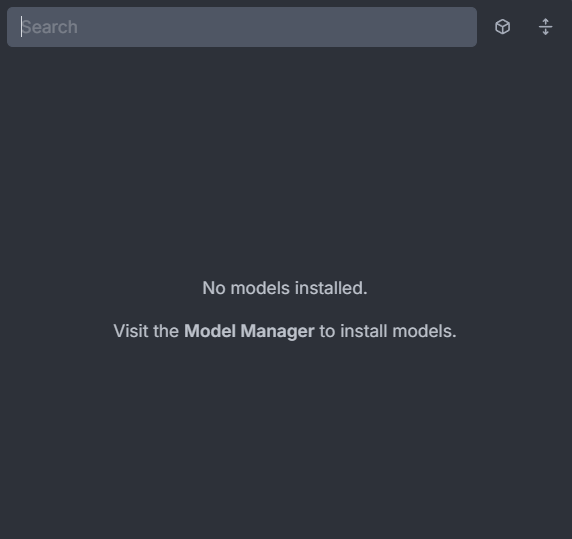
Click on Model Manager, and you'll be taken to this screen (if nothing happens, click the cube on the left, the yellow icon near the bottom):
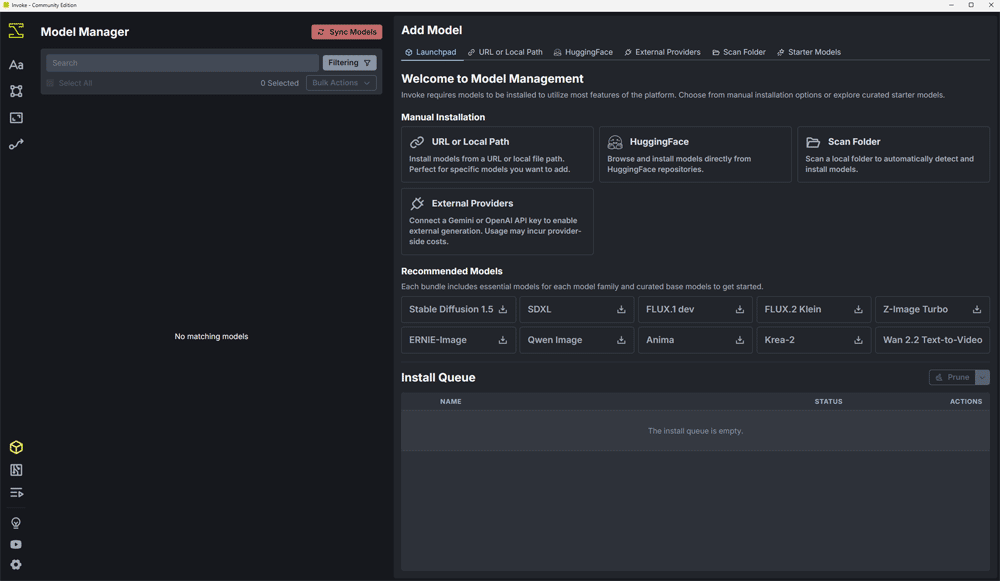
In case that's not clear, here is the main area of the Model Manager:
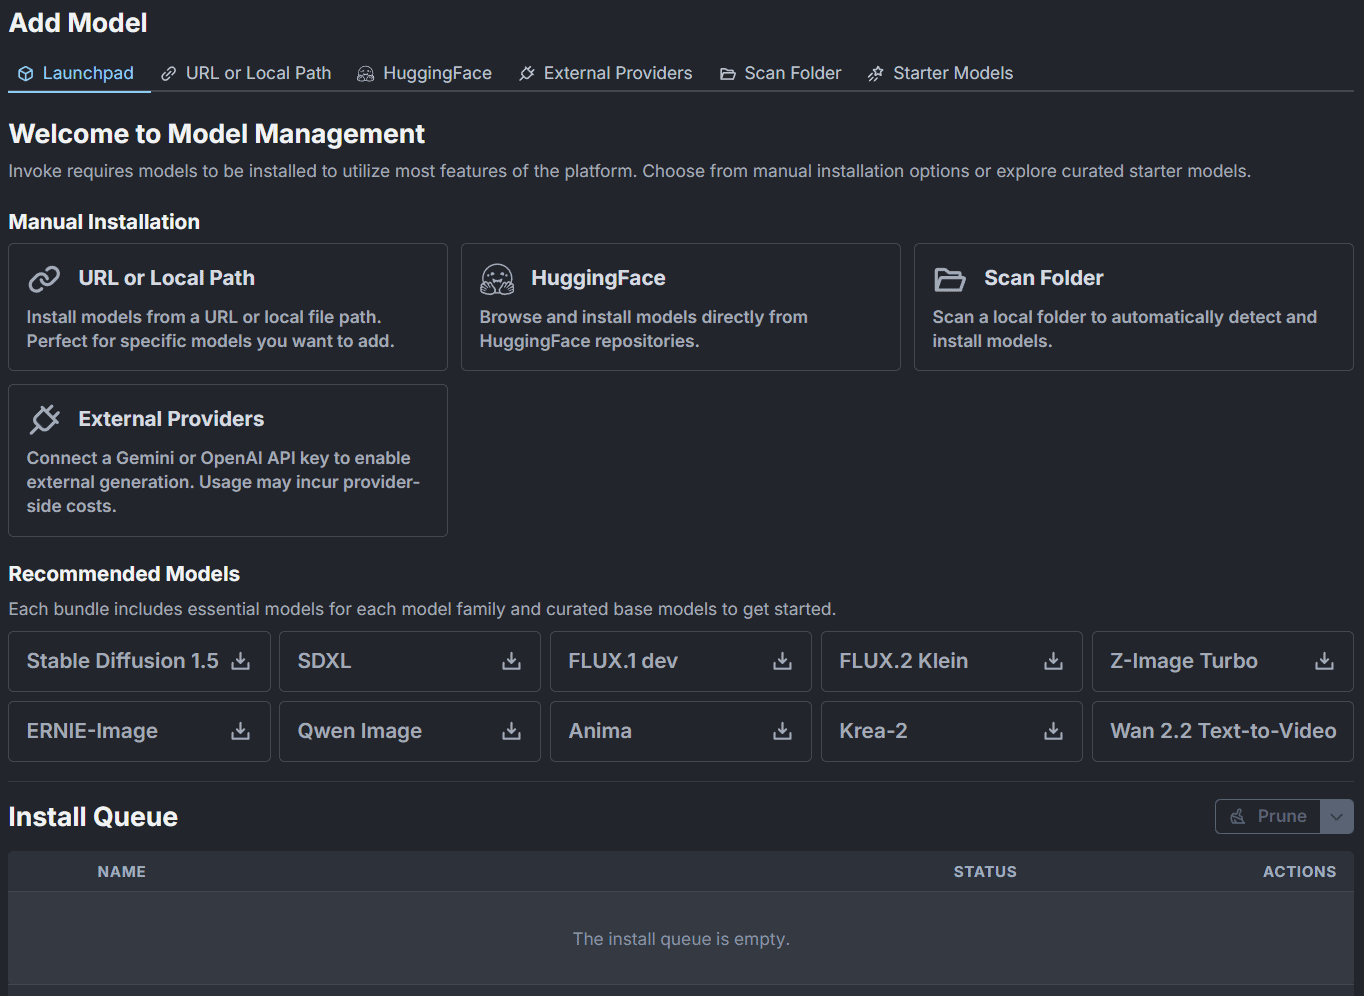
It looks a bit of a mess! But click the link at the top that says Starter Models. You'll see this:
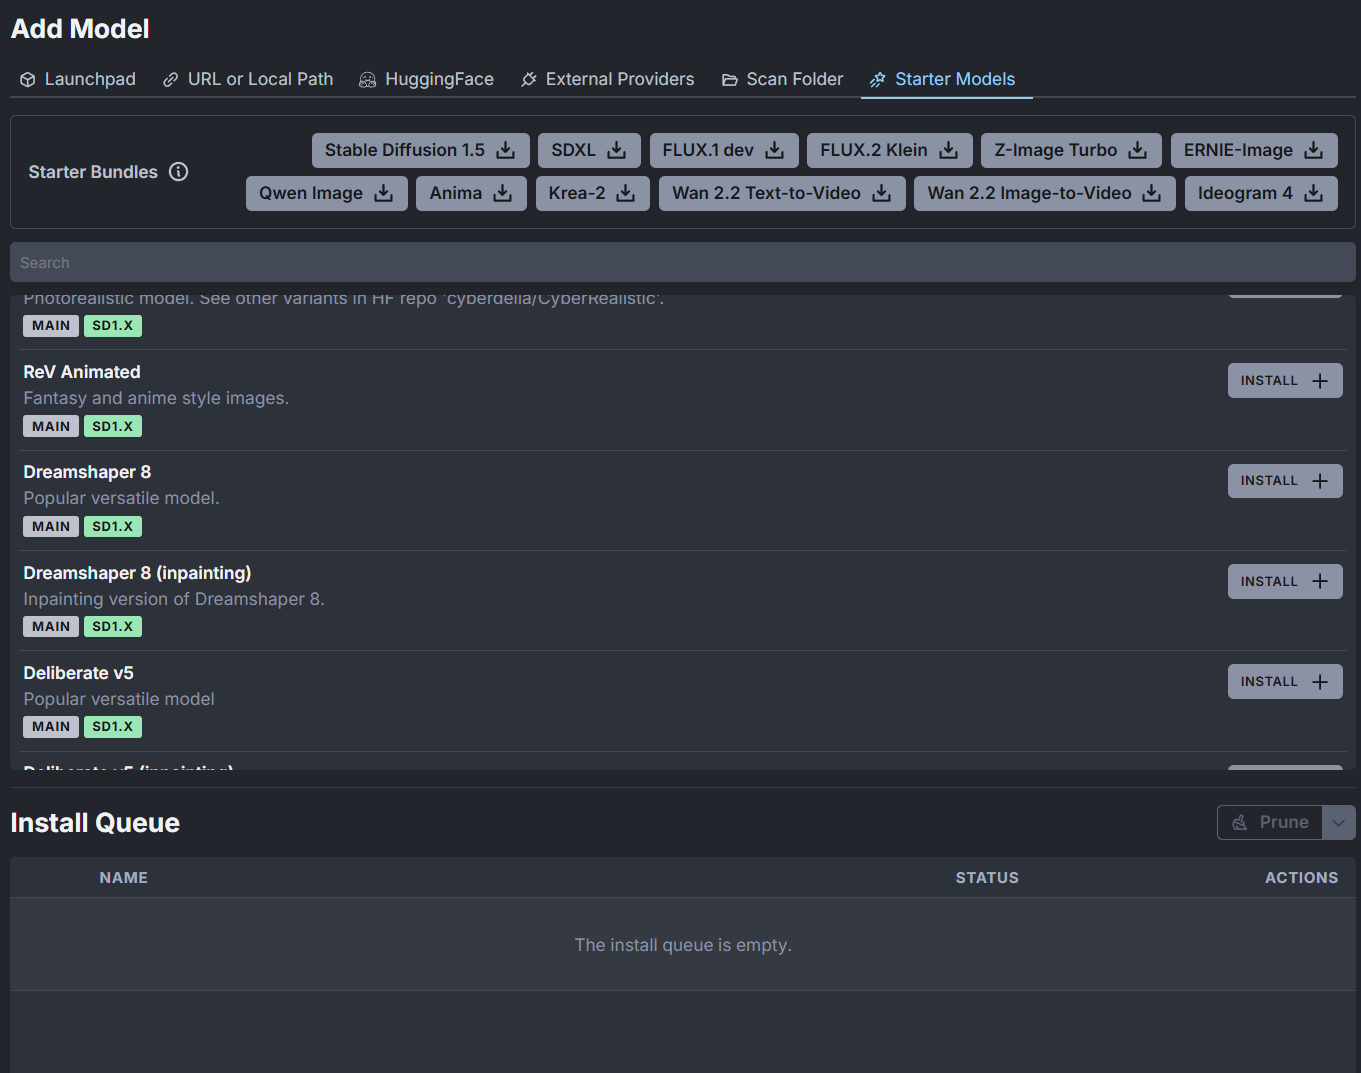
The easiest way to start is with a Stable Diffusion 1.5 model.
Hovering over the Stable Diffusion 1.5 option should reveal this list of what you are going to install:
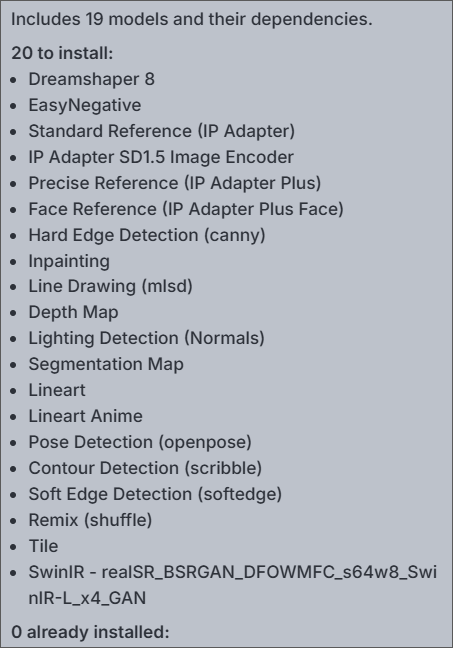
The actual model, the one you'll select later to create your images, is the one at the top - Dreamshaper 8. For a more detailed view of just what this model can and can't do, see here: Model Overview - Dreamshaper 8
But click the Stable Diffusion starter bundle. (The models can be many gigabytes in size, so you'll need a drive with plenty of disk space.)
Once the Stable Diffusion bundle starts to download, you'll see it appear in the Install Queue area. When it is finally installed, you'll see your models and dependencies appear in the Model Manager area on the left:
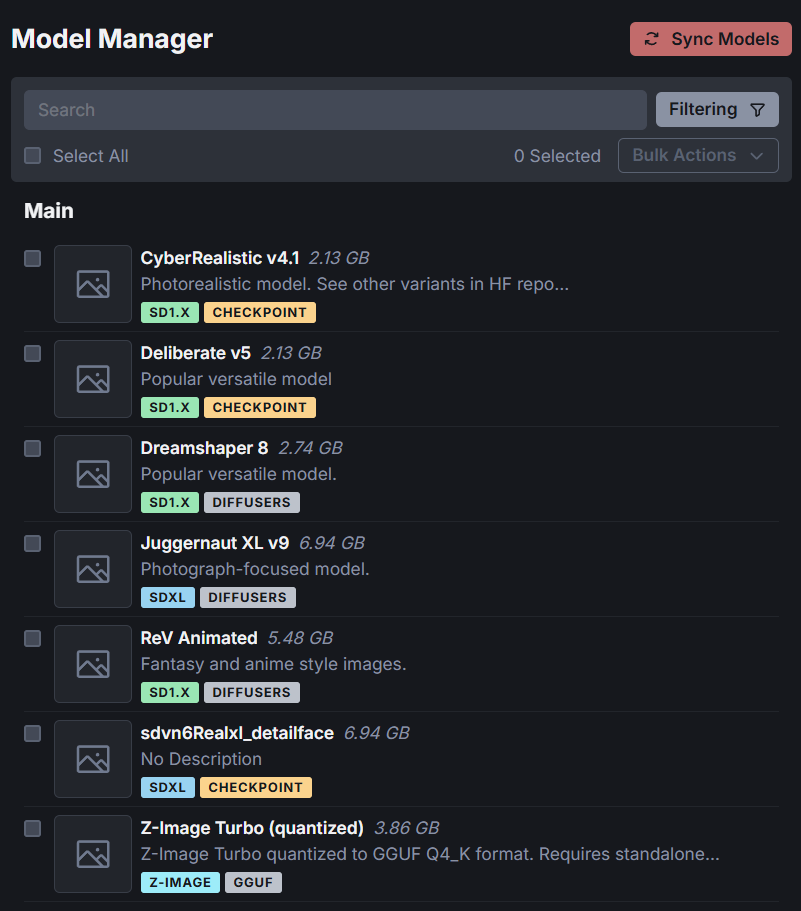
Here, you can see that this user has not only installed Dreamshaper 8 but several other models as well. You can also see the size of each model, in gigabytes. If you want to uninstall a model, select the model from the list. Then click the trash can icon that appears on the right:
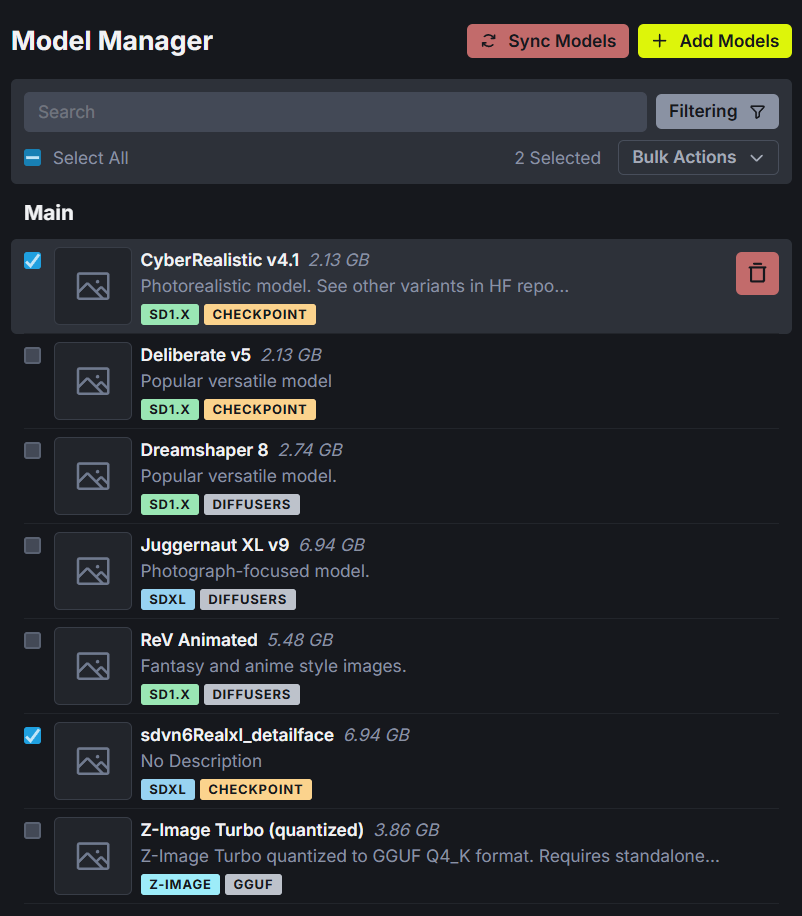
You can come back to the Model Manager at any time by clicking its icon on the left, the cube icon.
To install other models, such as the ones on the list above, scroll down the list of starter models you saw earlier:
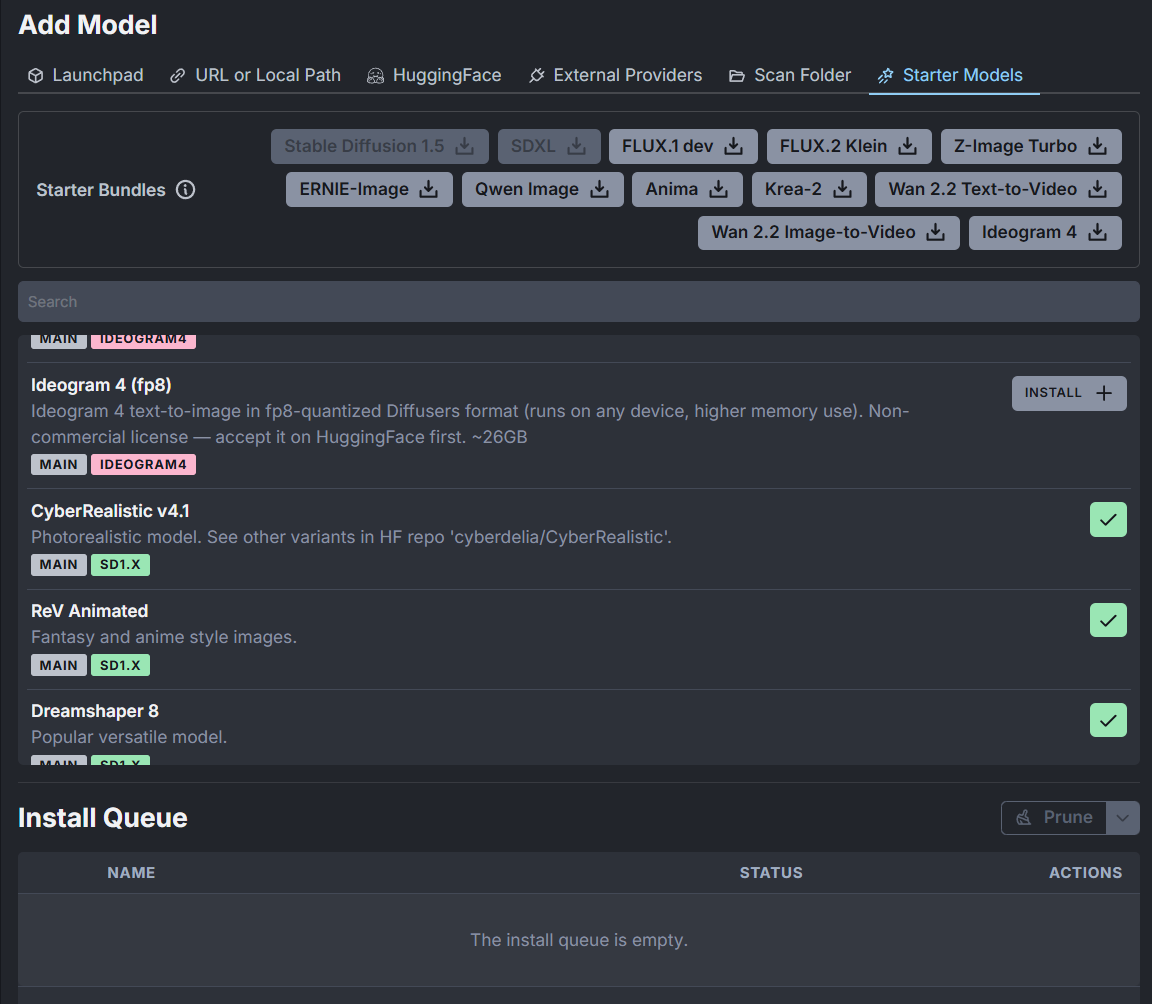
The green check mark means you have already installed this model. Click an Install button to try out as many models as your computer will allow, bearing in mind your disk space and VRAM limitations.
Incidentally, if you want to install any of the other models at the top,
SDXL, FLUX, etc., here is a table of the requirements for each model on
a Windows or Linux machine: (But Invoke itself say these are rough guidlines.)
| Model Family | Best Resolution | GPU Series | VRAM (Min) | RAM (Min) |
|---|---|---|---|---|
| SD 1.5 | 512 x 512 | Nvidia 10xx+ | 4 GB | 8 GB |
| SDXL | 1024 x 1024 | Nvidia 20xx+ | 8 GB | 16 GB |
| FLUX.1 | 1024 x 1024 | Nvidia 20xx+ | 10 GB | 32 GB |
| FLUX.2 Klein 4B | 1024 x 1024 | Nvidia 30xx+ | 12 GB | 16 GB |
| FLUX.2 Klein 9B | 1024 x 1024 | Nvidia 40xx | 24 GB | 32 GB |
| Z-Image Turbo | 1024 x 1024 | Nvidia 20xx+ | 8 GB | 16 GB |
| Krea-2 (Turbo / Raw) | 1024 x 1024 | Nvidia 40xx | 24 GB | 32 GB |
| Wan 2.2 A14B (T2V/I2V) | 1280 x 720 | Nvidia 30xx+ | 12 GB | 32 GB |
| Wan 2.2 TI2V-5B | 1280 x 720 | Nvidia 20xx+ | 8 GB | 16 GB |
Source: https://invoke.ai/start-here/system-requirements/
As you can see, the Stable Diffusion 1.5 model family needs the lowest amount of VRAM.
Once you have a model, click back on the Generate tab by clicking the Aa icon at the top left:
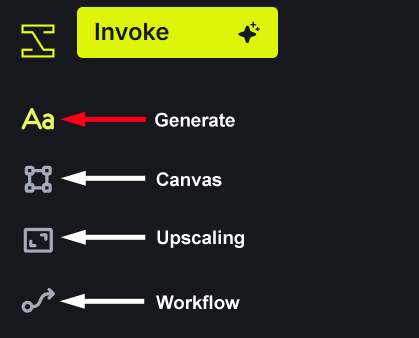
You can come back to the Model Manager at any time by clicking its icon bottom left, the cube icon:

Now that you have a model, let's create an image with it.
Create an Image with InvokeAI
When you click the Generate icon after installing a model, your screen will look like this:
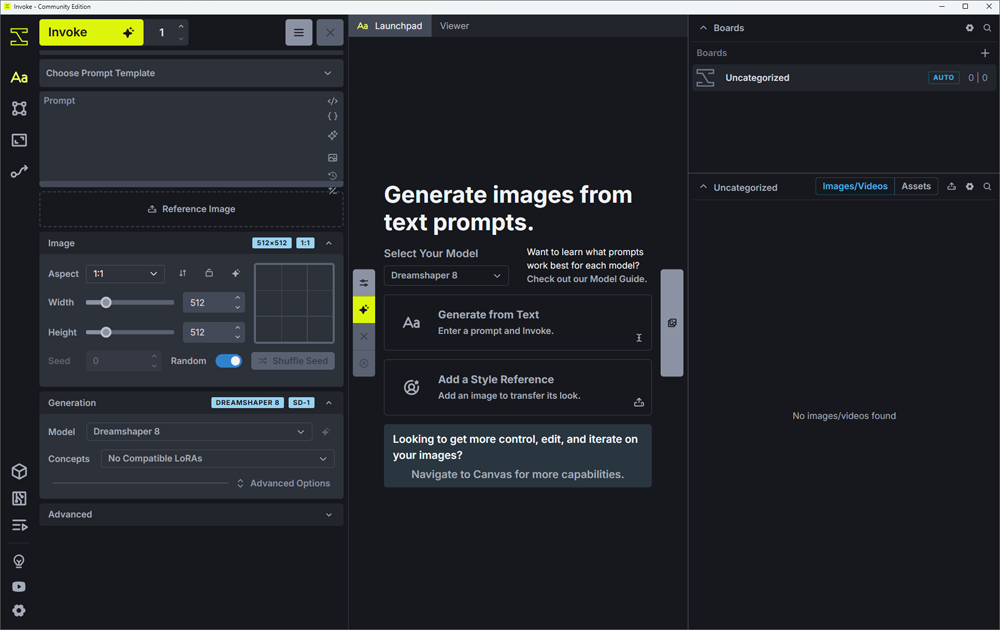
The area on the left is where you select your model, type your prompt, and tweak a few settings. The area in the middle is where you can view your image. (You are looking at the Launchpad, in the image above. Notice, at the top of the middle area, that there is a Viewer option alongside the Launchpad.) The area on the right is where you can view all your generated images, store them under different categories, and use a resource for further image generations.
Let's generate a quick image. In future lessons, you'll learn how to tweak all those settings. For now, enter a prompt in the Prompt area top left. Any prompt you like. Or you can copy and paste our prompt below:
post apocalyptic street, ruined skyscrapers cracked and overgrown with vines, shattered glass littering the pavement, abandoned cars rusted and half buried in dust, dark, moody lighting with a low sun casting long shadows, muted color palette of desaturated blues, grays and earthy browns, subtle haze of ash in the air, gritty textures, cinematic composition, "Omega Man" vibe - lone survivor in a tattered coat standing in the distance, distant skyline silhouetted against a blood red sky, ultra detail, 8k, photorealistic
NOTE: If you copied and pasted our prompt, you would not get the same image as we did. Had we given you the Seed, however, and all the other settings we used, then you could have gotten the same image as us. We'll explore this in the next lesson.
The area on the left will then look like this:
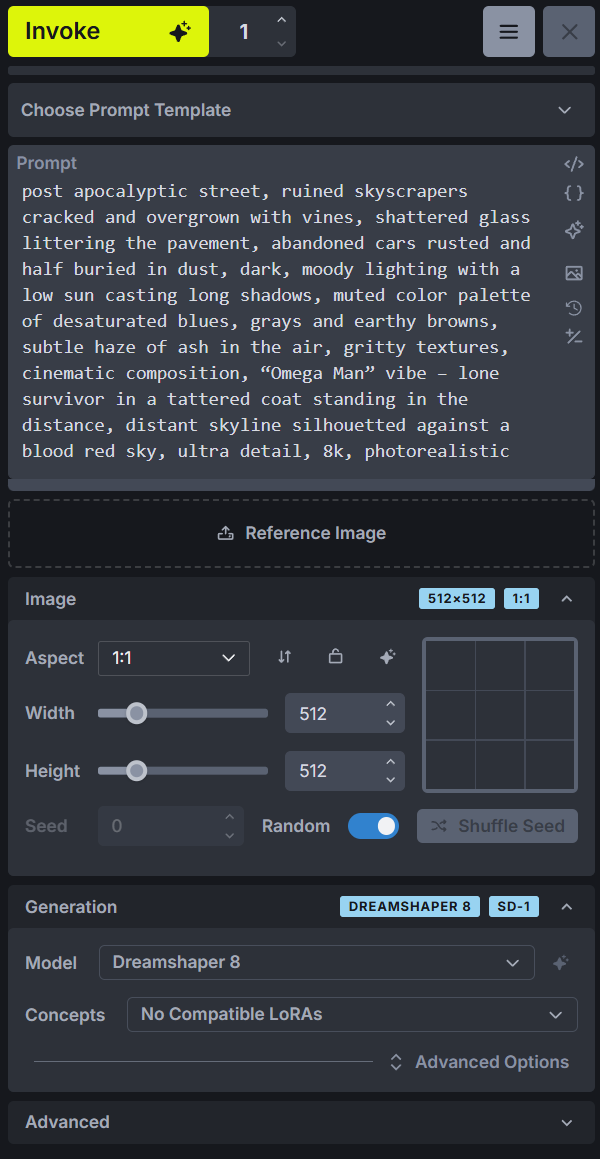
Don't worry about all the settings for now. Just notice that the Model is set to Dreamshaper 8. (If you downloaded another model and it is showing here, you can switch models by clicking the dropdown. Our prompt, though, was specifically written for Dreamshaper 8.)
Notice, too, the image size is set to 512 pixels wide by 512 pixels high.
Now go ahead and click the Invoke button at the top left. The default is to generate just one image. But you can change that, if you want.
Before long, depending on how fast your computer setup is, you should see an image in the middle of InvokeAI. At the top, you should notice that the Viewer area is now active:
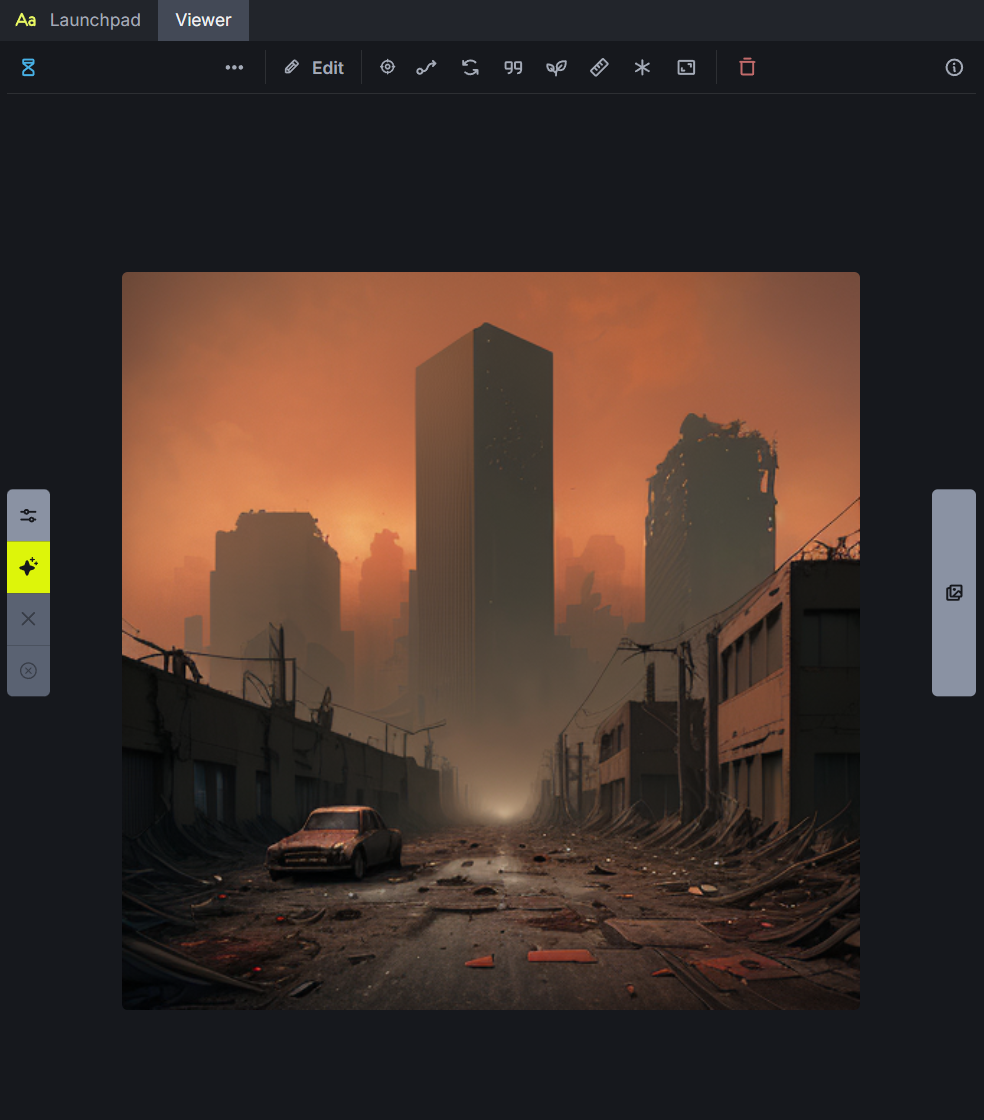
Congratulations - you have just created your first image with InvokeAI! Remember: the image is created on your own computer rather than sent to a hosted image generator. It's just you generating the image you wanted to generate without interference.
In the next few lessons, you'll gain more experience of using InvokeAI. And we'll go into more detail about the Viewer area in later tutorials, as well. But one more thing to notice before we leave is the area on the right. You should see a thumbnail of your image appear in the Uncategorized heading:
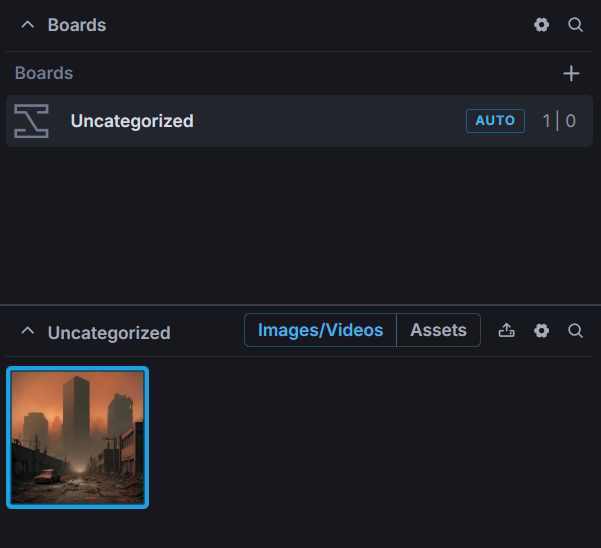
Instead of Categories, Invoke uses the word Boards. You can easily create a new Board and move your image to this Board (Category).
To create a new board, click the plus symbol at the top right in the image above. You'll see the text My Board appear:

Click the pencil icon to rename your board:
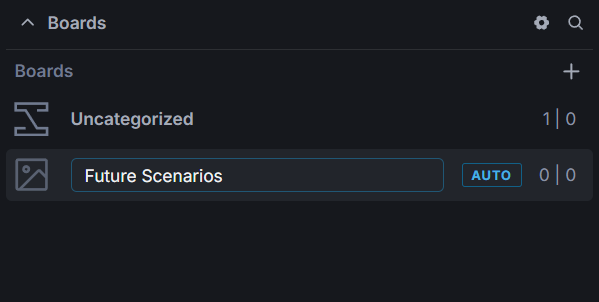
Type a name for your new board.
Now click back on the Uncategorized board. To move an image to a board, right-click a thumbnail. From the menu that appears, select Change Board:

When you click Change Board, you'll see a dialog box appear:

Select a board from the dropdown list and click Move.
And we'll leave this lesson there. It's been quite long! In the next lesson, we'll go over those settings on the left side of InvokeAI so that you can create your images with more confidence.