Home and Learn: Microsoft Access Course
Access Report Wizard
In the previous lesson, you created a query. We're now going to turn this query into a report. We'll use the Report Wizard, this time.
Close your query down in the main window. Make sure qryAuthorsBooksGenre is selected in All Access Objects.
To launch the Report Wizard, click on the Create Ribbon at the top of Access. From the Create Ribbon, locate the Reports panel. Click Report Wizard:

When you click on Report Wizard, you'll see this dialog box:

Because you selected a query in the All Access Objects area, you'll see the name of your query in the dropdown at the top, under Tables/Queries. For us, this was qryAuthorsBooksGenre. You can click the dropdown to select another query or table, though, if you want. But click the two right-pointing arrows between the two list boxes. This will transfer all the fields from the Available Fields box over to the Selected Fields box:
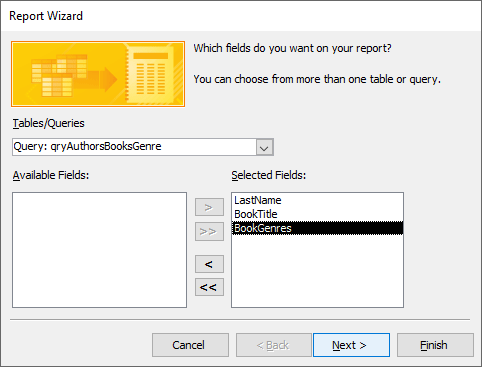
Click Next when you have selected all the fields. The next step in the Access Report Wizard looks like this:

The area on the right is what the report would look like if the data were viewed by tblAuthors. The last name would be at the top and you'd have the book title and book genre underneath. Having all the details on the same line might work better. So, select by tblBooks. Your Wizard will then look like this:

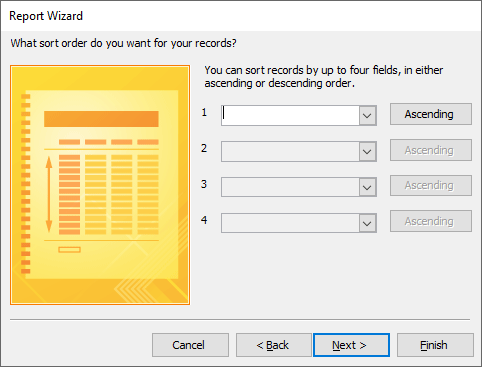
Click Next to see this screen:

You don't want any grouping, so just click Next to see this:
We can sort on LastName. Select this option and your screen will look like this:
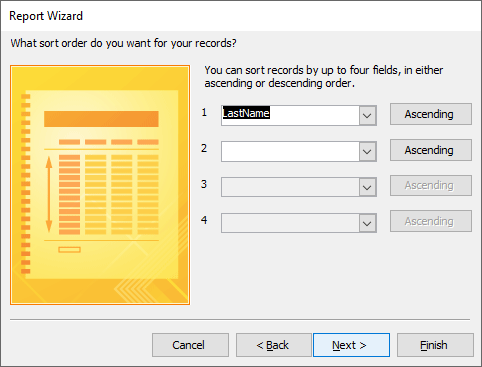
Nearly there! Click Next to see this screen:

This screen is asking your how you would like your layout, Columnar, Tabular, Justified. Click each option to get a preview of what they look like. The checkbox at the bottom, Adjust the field width so that all fields fit on the page, this box can be left checked if you only have a few columns of data in your report. If you have more than about 5, it's best to uncheck this box. Otherwise, all your columns will be squashed.
But select the Tabular option and click Next. (Although you could just click Finish.)
The final screen looks like this:
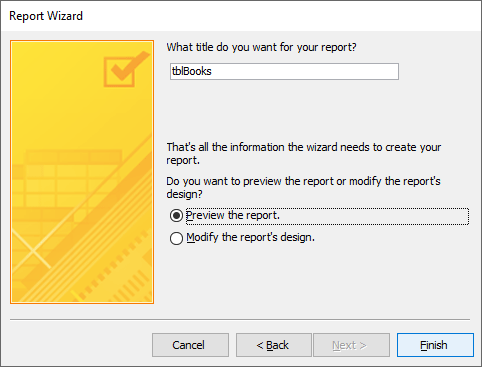
Leave the title on the default tblBooks. This will appear at the top of your report. You'll see how to change it soon.
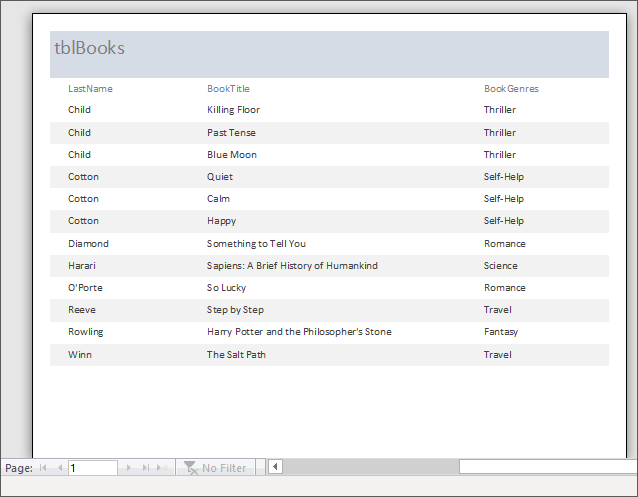
Click Finish and Access will create your report. It will open up in Print Preview and look like this:
Renaming a Report
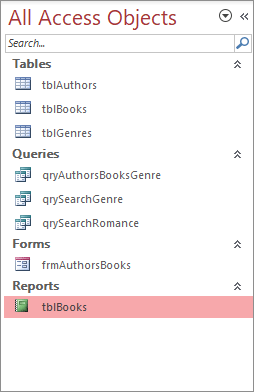
Save your report by clicking the save icon in the very top left of Access (or press CTRL + S). If you have a look under All Access Objects, you'll see a new section called Reports. The default name of tblBooks appears under it. This is your report:
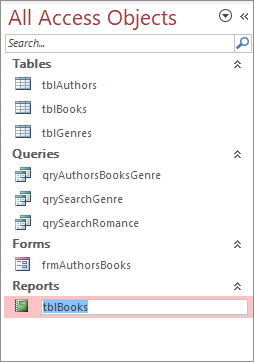
However, it's a good idea to give your reports a similar name to the queries they came from. So right-click tblBooks under Reports. From the menu that appears, select Rename:

You'll probably see a message box warning you that you can't rename tblBooks while it's open. Click OK on the message box. Close down the tblBooks tab in the main area. Now try the rename again.
When you click on Rename this time, the name of the report will be highlighted:
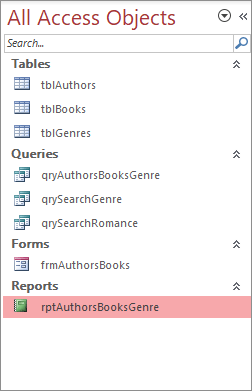
Type a new name for the report. Type rptAuthorsBooksGenre. Press the Enter key on your keyboard to confirm the new name:
To reopen the report, right-click again. From the menu this time, select Design View. This will get us back to where we were:

One thing to notice in Design View is that you might have a yellow warning diamond in the top left:

Hold your mouse over the yellow diamond and you'll see a message:
The report's width is greater than the page width, possibly causing extra blank pages to be printed.
Click on the yellow diamond to see some options:
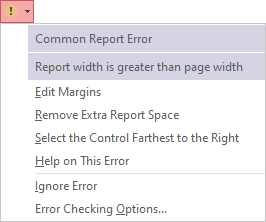
To get rid of the message, select Remove Extra Report Space.
Now let's improve the look of our report. We'll start with the different areas of a Report, then explain how to format the Report Header We'll do that in the next lesson below
<-- Previous Lesson: Access Reports | Next Lesson: Formatting Report Headers -->
<--Back to the Microsoft ACCESS Contents Page