Home and Learn: Android Course
Use Intents to send data to another Activity
You've seen how to use an Android Intent to create a new Activity. But they can also be used to send data to an activity. Let's see how.
Go back to your MainActivity.java code. Under the line that sets up your intent, add the following:
myIntent.putExtra( "HELLO_MESSAGE", "First activity says Hello!");
Your code should look like this:

When you create an Intent object, you have lots of methods available to you. One of these methods is called putExtra. This is used to set up a key/value pair. In between the round brackets of putExtra, you first need the name of a key. This has to be a String. We have used the String "HELLO_MESSAGE", but you can use almost anything here: you can replace the direct text that we have with a variable, if you want, or even set up a constant at the top of your code and use that. After a comma, you then type the text you want to use as the value for the key. (Again, you can have a variable here, if you want.
So we've set up a key with the name HELLO_MESSAGE. Inside of that key we've stored the value "First activity says Hello!". When we come to retrieve the value, we only need to use the key.
Go back to your SecondActivity.java code. We'll retrieve the value for our key here. Just below the setContentView line, add this:
Intent secondIntent = getIntent();
If any of your text turns red then it means you haven't imported the correct library. Click on any red text so that the cursor is positioned there. Now hold down the ALT key on your keyboard. Keep it held down and press the enter key on your keyboard. The red text should go away. If a menu pops up, select the Import option. If that doesn't work, simply add this line to the top of your code:
import android.content.Intent;
All we're doing here is using the inbuilt method of Intents called getIntent.
Now add this line:
String message = secondIntent.getStringExtra("HELLO_MESSAGE");
The method we need now is called getStringExtra. This is used to retrieve any key/value pairs you set up. In between the round brackets of getStringExtra you need the name of a key you set up. Our key was called HELLO_MESSAGE. This is enough to get the value for the HELLO_MESSAGE key. We're then storing this value into the String variable we've called message.
Now that we have retrieved the value for the key, we can place it into the Text View on our second Activity. Your code should look like this, though:

You start with the class name of your control. For a TextView this is just TextView, all as one word. You then need to come up with a variable name:
TextView myTextView
After an equal sign, you then find the view by ID:
= findViewById();
In between the round brackets of findViewById you need a resource ID:
R.id.name_of_id_here
When you dragged a Text View widget onto your Activity, it was given a default name of textView. You can see that if you click back on the activity_second.xml tab at the top of Android Studio. Select your control and have a look at the properties area on the right:
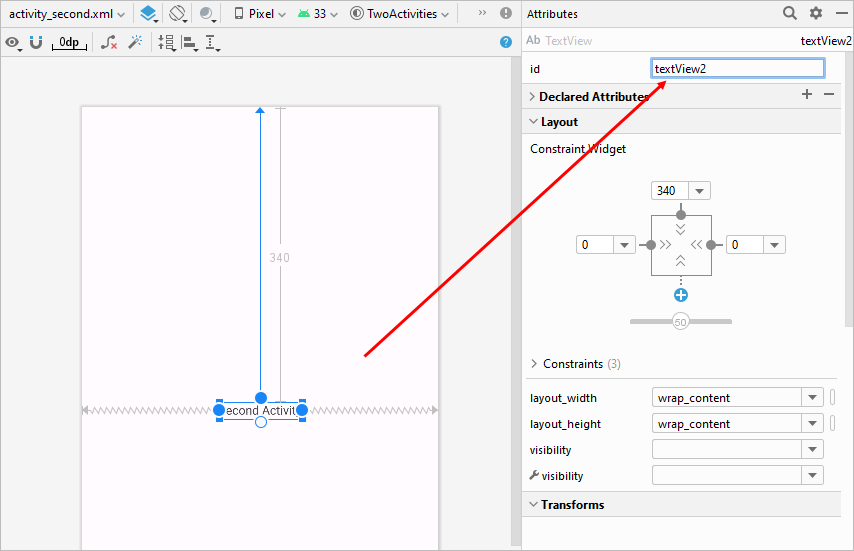
Right at the top of the properties area, you can see the ID. You could, if you wanted to, change the ID from textView2 to something else. But we'll leave it as it is.
This gives us a line of code so far as this:
TextView myTextView = findViewById( R.id.textView2 );
However, there's one more thing to add:
TextView myTextView = (TextView) findViewById( R.id.textView2 );
After the equal sign, type (TextView). This is because the resource you're pointing to is just an ID. It needs to be converted to a TextView. You do this by casting, which is why we have TextView in between a pair of round brackets. (You will have covered casting if you did our Java course. It's just the same thing as when you were casting a string value to an integer.)
So add the line above to your code, just below the String message line. You'll get a red error for the TextView, and need to add the import line again to the top of your code, which should be this:

Now that we have grabbed the TextView on the Activity, we can set some text for it.
In your SecondActivity.java code and add this line below the TextView line:
myTextView.setText( message );
(If you get a message box popping up asking you to import a code library, say Yes. If you didn't get the message box, and your TextView line is red, press ALT + ENTER again to add the import statement. If none of that works, simply add import android.widget.TextView; to the top of your code.)
The inbuilt method setText can be used to set some text for a control. The text we want to set is from that message variable we created, the one that's storing the value from our HELLO_MESSAGE key.
Your coding window should look like this:

You can run your app now. Click the button on your first Activity. When the second Activity loads, you should see the new message appear in the Text View:

We'll now move on to an important topic in Android programming - the Activity Lifecycle.
< Android Intents| The Activity Lifecycle >
Back to the Android Contents Page