Home and Learn: Android Course
The Android SeekBar
A SeekBar in Android is slider that moves from side to side. You then return a value for the slider. For example, the slider in the image below is set to a middle value:
![]()
SeekBars are used for things like volume controls and setting the screen brightness. To learn how to use them, we'll set a question asking people how beautiful they think they are, on a scale of 0 to 10. We'll also change the image on the slider. We'll then display a message in something called a Toast.
Create a new project for this. Set the application name to anything you like. We'll call ours My Slider Quiz. Select Empty Views Activity as the template. Make sure Java is the selected language. When you click Finish, you should have a project with an Hello World TextView in the middle.
Click on to the ativity_main.xml file. Select the TextView on your layout. Now hit the delete key on your keyboard to get rid of it. Drag another TextView on to your layout. Position it near the top, in the middle. Add constraints to the left and right sides, and the top of the screen. Have a look at the Attributes area on the right of Android Studio, and set a top margin of 32. Change the ID to quizQuestion:

We'll set up a string resource for this. In the textbox where it says TextView, delete this and then click the button to the right (the TextView text is under the Common Attributes section in later versions of Android Studio):

When you click the button, you should see the resources dialogue box appear. In the top left, click the plus symbol. From the menu that appears, select the select, the String Value option. Enter the following value when you see the new box appear:
Resource name: question
Resource value: On a scale of zero to 10, how beautiful would you say you are?
Your dialogue box will then look like this:

Click OK to add the string resource to your strings.xml file. You can open this up, if you like. In the Explorer window on the left, expand the res > values folder. Double click the strings.xml file to see this:

If you wanted to, you could change the question here, rather than in the Attributes area.
Go back to your layout. You'll see the text on the TextView is a bit small. We can change that. With the TextView selected, have a look at the properties area on the right. Locate the textSize property and changed it to 24sp:

You can set other text properties here: font family, typeface, line spacing, text colour, text style, text alignment. Experiment with them to see what they do. For the textAlignment, select the centre one.
Your TextView may look something like this:

Let's now add the SeekBar.
Under the Widgets category of the Palette, locate the SeekBar:

Drag one on to your layout, and position it below the TextView. Add constraints from the top of the SeekBar to the bottom of the TextView. Add constraints to the left, right and bottom of the layout. Your layout will then look like this:

As you can see, the SeekBar is far too small. With the SeekBar selected, locate the layout_width attribute in the Attributes area on the right. Set layout_width to match_constraint. It will then have a value of 0dp:

Under the Common Attributes, there are a few more attributes we can set. The max attribute is the maximum value you want for your SeekBar (there's no minimum, sadly). Enter 10 in the max textbox. The progress attribute is how far along you want the slider when the app loads. Enter 5 in the progress textbox. Your Attributes area will then look like this: (In later versions of Android Studio, you might have to set both style attributes to Widget.AppCompat.SeekBar.)

Your layout will look something like this, depending on your formatting:

![]()
(The image size is 32 by 32 pixels. It's a transparent PNG image.)
Once you've saved the image to your computer, open an Explorer window (or Finder on the Mac) . Copy the image with CTRL + C (or COMMAND + C). Now paste it into Android Studio in the res > drawable folder:

With your SeekBar still selected, locate the thumb attribute:

Click the button to the right of the thumb textbox to bring up the resources dialogue box:
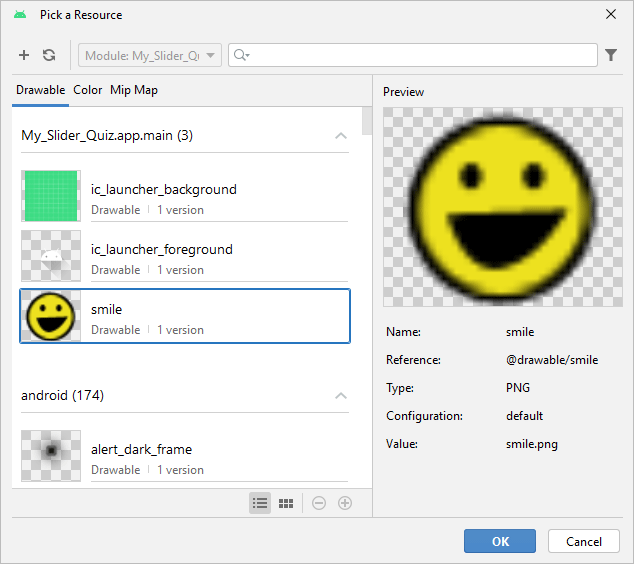
Select your smile image and click OK.
Run your app and see how it looks. Move the slider left and right. We haven't written any code, yet, so nothing will happen. Your app should look something like ours below, though:
Or this, in landscape:

Stop the app from running and we'll get some coding done. We'll do that in the next lesson below.
< ToggleButtons| Android SeekBar code >
Back to the Android Contents Page