Home and Learn: Android Course
Android Bundles
One way to save data when an Activity is destroyed is through the Bundle. This is just like the Intent you used earlier, in that it saves data in key/value pairs. Let's set how the bundle works.
Have a look at the onCreate method again. The first line of the method is this:
protected void onCreate( Bundle savedInstanceState )
The Bundle part is a type, just like Int or String is a type. But this type handles keys and their values. The savedInstanceState part is just a variable name.
You can call various methods on your Bundle name. One of these methods is putInt. Another is putString. These methods are used to put data into a key/value pair. We want to save an integer value, so we could used this:
savedInstanceState.putInt( "HIGH_SCORE", someScore );
The key name we've come up with is HIGH_SCORE. The value for this key is whatever is inside of the variable called someScore.
Before our Activity is destroyed when the screen is rotated, Android allows you to override a method called onSaveInstanceState. This accepts a Bundle as a parameter.
Just below your displaySecondActivity method, add the following:
@Override
protected void onSaveInstanceState(@NonNull Bundle outState) {
super.onSave( outState );
outState.putInt( "HIGH_SCORE", someScore );
}
Your code should look like this:

We've given our Bundle the name outState. This is then used to create the key/value pair. If Android destroys this Activity, then the method onSaveInstanceState is called. The first line is a call to the super class, which you must always do when Overriding a method. We then put our integer into the key called HIGH_SCORE.
We're not quite done yet. We making sure to save data when the Activity is destroyed. But we're not getting the data back anywhere. We can do that in the onCreate method.
When an app is first created, the savedInstanceState variable between the round brackets of onCreate will be null. It's only not null when we start adding things to the Bundle object. We can test for this null state. Add this to you onCreate method, just before the final curly bracket:
if ( savedInstanceState != null ) {
someScore = savedInstanceState.getInt( "HIGH_SCORE", 0 );
}
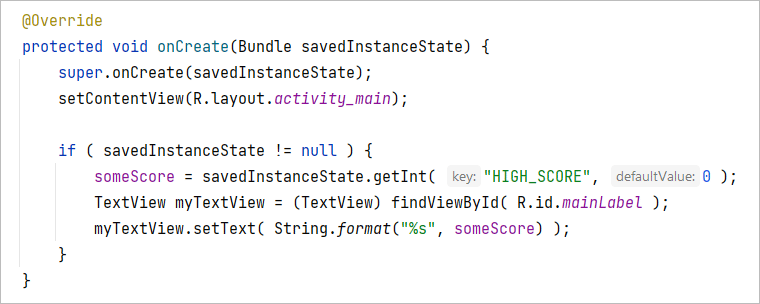
Your onCreate method should look like this:

To the left of an equal sign, we have our someScore variable. To the right, we're calling a method on Bundle that has the name savedInstanceState. This method is getInt. This is used to get an integer value from the Bundle. If you had saved a string value then you'd use getString. In between the round brackets of getInt, we have the key name we set up, which was HIGH_SCORE. After a comma, you can type a default value, just in case something goes wrong. If it does, then the variable someScore will get a zero stored in it. If everything is OK, then getInt will grab the value associated with the HIGH_SCORE key.
Try it out. Run your app again. Click the button a few times and then rotate your device. Click the button again and you should find that the value in the Text View is incrementing properly, and not resetting to zero.
You should also find that the Text View still says First Activity every time the device is rotated. You might want the number value displayed in the Text View at all times. To fix this, you need to put something into the TextView again, just like you did for the displaySecondActivity method. Add this to your if statement:
TextView myTextView = (TextView) findViewById( R.id.mainLabel
);
myTextView.setText( String.format("%s", someScore) );
The if statement should look like this:
Runyour app and you should find that the First Activity text from the TextView disappears when the device is rotated.
If we want to be professional in our coding, though, we should create a method for the TextView code, as it is repeated twice. Here's some better code:
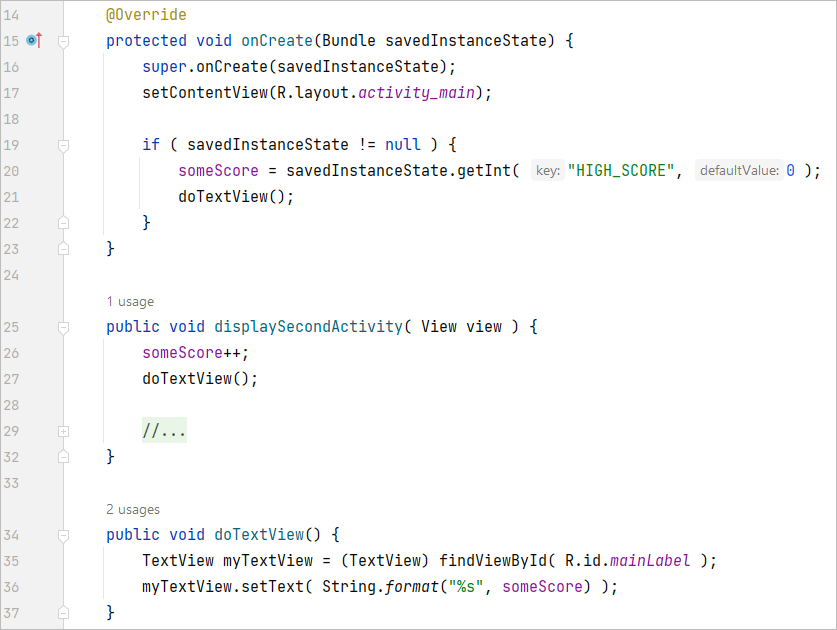
We've added a method called doTextView. The TextView code has been moved into this method. We then call the doTextView in two places, on lines 21 and 27 in the image above. If you change your code to match ours, your app should still work fine. And it's better code!
In the next lesson, we'll take a look at the Android CardView.
< The Activity Lifecycle| Android CardView >
Back to the Android Contents Page