Add images to your Android Project
We're now going to add a picture to Android Studio. This picture will be used in an Image View.
First, download this picture: (Right click and select Save Image As.)

Save it to your own computer and remember where you saved it to.
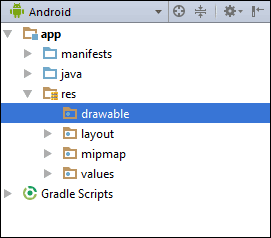
We need to import this picture into the res > drawable folder. Open up your Project Explorer again by clicking its tab:

Now expand the res item and locate the drawable folder:
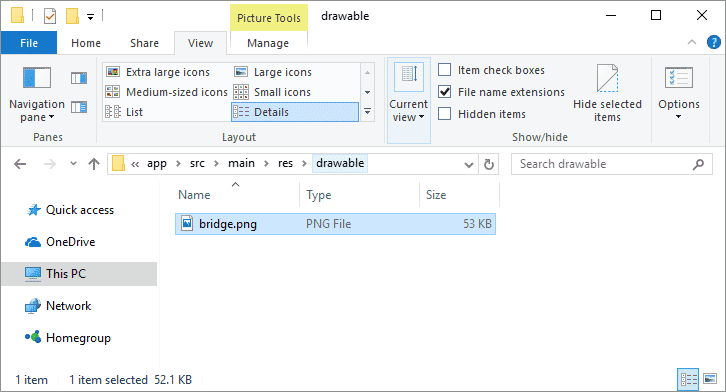
Right click the drawable folder, and select Show in Explorer from the menu:

This will open a window showing a list of folders. The image below is from Windows 10:

All of these folders are from your res directory. (The mipmap ones are used mainly for icons. You can create them in different sizes. We'll do this much later in the course.)
What you need to do is to copy and paste your image from where you saved it on your computer into the drawable folder (we're assuming you know how to copy and paste files from one folder to another):
Now go back to Android Studio and you should see it there:
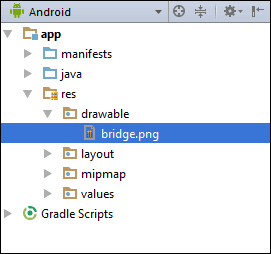
We can now use this image in our app.
Go back to your blueprint. Locate the Image View control in the Palette, which is under Images in earlier versions of Android Studio:

In later versions of Android Studio, you can find the Image View control under the Common category of the Palette (and under Widgets):

Drag an Image View to just below your Text View. As soon as you do, you should the following dialogue box appear:

Expand the Project item of Drawable and select the bridge image and click OK. Your blueprint will then look like this:

As you can see, the Image View has ended up in the top left. We don't want it there.
With the Image View selected, click anywhere inside of it with your left mouse button. Keep the left mouse button held down and drag it below the Text View:

(You won't be able to see the image itself in Blueprint View.)
Now we'll add a Constraint. We want to connect the top middle circle of the Image View to the bottom middle circle of the Text View. Hold your mouse over the top middle circle of the Image View. It will turn green. Now hold your left mouse button down. Keep it held down and drag to the bottom middle circle of the Text View:

You should see a blue arrow connecting the two:

Now add a constraint from the left of the Image View to the left edge of the screen, just like you did for the Text View. Likewise, connect the right edge of the Image View to the right edge of the screen. Your blueprint will then look like this:

It can be a little bit fiddly, so don't forget you can undo with CTRL + Z.
If you have a look at the properties area again, you may be wondering what all those lines are for:

The straight lines indicate which sides of your view are constrained, and to where. They also tell you the size of the margins, 8 in the image above. Hold your mouse over one of the lines and you'll see a dropdown list. You can change your margins from here:

The other lines to be aware of are the ones inside the square, pointy arrows in the image above. There are three different settings here:
Wrap Contents
Fixed
Match constraints
Click the arrows to see what they do. Watch what happens to the Image View when you click a set of arrows. In the image below, we've set the arrows to Fixed:

The arrows have turned into straight lines. Notice that layout_width value has changed to 200dp. It has changed to 200 because that was the width of the image we used. Notice that the Image View hasn't changed its size. But move the horizontal slider from 50 to something else. Watch what happens to your Image View in the blueprint.
Click the straight lines inside the square to see the third of the settings, Match Constraints:

Notice that image has now stretched to the margins of the screen. Notice, too, that the layout_width has been reset to zero. Click again, though, to go back to Wrap Contents.
In the next lesson, you'll learn about a different type of layout - LinearLayout.