Home and Learn: Android Course
Adding Widgets to an Android Layout
In the previous lesson, you created a new project for a Quiz Layout. In this lesson, you'll start adding the widgets.
You already have a Text View on your design surface, the default Hello World one that you get whenever you create a new project. Click on this to select it. Notice the wiggly lines coming out of the TextView component:
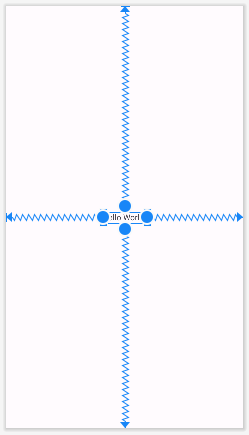
The wiggly lines are constraints. They are constraining the TextView to the middle of the screen. We'll add our own contraints.
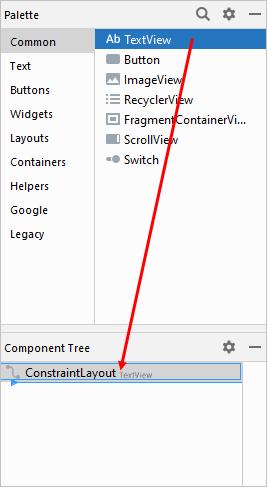
With your TextView control selected, press the delete key on your keyboard to get rid of the default Hello World one. Locate the Text View control in the Palette. Drag a new one onto the Component Tree:
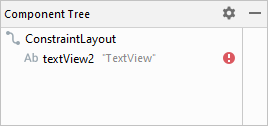
When you let go of your left mouse button, you should see this in the Component Tree (don't worry about the red warning trianlge as we'll fix this soon):
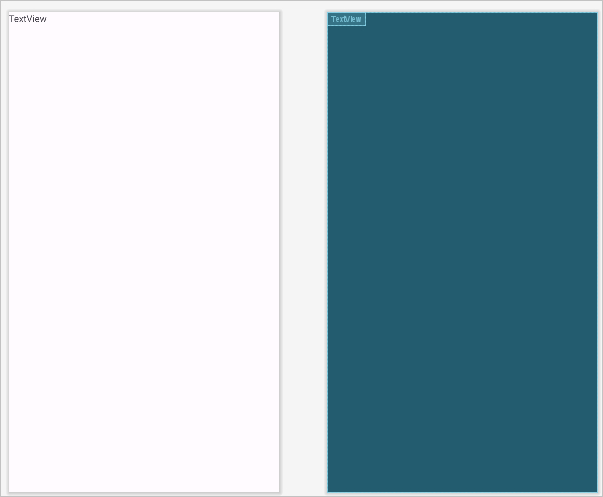
Your design and blueprint apps will look like this:

Use the zoom tools to zoom in a bit, and your screen should look like this one:

Have a look at the Properties area just to the right of the Blueprint. Locate the Text property and change it to What is this bridge called? (You'll see a different way to add text soon.)

Press the enter key on your keyboard to update the blueprint:
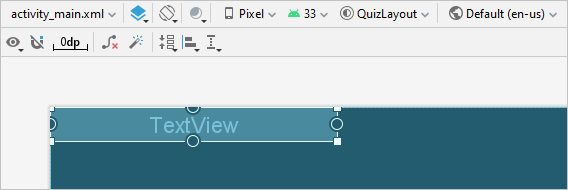
Notice that TextView has gotten wider but that it still says TextView. This is just in Blueprint mode. Switch to Design view to see the text you just entered.
Have a look at the design toolbar and locate the Default Margins icon. Click it to see a dropdown list:
These values set the margins around the edges of your app. The default 8 is OK for us. But if you need to change your margins, this is the place to come.
What we want to do is to fix the Text View to the top of the screen, and to the left and right of the screen's edges. You do this with Constraints.
Make sure the eye icon on the design toolbar doesn't have a cross through it. If it does, it means Constraints are hidden. Click the eye to show constraints:
Constraints Hidden:
![]()
Constraints Shown:
![]()
The icon next to the Constraints one is called AutoConnect. You want this one turned off, in this tutorial. Click it and you'll see a line through the upside-down magnet:
![]()
AutoConnect tries to guess what kind of Constraints you want. This is OK for simple design, but can get in the way. Which is why we've turned it off. We'll add our constraints manually.
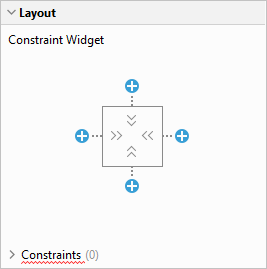
With your TextView selected, on the right of Android Studio, locate the layout panel:
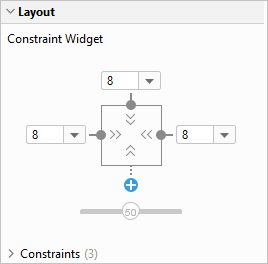
Click the plus symbols for the top, left, and right constraints to reveal dropdown lists. Select a value of 8 from the dropdowns for all three:
Your Blueprint will have wiggly lines around the TextView:

Notice the slider at the bottom of the layout area, the one with 50 in it. This can be used to positon the Text View along the horizontal axis. (A value of 50 is the middle position.) Try it out. Hold down your left mouse button on the 50. Keep the left mouse button held down and drag to the right and to the left. Watch what happens to your Text View in the blueprint.
Adding a Text Resource
If you look at the Component Tree on the left, you'll see that, although the red triangle warning has disappeared since we added the constraints, we still have a yellow warning triangle:
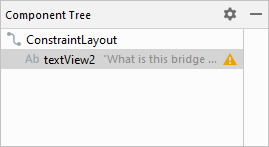
The warning is because the text is hardcoded. What you're supposed to do instead, if you have any text, is to type the text in an XML resource file.
There is already an XML file set up for you to enter strings of text. On the left of Android Studio, in the Project Files area, expand the res > values folder. You'll see a strings.xml file:

Double click the strings.xml file to open it up. You should see these lines:
<resources>
<string name="app_name">Quiz Layout</string>
</resources>
You can add your own string tags here. Copy and paste the app_name string tag and then change the name to question_one. As the text for the tag, enter What is this bridge called? Your xml file will then look like this:

We can now get rid of the hardcoded text.
Click back on your activity_main.xml file. On the right of Android Studio, scroll down and locate the Common Attributes area again, and the text attribute:

Notice where the red arrow is pointing, in the image above. That's a little button. Click the little button to bring up a Pick a Resource dialog box. The resource you have just added will be on the list. Select the question_one item and click OK:

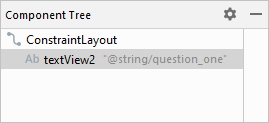
Notice that the yellow triangle is now gone from the Component Tree:
If you have text for your controls in Android, you should put them in a resource file, rather than hardcoding them.
Android Text View Font Options
There are a lot of font options for the Text View in Android. To see the common ones, expand the Common Attributes section of the Attributes panel on the right of Android Studio:

As well as chosing a font family, you can set things like font color, text style, alignment, etc. But locate thetextSize attribute. Change it to 24sp. (The sp stands for Scaleable Pixels.)
In the next lesson, you'll learn how to add an ImageView, and how to import a picture into Android Studio.
< Android Layouts | Adding Images to Android >
Back to the Android Contents Page