Home and Learn: Android Course
Adding a Linear Layout
In the previous lesson, we added an Image View. In this lesson, we'll add a linear layout just below the image. This will be used to hold our buttons.
By default, Android places all your controls in a type of layout called a Constraint Layout. This is then the used as the parent view for all of your widgets. Another type of layout you can use is called a LinearLayout. We'll use one of these to hold the buttons on our form.
As in the previous lesson, make sure pan mode is deselected. Hover your mouse over your blueprint to reveal the zoom tools. Make sure pan is off. In the image below, it's turned on. Click the hand to deselect it:
![]()
With pan mode off, click on the Layout category in the palette. Locate LinearLayout (Horizontal):

Drag one of these onto your blueprint. Drag it somewhere in the middle. You should see large white frame with white circles:

Drag the top middle white circle onto the bottom middle circle of the Image View. This is a bit fiddly and it's better to zoom in:
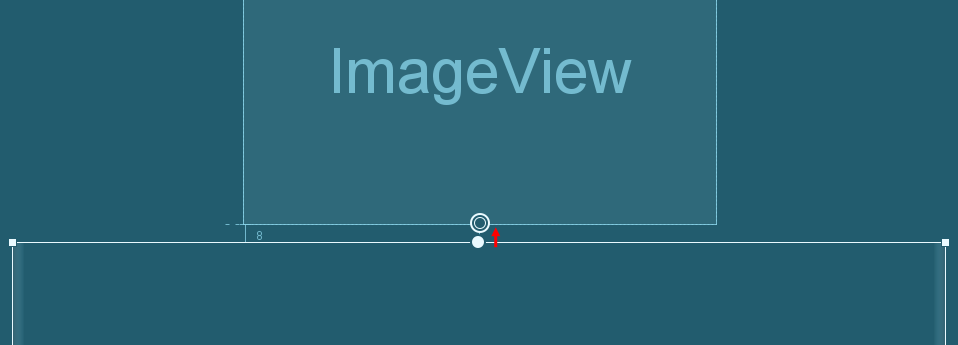
If you get it right, you should see the Layour area on the right has a new item added under Constraints - Top - BottomOf imageView (8dp):

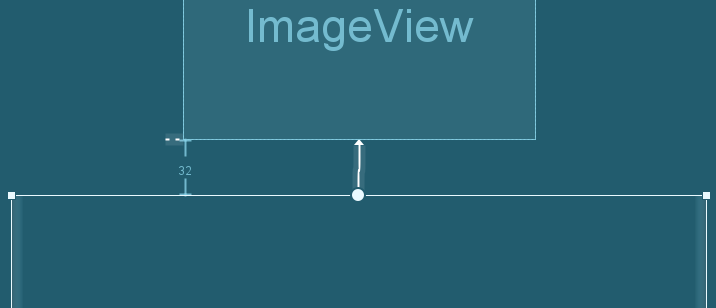
Increase the size of the constraint via the dropdown from 8 to 32:

Here's what the top of your blueprint should look like:
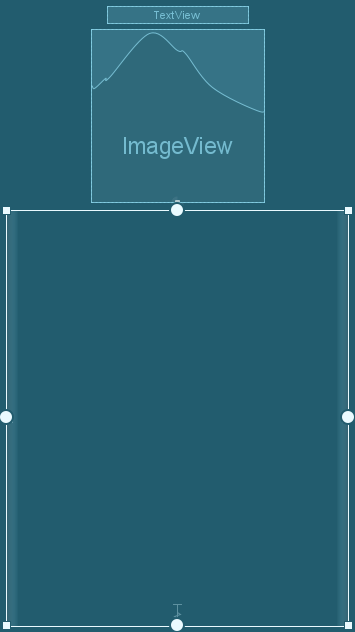
Set the left and right constraints to 8 and the bottom constraint to 32:

And here's the blueprint:
Now that we have a Linear Layout, we'll add some buttons to it. We'll do that in the next lesson below
< Adding Images| Android Buttons >
Back to the Android Contents Page