Create a Business Presentation and PDF with Codex
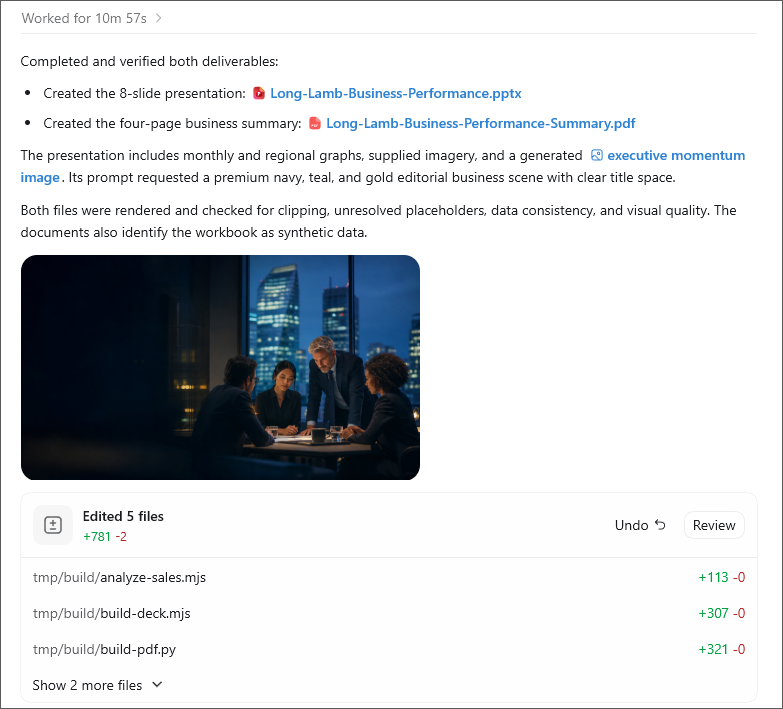
In this short lesson, we'll move away from the browser, and we'll ask Codex to create a PowerPoint presentation and a PDF report to go with it. Agentic AIs are very good at this kind of thing. They will create something like this for you:
You'll learn how to give Codex source files, describe the documents you want, review what it creates, and ask for targeted improvements. The source data is an Excel workbook containing fictional business sales figures, so you can practise the complete workflow without using private or commercially sensitive information.
Project Files
View the completed PowerPoint presentation
As the data for this project, we'll use a spreadsheet with some sales figures in it. Here's the spreadsheet for you to download (it's all fake data):
Save the above file to your computer. Then create a folder for yourself. Place the spreadsheet inside of this new folder. We'll add a few more files there and set the folder up as a Codex project folder. Here are some images for you to download. They are suitable for a business project, and we'll ask Codex to use them in our presentation.
Download the business images (ZIP)
Download the zip file above. Unzip and then add the photos to your new folder. You should have a folder that looks like this:
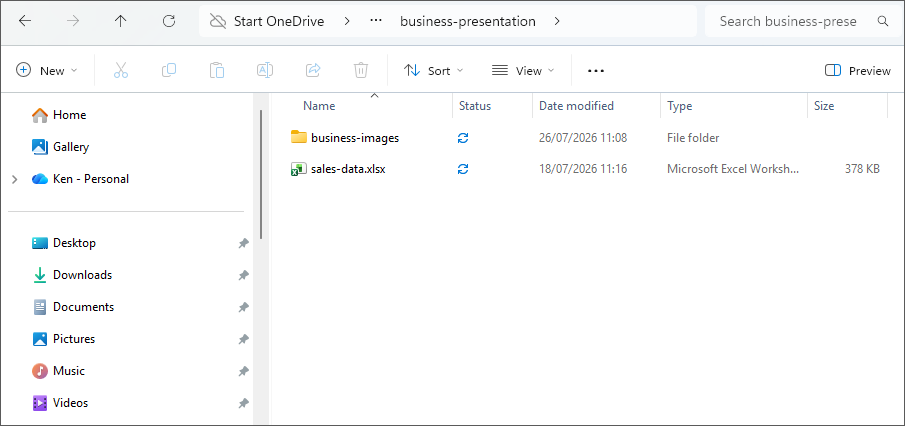
Create the Presentation
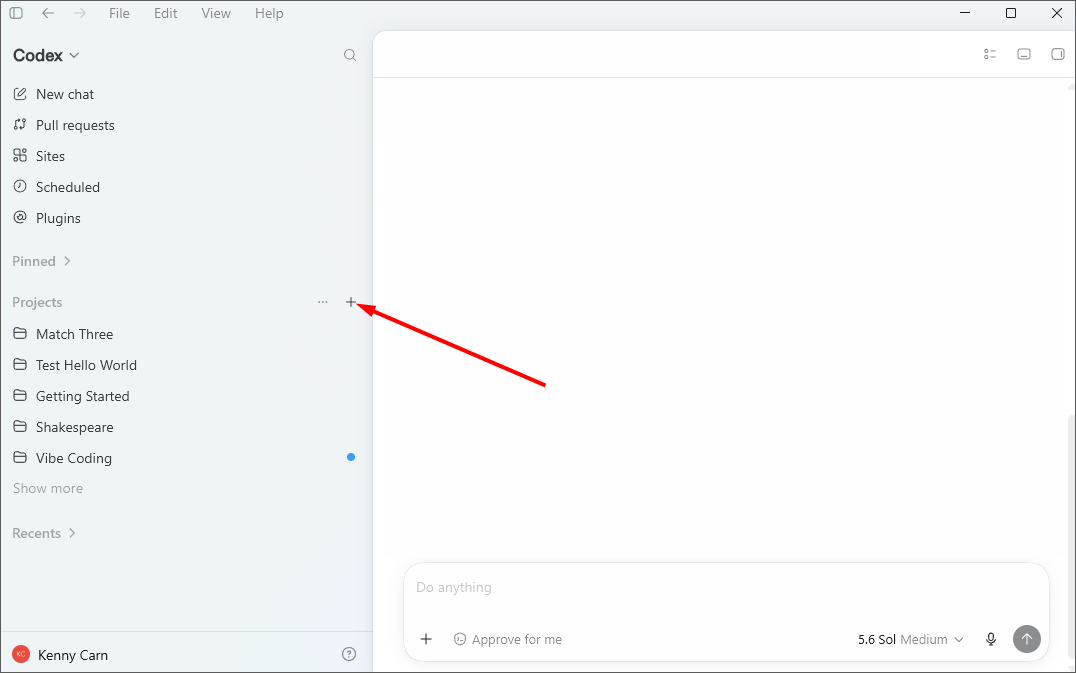
In Codex, create a new Project by clicking the Plus symbol to the right of Projects:
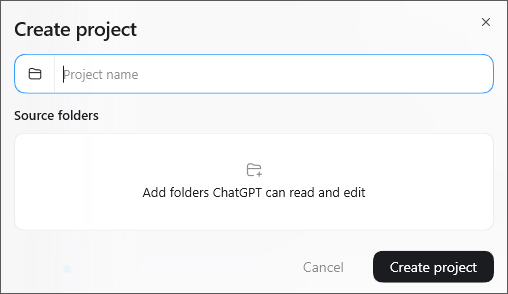
You should see a Create Project dialog box appear:
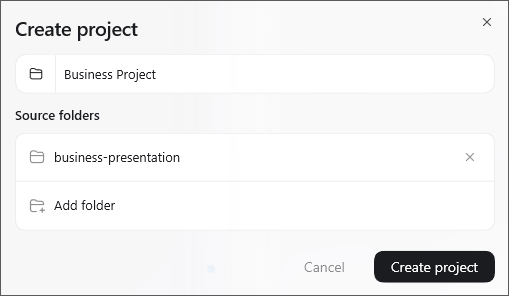
Enter a name for your project. Click the area under Source folders to Add Source Folders. Navigate to where you created your folder with the spreadsheet and images you downloaded. Codex will then be able to see all of these files. You can add as many folders as you want to the project. The first one you add will be the main project folder. Click Create Project when you're done:
You should see your project appear on the left of Codex. Hover your mouse over the project name:
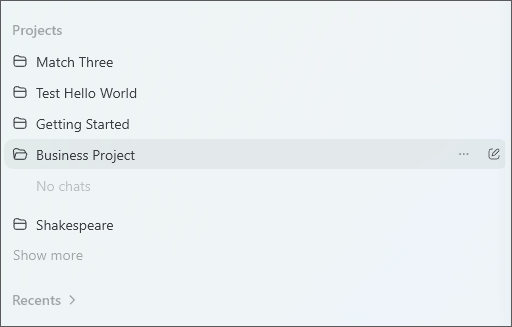
Click the three dots on the right to see a menu with options for Pin Project, Open in Explorer, Edit Project, and Remove. Click the second icon, the pencil and paper icon, and it will create a new chat in this project.
What we want to do is to get Codex to produce a PowerPoint presentation for us. We'd also like a PDF. So, you can use this prompt:
Send the prompt and Codex will get to work. It may take a while but eventually you'll end up with something like this in the Codex window:
Create the PDF
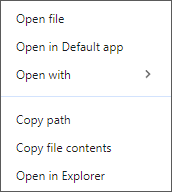
View your files and see if they are to your liking. If you right-click a link above, Long-Lamb-Business-Performance.pptx, for example, you'll get a context menu where you can do more things than if you had just left-clicked the link:
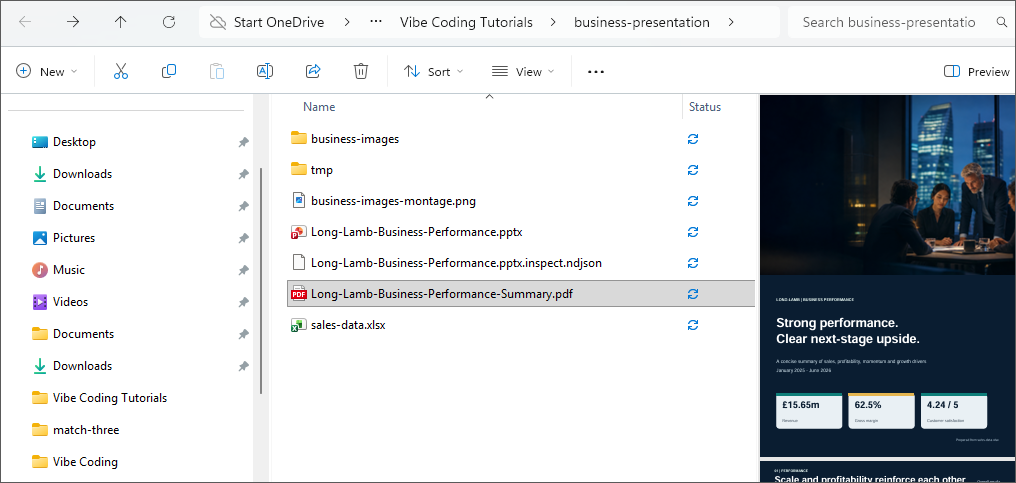
We clicked Open in Explorer. This allowed us to see all the files that Codex created:
As we saw in previous lessons, you can ask Codex to change anything you don't like. For example, we didn't like a few things about the PDF:
Download the Results
Here are our results again. They are both quite professional documents!
View the completed PowerPoint presentation
In the next lesson, you'll learn how to create a Codex Plugin.