Home and Learn: AI Beginners Course
How to Upscale your AI Videos
Created:
If you have followed along with the previous lessons, you will have created a few videos by now. But you will have noticed that the picture quality is not great.
That's because we were using daVinci Magi Human at 256p to generate our videos. We left the default Resolution Budget at 448x256, which is a 7 to 4 ratio:
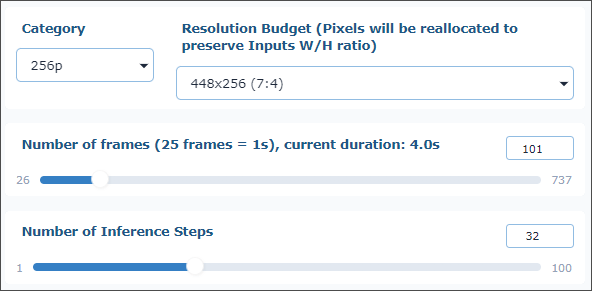
Click the Category dropdown to see more options:
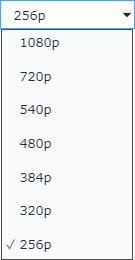
Now click the Resolution Budget dropdown:
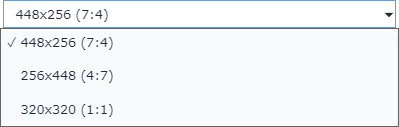
So we've selected 256p with a width of 448 pixels and a height of 256 pixels. This is a 7:4 ratio. We can, if we prefer, select a 4:7 ratio. This would mean that our video would then be 256 pixels wide and 448 high. (There is also a square resolution of 320 by 320 pixels.)
Magi Human themselves recommend you leave the category setting at 256p, unless you are using an Upsampler:
"Best results will be obtained at 256p. For higher res you must use an Upsampler."
What is an upsampler? Magi Human creates the acting, lip-sync, facial expressions and movement at 256p. An upsampler is a second AI tool that enlarges the finished video, adding pixels to make it appear clearer at a larger size. It can improve the presentation, but it can't reliably restore details that were not present in the original clip - and it doesn't change the performance itself.
(Upsampling is a slightly more technical term for upscaling and is often used in software and AI documentation. We'll stick with upscaling, though.)
What is Upscaling?
Upscaling is the process of increasing the resolution of a video or image so it can fill a larger screen or meet a higher display standard. In simple terms, it takes a source with a lower pixel count, such as a 256p video, and stretches it to fit a display with more pixels, like a 2K or 4K television. Because the original file doesn't have enough data to fill every pixel of the larger screen, the software must fill in the gaps. Traditional upscaling uses a method called interpolation, where the computer looks at existing pixels and guesses the colour of the new pixels based on the ones surrounding them. This often results in a softer or slightly blurry image.
Modern AI upscaling is more advanced, using machine learning to recognize patterns and "draw in" missing details based on millions of other images it has studied, which creates a much sharper and more believable result.
It is important to understand that upscaling is not the same as native resolution. A video that is upscaled to 4K is not a true 4K video - it is a lower-resolution video being simulated to look like 4K. It does not add any new information that was actually captured by the camera at the time of filming. It is also not the same as remastering, which involves going back to the original high-quality film negatives or source files to create a new, higher-resolution version. Upscaling only works with the digital file you already have.
Upscaling can improve a weak video, but it has limits. It may reduce the appearance of blur or make edges look clearer, but it cannot reliably repair severe pixelation, bad lighting, poor framing or an unclear face. In some clips it can also introduce unwanted artefacts, such as flickering detail or an altered-looking face. It can make a low-resolution video more watchable on a large screen, but it cannot restore lost detail or fix poor cinematography and lighting.
As an example of upscaling, play around with the slider below. The 'before'
image is a still from the 256p version generated by Magi Human. The 'after'
image is from the upscaled version. We used software to upscale it to
540p.
Drag the vertical divider to compare the original image with the upscaled version: (You can also click or tap the blue handle, then use the left and right arrow keys.)


Before
After
The p, by the way, in categories like 256p and 540p stands for progressive scan. This refers to the method the display uses to draw the image on the screen. In a progressive scan, every single line of pixels in a frame is drawn in sequence from top to bottom. This is different from interlaced scanning, often denoted by an i (like 1080i), which draws odd-numbered lines first and then even-numbered lines. The number preceding the p tells you the vertical resolution, which is the number of pixels from the top of the image to the bottom. For example, 540p means the video is 540 pixels tall.
Upscaling is fundamentally about increasing the pixel count. 256p or 540p refers to the height of the image. Upscaling is the process of taking a video with a small vertical height (like 256 pixels) and increasing it to a larger height (like 2160 pixels for 4K) to fit a modern screen.
Upscale your Videos
Now that you have a clearer understanding of what upscaling is, let's put it into practice.
We'll use a free piece of software to so the upscaling. The software is called Upscal and you can get it on the Microsoft store by searching for Upscal.
We're not getting paid for this recommendation, by the way. But we have used it. The free version allows you to upscale one video at a time. If you want to batch upscale videos, then you have to buy a license.
You can also use a free online upscaler. Just enter ' video upscaler free' into a search engine and you'll get lots of results back.
If you're a Linux and Mac users, try Local SR. Linux only - Video2X. Mac only - Topaz Video and Unsqueeze.
A tool like Upscal is fairly easy to use. After installing, launch the software. You'll see a screen like this one:
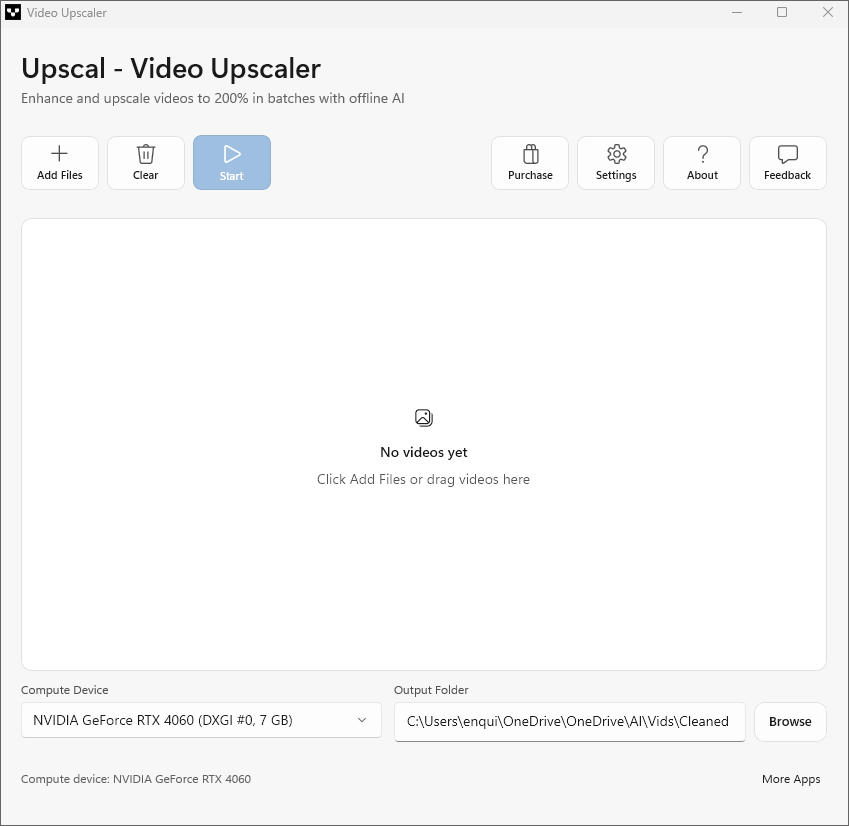
Before you select a video, take note of the Output Folder bottom right. Change it by clicking the Browse button. When Upscal has finished upscaling your video, look for it in the output folder.
In the image below, we've clicked the Add Files button top left to bring up an Open File dialog box. After selecting a video we wanted to upscale, it was loaded into the text area:
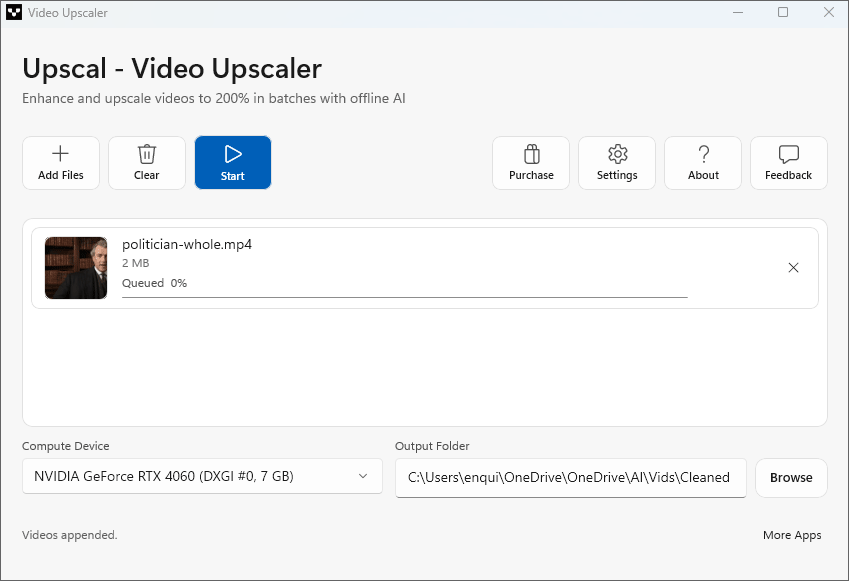
Click the Start button to upscale your video. For a 2-megabyte video, the process is quite fast, less than a minute:
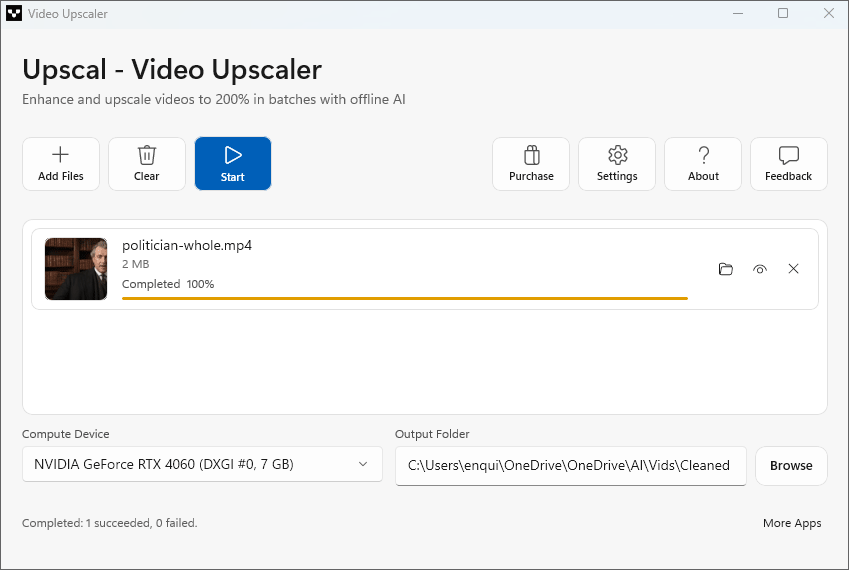
Here are the results. The first video below is at 448 x 256 :
The next video is the upscaled version, now 896 x 512:
It's hard to see the difference in quality when the videos are small and in a browser. But there is a clear difference if you play the videos at full screen.
Incidentally, before uploading your own videos to a website, make sure they are saved in a web-friendly format. A file ending in .mp4 is not always enough, because MP4 is only the container - the video inside can use different codecs. For the widest browser compatibility, re-encode the video as H.264 video with AAC audio in an MP4 file. Free programs such as HandBrake can do this (you can get the software for Linux and Mac). Re-encoding does take a little time and can slightly affect quality, so keep the original file and use a sensible quality setting when creating the web version.