Home and Learn: AI Beginners Course
How to Install Pinokio and use it to Download an AI Video Package
Created:
In a future lesson, you're going to create videos on your own computer, all for free and without the censorship you'll face when creating AI videos on the popular platforms. Plus, no expensive subscriptions. Which is always a big selling point!
But you'll need to get AI video models up and running first. To make your life easier, we're going to be using a piece of software called Pinokio, which will make the install process a lot easier for us.
After the Pinokio install, you'll download an AI video package. Off we go!
Download and Install Pinokio
Pinokio describes itself as 'the localhost platform for humans and AI'. What this means is you'll be basically running a website on your local computer. This website helps you download and install all kinds of AI apps, agents and local services.
To install Pinokio, then, head on over to this page:
Click the Download button. At the time of writing, clicking the download button takes you to a page where you can choose your operating system, macOS, Windows, Linux. Once you choose, download the file. For Windows, this is an exe file that you can double-click to install.
Once installed, launch the software. You should see something like this:

In the middle, you'll see any AI apps or services you have already installed, three in the image above.
On the left, there's a menu of items we can explore later. For now, click the Explore link. You'll be taken to a page like this one:

Notice all the themed links:

So, if you wanted to see what kind of Image Generation AI you can install with the help of Pinokio, click #image-generation. Likewise, if you are interested in Text to Speech, click #tts.
We're interested in video generation, so click that link. You'll see a screen like this one:

Notice that our two choices are on the list, in the image above: Wan2GP and HunyuanVideo. (There are two items for Wan2GP. The first is for those who have AMD graphics cards.)
Also notice that both our choices say they are optimized for GPU poor machines. This is a reference to the VRAM a computer has. If you are not sure how much VRAM you have, we have a page here where you can find out:
How Much VRAM Do I Have to Play With?
Hopefully, your computer's not a total write off for VRAM, and you have at least 6GB to work with. If so, go ahead and click the Wan2GP link. (Or the Wan2GP - AMD link, if that's what your graphics card is.)
Here's the page at the time of writing:

Bear in mind what we are doing here - setting up your computer so that you can create videos by typing a prompt.
Before clicking the Install button, you'll need to check how much disk space you have. AI video packages can be quite large, but they also need dependencies to help them out. These dependencies can be quite large as well. The following table sets out what you'll need, in terms of disk space.
| Model | Model files | App/dependencies | Free-space budget |
|---|---|---|---|
| HunyuanVideo | ~36 GB | ~7 GB | 60 GB minimum; 80 GB comfortable |
| Wan2.1 - 1.3B | 17.6 GB | ~8-12 GB | 40-50 GB |
| Wan2.1 - 14B | 69.1 GB | ~10-15 GB | 90-110 GB |
| Wan2.1 I2V - 14B | 82.3 GB | ~10-15 GB | 105-125 GB |
(I2V is Image to Video. This is where you upload an image and ask for a video based on that image.)
As you can see - you'll need a lot of free space. And that's before you have even generated a single video!
But you should install one suitable model first, test it, then add another only if there is a clear reason. Wan2.1's 1.3B Text-to-Video model is the sensible storage-conscious starting point. Its official files total 17.6 GB. Add the dependencies and that makes about 40 to 50 GB.
For Hunyuan + Wan2.1 1.3B together, we would advise at least 120 GB free before beginning, and 150 GB+ if you want breathing room for outputs and package caches. The 14B Wan2.1 models are much larger and are not a realistic first choice if you only have an 8 GB or lower GPU.
If you're happy with all those caveats, click the Install button to begin the process.
Wan2GP - The Install
When you do click the Install button from above, you'll see some Install options appear:
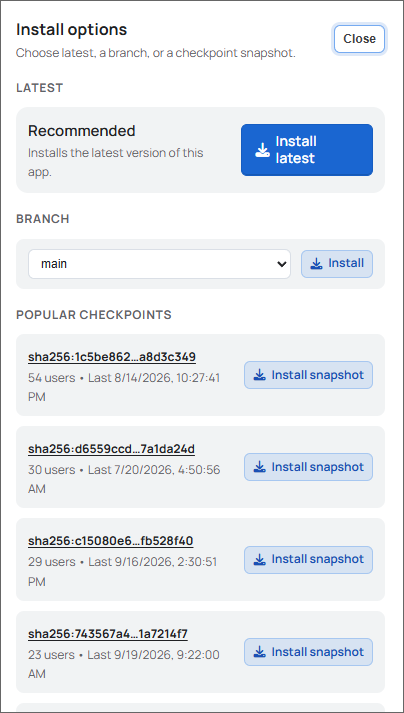
Select the Recommended option. You'll then see a Save As box appear:

You can type a new name, if you like. But we'll leave it on the default and click Download.
Pinokio will try to connect to the download servers. But you may see this screen appear:

It's up to you whether or not you toggle the protection slider to on. But as this is beta at the time of writing, we went ahead and just clicked Install.
The next screen will show you Pinokio downloading and installing files and dependencies:

The download and installation process can take some time. Let it do its thing. At the end, hopefully, you'll see this:

(If you see anything else, like error messages, you can copy the contents of the install process — all that text under the Run buttons. Paste it into a text file. Then attach it to the prompt box of your favourite AI chat. Ask it why the installation process failed.)
From the menu on the left, near the top, click the Start option.
Once you click Start, you'll see a similar screen to this one:

It can take a while before Wan2GP launches. You may even see this:
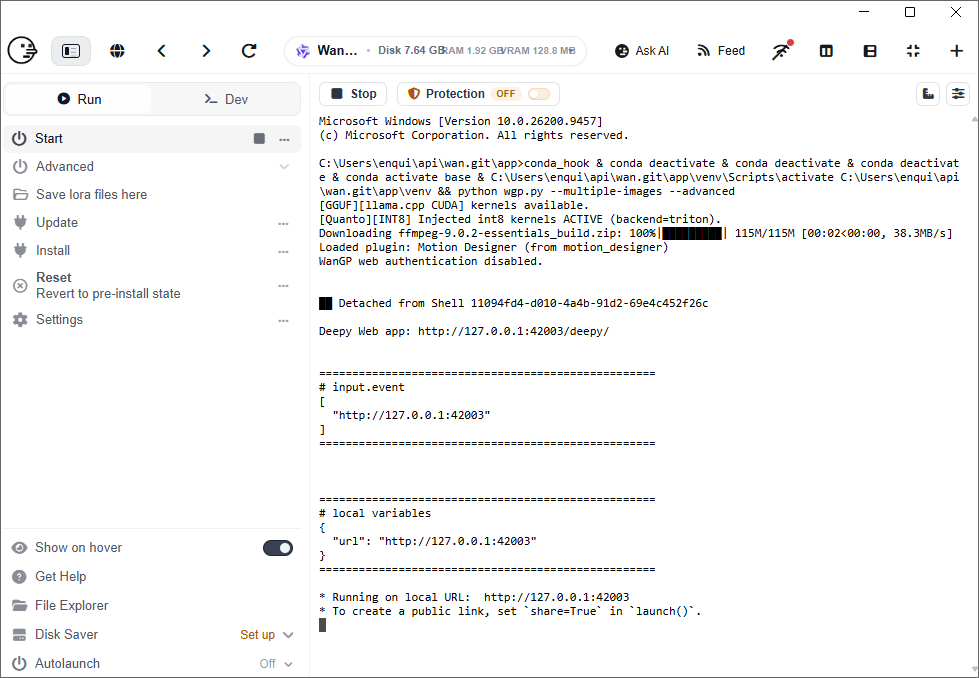
If you do, click on any of the links, where it says #input.event or local variables. Alternatively, click the three little dots to the right of Start:

You'll get a popup:

Click the link to Open in Browser.
Finally, after all that hard work, you'll get to see the video creation page: (It could take a minute or two to launch. You definitely need some patience loading everything you need to create videos on your own computer!)
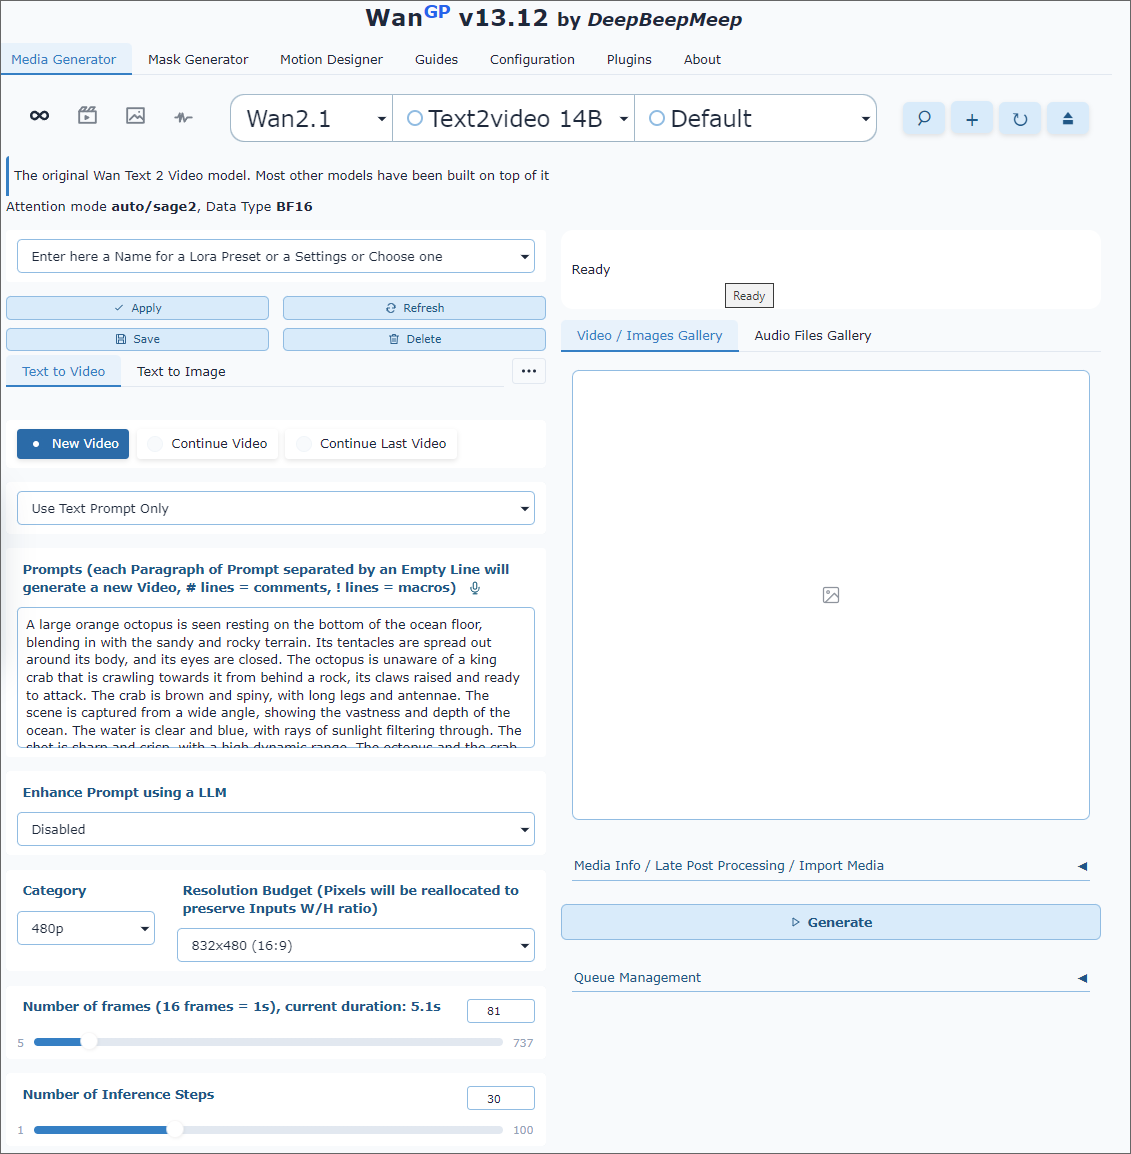
(There are some advanced settings below, if you scroll down. You'll learn about these in the next lesson.)
If you can see the screen above, or something similar, then you're good to go - you have everything you need to create a video. Or do you?
With that cliffhanger, join us in the next lesson to learn how to create videos.