Home and Learn: Games Programming Course
Unity 3D - Wheels and Wheel Colliders
In your very first set of 3D Games Programming tutorials, you created a basic car that went round a basic racetrack. Now that you have some experience with Unity, you'll create a more sophisticated car. It will have proper steering where the wheels turn and go round. You'll also create a much better racetrack, on proper roads, and a nice terrain. It will all look something like this when you're done:

Notice the minimap and speedometer. You'll add those too.
Let's make a start by building the car. Actually, we'll make the wheels first, get them to drive along by themselves, and then add a car body.
So, start a new Unity project. Make sure to use the template for the 3D Built-in Render Pipeline. In Unity Hub 3.11 and greater, the default for a new project is the Universal 3D (Universal Render Pipeline). So you'll need to change it. You may even be prompted to download the template:
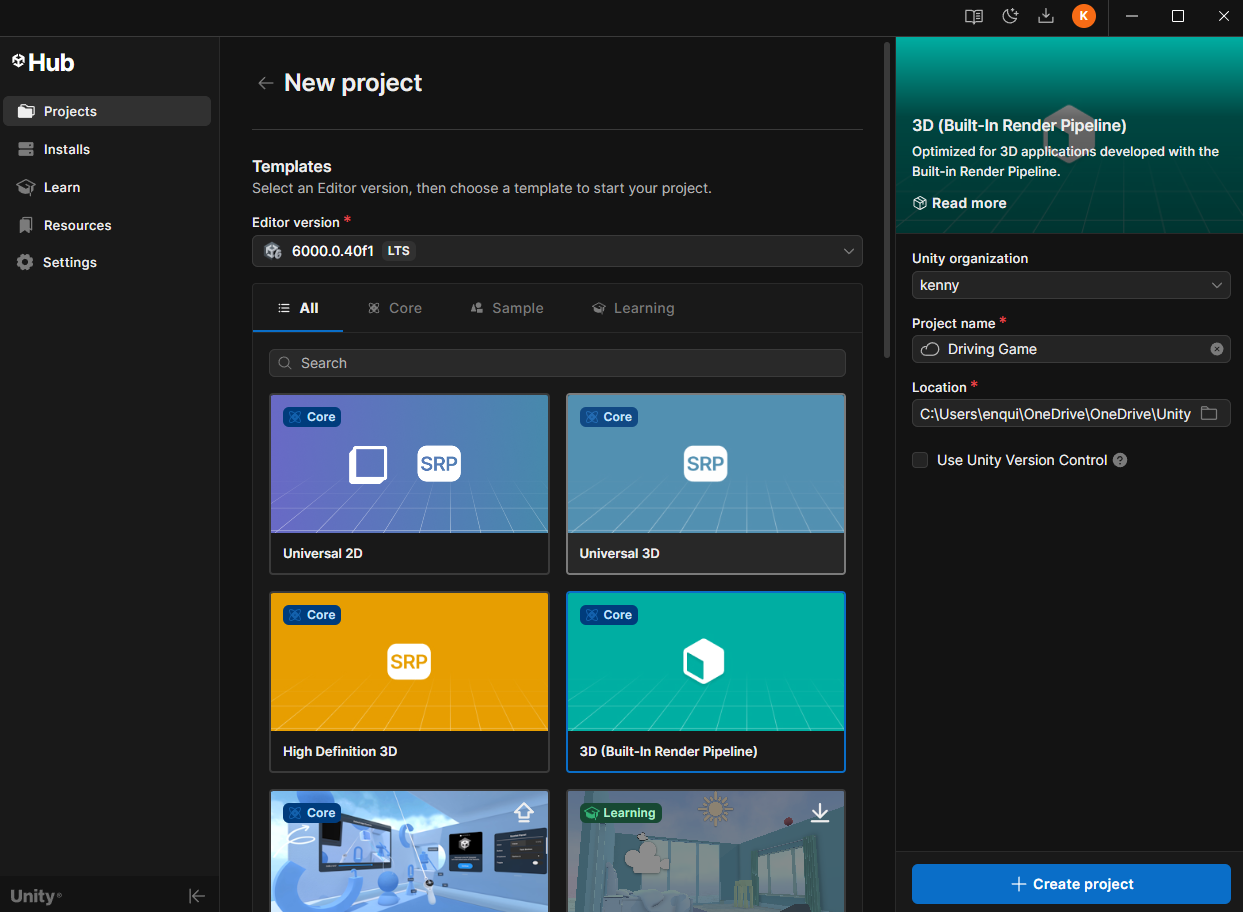
Call your new project anything you like.
Once your project loads, add a Plane to the default Scene (Game Object > 3D Object > Plane. Or right-click in the Hierarchy on the left). Make it nice and big by changing the Scale values in the Inspector. Change the X and Z to 100, but leave the Y on 1. Create a Material and add it to your Plane. (You should know how to do all this, by now. If not, see the earlier tutorials.) You should have a Plane something like this:

Now add an empty game object (Game Object > Create Empty). Rename this to CAR-ROOT. And reset the Transform values in the Inspector:
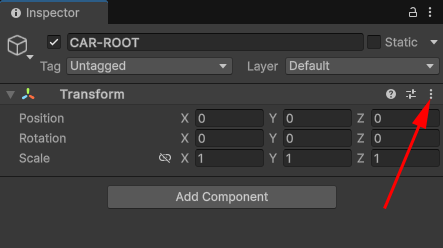
Everything to do with the car will be stored under this CAR-ROOT object. When we drive the car around, it's this CAR-ROOT object that will be propelled along, and any objects we add to ROOT will move with it.
To get that to work, we need to add a Rigidbody component to CAR-ROOT. So, with CAR-ROOT selected in the Hierarchy, click the Add Component button in the Inspector on the right. Type Rigid in the search box and then select the Rigidbody component from the list. Set the Mass of the Rigidbody to 1500:
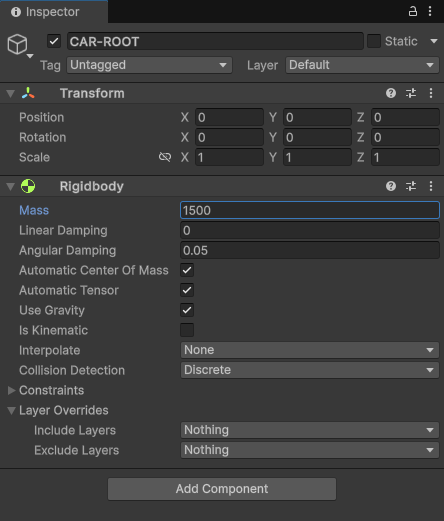
You can think of a value of 1 Mass as being 1 kilogram. We're setting our RigidBody to 1500 kilograms, in effect. (You can play around with this value later.) This will be the weight of the car body as it gets velocity added to it. The higher your Mass the more torque it needs to get it moving. If you left it on the default of 1, the car would fly off into the stratosphere when you tried to move it.
We'll be adding a script and an audio source to this CAR-ROOT game object. For now, though, we need a collider on it. So, click the Add Component button again. This time, add a Box Collider. (If we don't add the box collider, the car will go into a tailspin when we try to drive it.) The Inspector for CAR-ROOT should look like this:

We'll need to tweak the values for the Box Collider later, when we add the car body. For now, though, let's add a tyre and a Wheel Colliders.
Unity Wheel Colliders
When you move a car, it's actually the Wheel Colliders that you move when you write the code. Any visible tyre objects that you attach to the colliders will then move along with them.
Right-click on your CAR-ROOT object in the Hierarchy. From the menu that appears, select Create Empty:
![]()
Rename your empty game object to WHEELS:

Download a Tyre
What we'll do is to add a tyre model. We can then add a Wheel Collider to our tyre. Once we have one tyre and a wheel collider set up, we can then duplicate the other three.
Sadly, at the time of writing, there are no free tyres in the Unity Assets Store. What we'll do instead is to grab a free tyre using the web site Turbo squid. (You'll need to sign up and login, I'm afraid. But you can get some great FBX assets for your game, so it's worth doing.)
Go to Turbo Squid here (opens in new tab):
You can get a free tyre here, if the link's still working (if not, do a search for car tyre):
It should look like this:
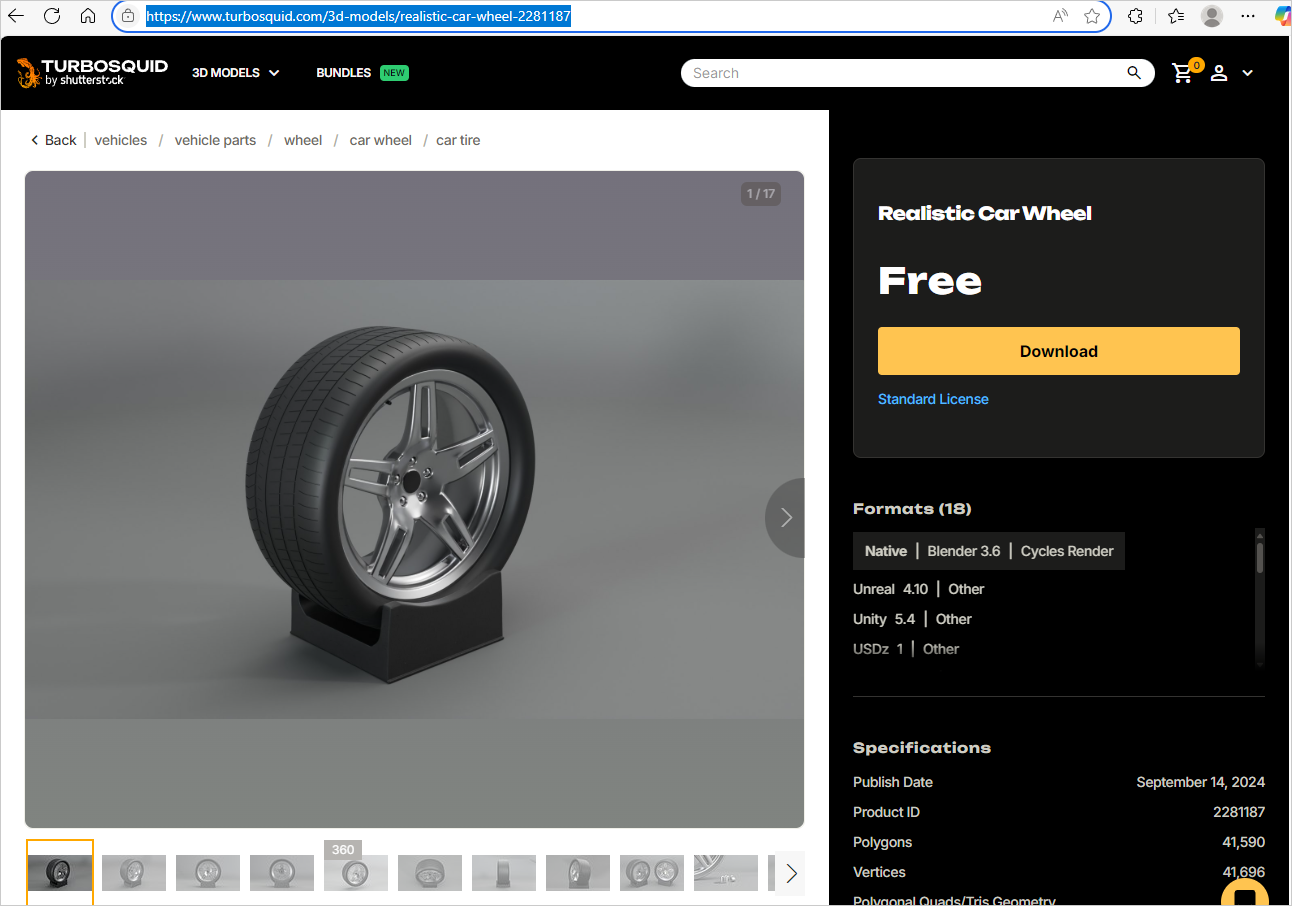
Click the Download button to be taken to this page:
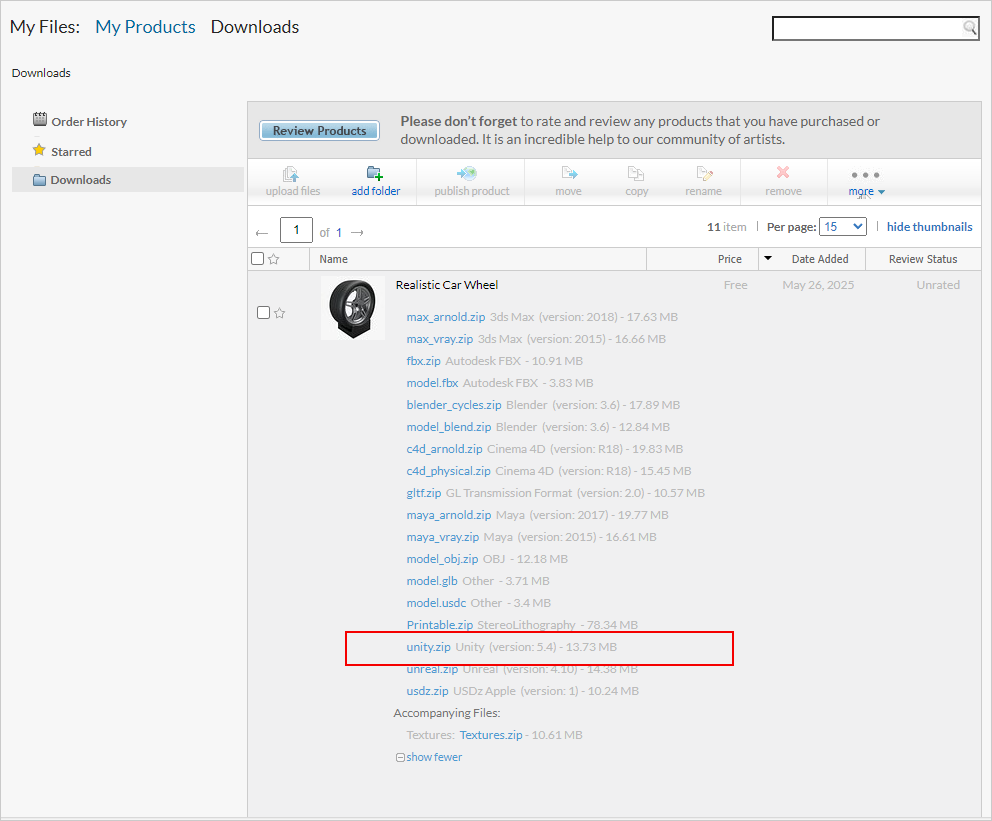
Click the link for the Unity version. It's a zip file. Once downloaded, unzip it (in Windows 11, right cick and select Extract All). Open up the folder and you'll see this:
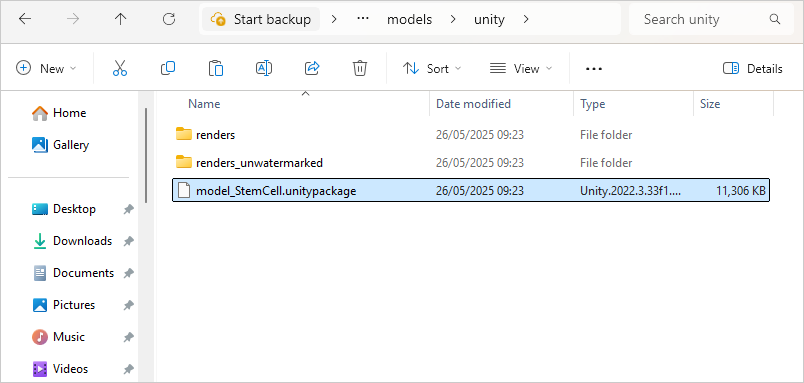
All you need to do here is drag and drop the unitypackage file into your Unity project (model_StemCell.unitypackage). Drag and drop it onto the Assets folder at the bottom of Unity. You should see this dialog box:
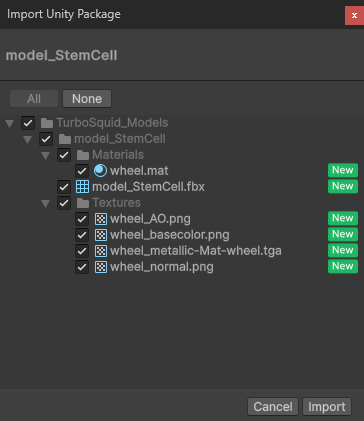
Import the assets and Unity will create a folder called TurboSquid_Models. Move inside of this folder to see your tyre:
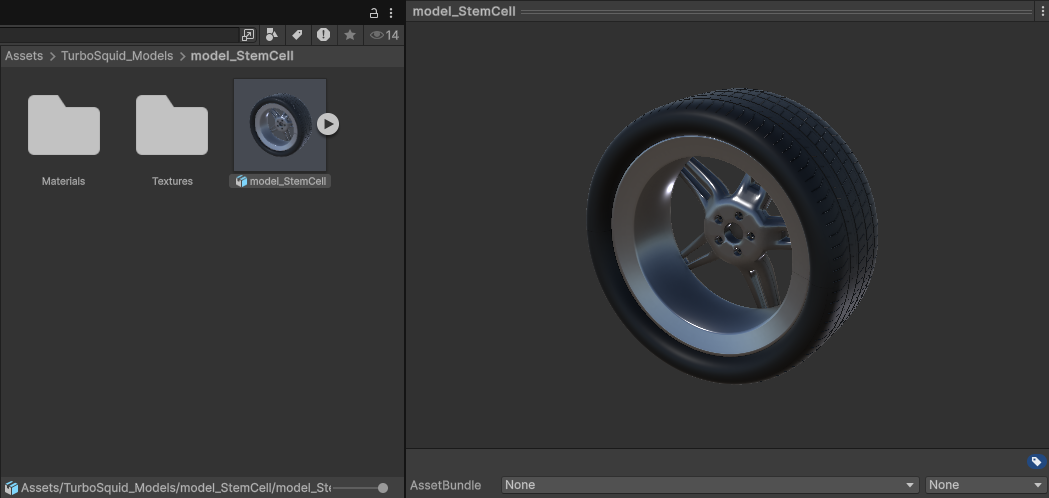
NOTE: If you have a pink tyre it's because the material hasn't imported correctly. To fix this, double click on the Materials folder. Select the pink material in the folder. Now, from the menus at the top of Unity, select Edit > Rendering > Materials > Convert Selected Built-in Materials to URP.
Drag and drop the your tyre onto the Wheels game object in the Hierarchy:
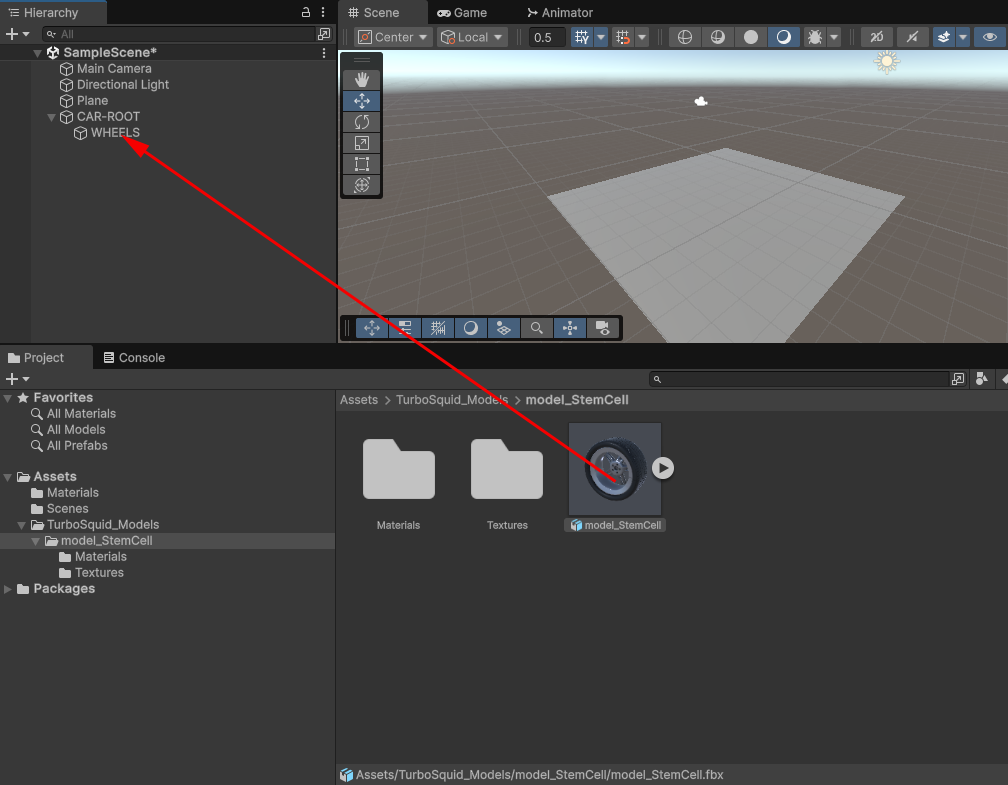
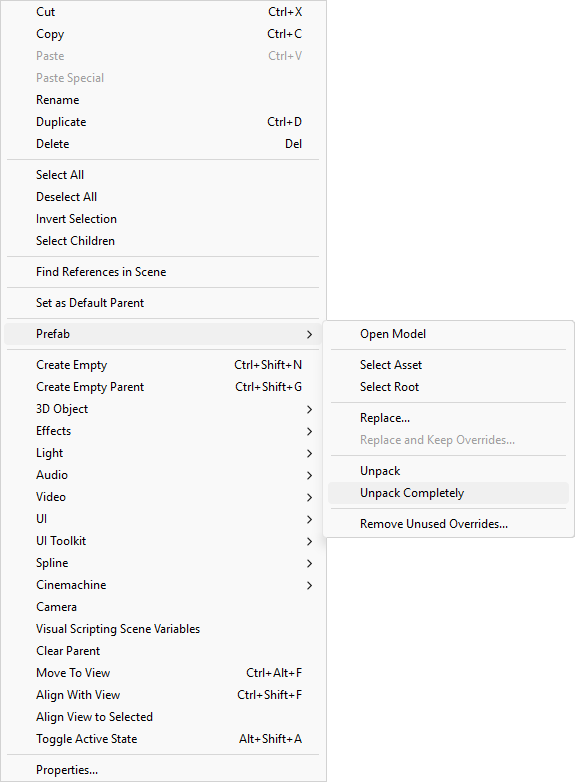
In the Hierarchy, right click your new tyre and rename it to FrontLeft. We need to unpack this model as it's still a prefab. So, right-click again and select Prefab > Unpack Completely. This will allow us to amend the file and add and remove game components:
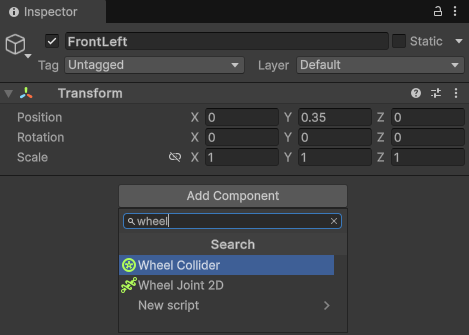
Now look at the Inspector on the right. If your car tyre is below the ground, you can change the Y position to move it up:

What we now need on the tyre is a Wheel Collider component.
Add a Wheel Collider
Make sure your FrontLeft tyre object is selected in the Hierarchy. In the Inspector on the right, click the Add Component button. In the Search box, type Wheel and select Wheel Collider from the list:
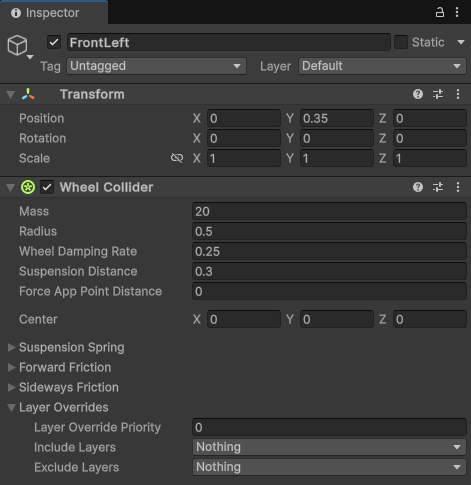
When you add the Wheel Collider, the Scene and the Hierarchy should look something like this (double-click FrontLeft to zoom in):

The Wheel Collider is just an empty green circle. But you need to fit it to the tyre. Which can be very fiddly.
In the Inspector on the right, you can play around with these values for your Wheel Colllider:
Radius
Center X, Y, Z
For the wheel we downloaded, a snug fit for the wheel collider was this:

Play around with the radius and center values in the Inspector for your wheel model until you get as tight a fit as you can. As we said above - it can be very fiddly here. It's unlikely that using the same values as ours will work for your wheel collider.
We can now duplicate the tyre and collider.
Duplicate the Tyres
In the Hierarchy on the left, make sure your FrontLeft game object is selected. Now either press CTRL + D to duplicate it. Or you can right-click and select Duplicate from the menu that appears.
Rename the new tyre to FrontRight. In the Inspector on the right, play around with the values for the Position X and Z until your two tyres are aligned.
You scene should look like this:

And here is your Hierarchy:
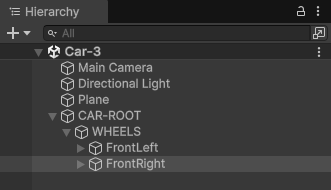
One thing that is important is the blue arrow in the scene above. The blue arrow is the forward direction when you drive your car. So each wheel needs its blue arrow (Z) pointing in the same direction.
Now let's duplicate these two tyres.
In the Hierarchy on the left, hold down a CTRL key and click both tyres:
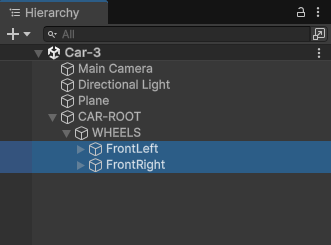
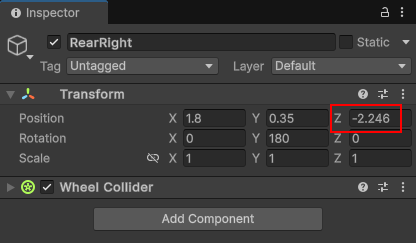
Duplicate these, just like you did with the single tyre (CTRL + D). By default they will be called FrontLeft (1) and FrontRight (1). Rename them to RearLeft and RearRight:

In the Inspector on the right, change the Z position of both rear tyres. Our values were -2.246, but yours will probably be different:

In Scene view, all four tyres should look something like this (note the blue arrow - that's the direction the car will move):

Quite remarkably, we can add some code and drive these tyres. The coding's a bit tricky, though, so you might want to hang onto your hat! We'll start the coding in the next section below.