Home and Learn: Games Programming Course
Unity Textures
In the previous lesson, you created a quick terrain using a heightmap. You also added a basic texture, and a controller so you could walk about. In this lesson, you'll create more textures as you add rock, grass and trees to your Unity terrains.
Rock Textures
If you look at our Scene, you'll see the controller object on the right (the small white thing). To the left, we have some big hills:

Let's add another texture and paint over some of the pine needles. We'll add a rock texture.
A good place to get free textures is texture haven. Try this page for a nice rock texture (if the link is dead, just do a search for Free Textures and look for rock texture. The texture in the link below is by Rob Tuytel who lets you use it in your projects under the CC0 licence.):
https://polyhaven.com/a/rock_04
Download the Diffuse and Normal textures as well. (You can get the lowest quality ones.)
Once you've downloaded the textures, drag and drop them into your Textures folder in the Project area of Unity (you did create one, right?). Click on the Normal map and fix it just like you did for the pine needles. (Texture Type Normal, Apply.)
With your Terrain selected in the Hierarchy, click the Edit Terrain Layers button again. Select Create Layer from the menu. From the dialog box, select your rock texture (the diffuse one). Drag and drop the Normal map into the slot, just like before. Your Inspector will look like this:
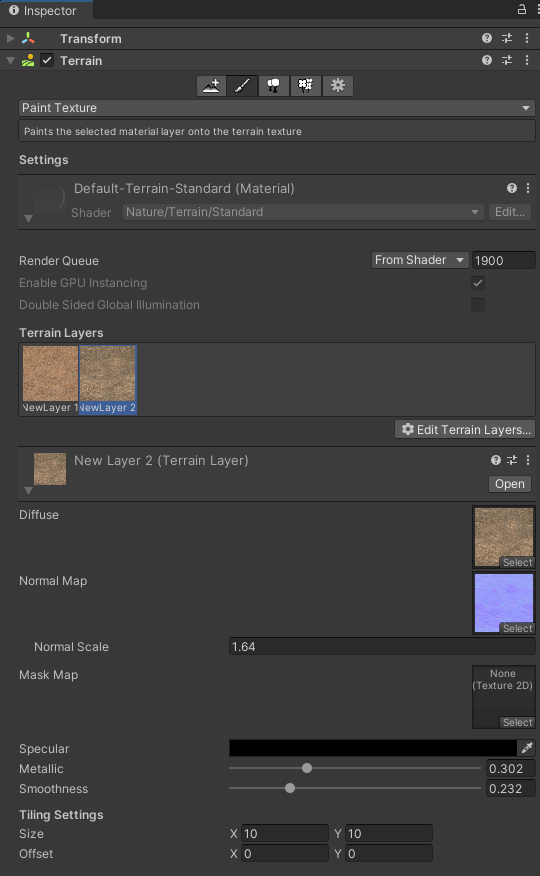
You'll need to set the Tiling at the bottom of the Inspector. 10 by 10 seems to work well. We've also set the Normal Scale to 1.64, the Metallic to 0.3 and the Smoothness to 0.2.
Now click on a brush and select a size:
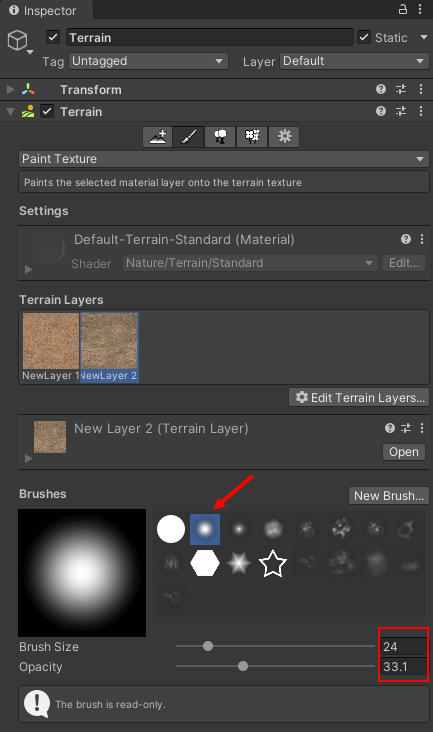
We went for a smaller brush size, 24. Move over to your Scene and start painting some rocks in: (Just paint over the pine needles.)
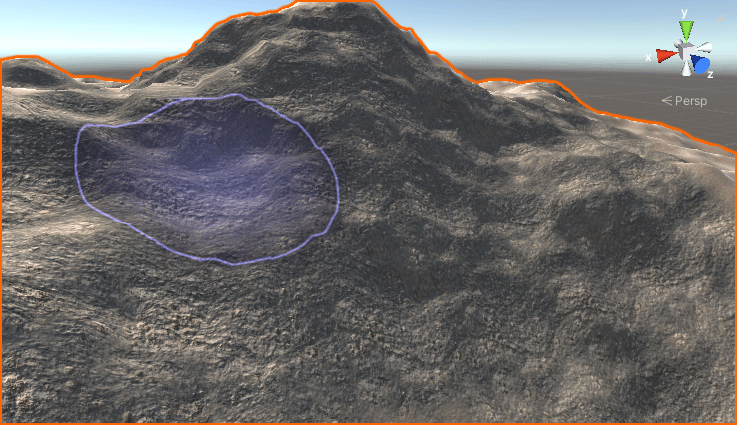
Play your game and wander up to your hills. You should see something like this:

Now let's add some grass.
Grass Textures
There's a good nature pack you can get for free on the Unity Asset store. Go to this page:
https://assetstore.unity.com/packages/3d/environments/nature-starter-kit-2-52977
If the above links doesn't work, type Nature Starter Kit into the search box on the Asset Store. It's by a company called Shapes. Not only do you get the grasses in the starter kit but bushes and trees, as well. (The kit's a bit old, now, though, but still works well.)
Once you've downloaded and imported the kit into Unity, you should
see a folder called Nature Starter Kit in the Project area of Unity.
Expand the item and then click on the Textures folder. You should see
this:
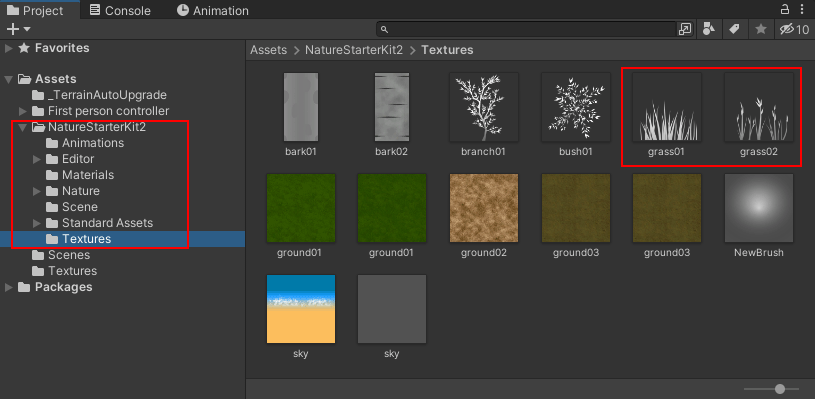
The two grass textures are highlighted. Let's see how to use them.
In the Hierarchy, make sure your terrain is selected. In the Inspector, click the icon for Paint Details:
![]()
![]()
You should then see this:

Click the Edit Details button to see this menu:
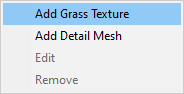
Select the Add Grass Texture and you'll see a dialog box appear. This one:
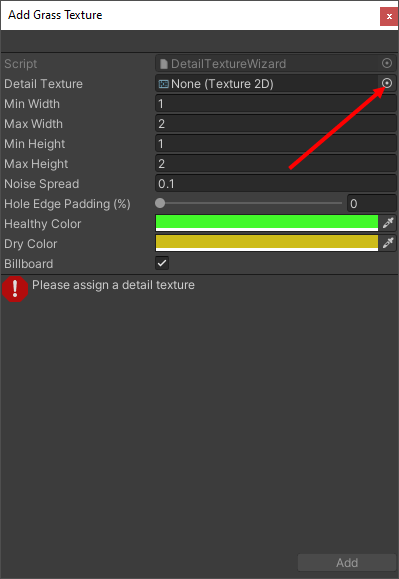
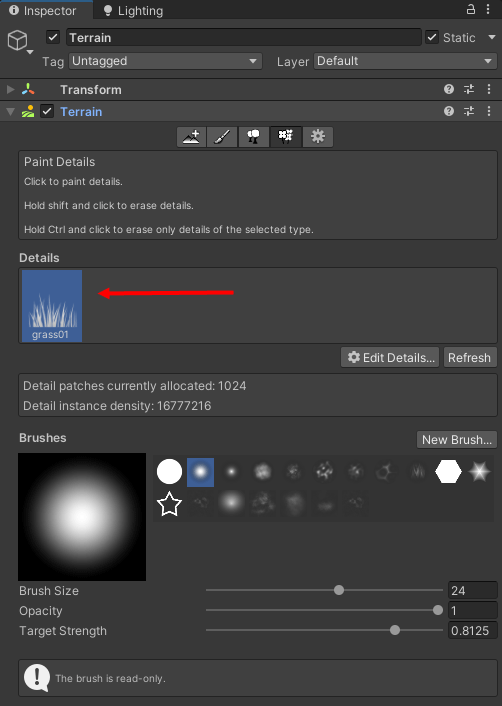
Right at the top, where the red arrow is pointing in the image above, is where you select your grass texture. So, click the tiny circle to the right of the Detail Texture box. You'll see the Select Texture2D box appear:
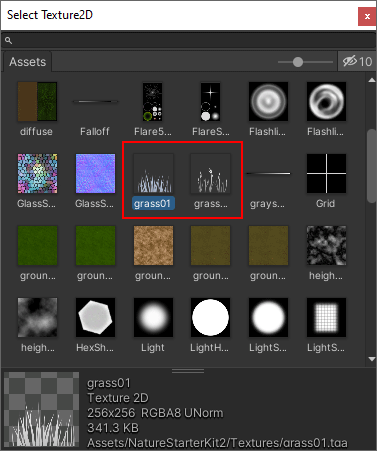
Notice that those two grass textures from the Project area of Unity are on the list of textures. Click grass01 to select it and close the dialog box down. You'll be returned to the Add Grass Texture dialog box:
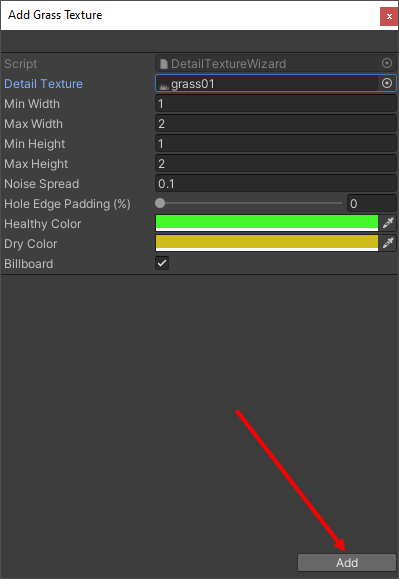
We'll come back to this dialog box shortly. But click the Add button at the bottom. You'll be returned to the Paint Details area where the grass texture you selected should appear:
Now select a brush, a brush size, and an opacity. The Target Strength slider at the bottom of the image above lets you set how much grass you get with a single click. The lower you set your slider, the less grass you get.
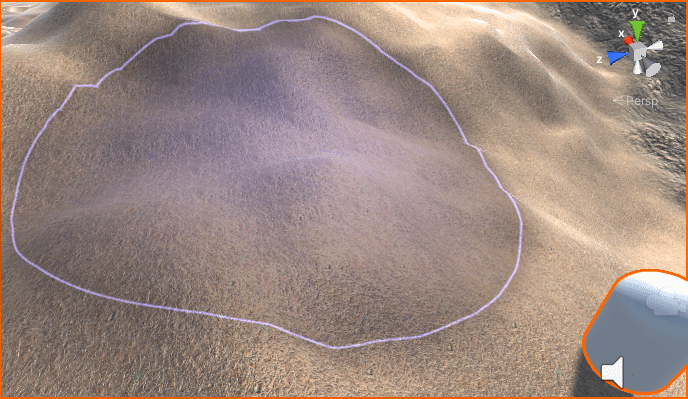
Now move across to your Scene. Hold your left mouse button down to paint some grass. Here's the Scene before adding grass:
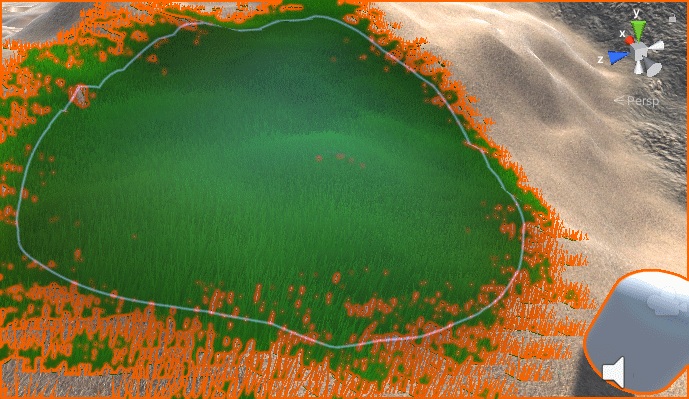
And here's the Scene after (the orange bits are because the grass is highlighted):
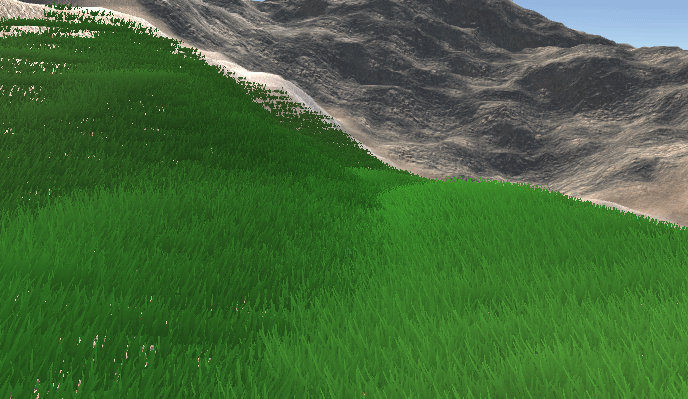
If you play the game and walk around, you'll see something like this:

Two things here: you might think the grass looks a bit too long and could do with a good mow. And, also, it might look a bit too green. Let's fix that: (The grass will be swaying as though caught in a gentle breeze. We'll see where you can fix that, shortly.)
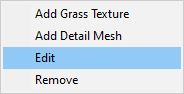
Click the Edit Details button again in the Inspector. From the menu this time, select Edit:
You'll see that dialog box appear again, for the grass texture. This time note the areas highlighted in the image below:
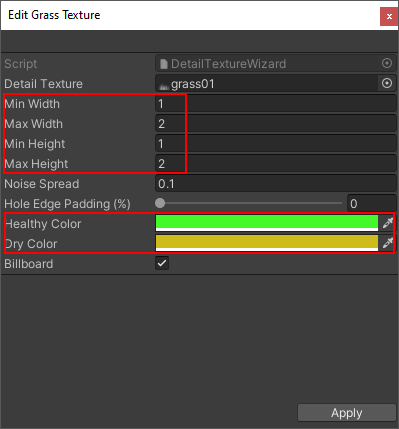
If you want longer grass, set the Min and Max heights to something else. If you want the grass to be wider, set the Min and Max Width. If the grass color is not to your liking, click on the color bars for Healthy and Dry Color. In the Image below, we changed the Min Height to 0.2 and the Max Height to 1. We changed the colors, as well:
If you want to set values for the wind, you need to click the Settings button in the Inspector:
![]()
When you click the Settings button, scroll down and locate the Wind section:
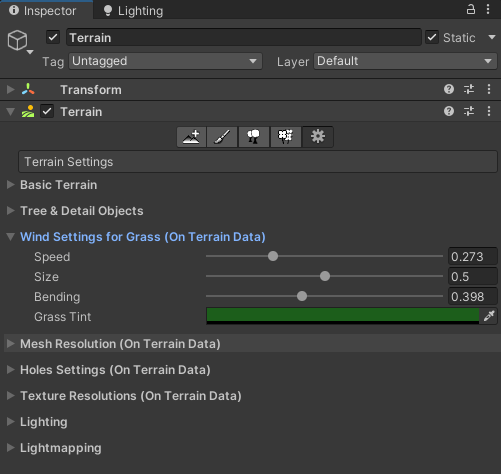
There are sliders for Speed, Size, and Bending. You can also set a tint color for your grass. Play around with these and see what happens.
Exercise
Add the second grass texture, grass02. Paint some more grass in. You
can paint on top of the grass you already have. Lower the Target Strength
to get a good mix of grasses, as in the image below:

OK, now let's add some trees.
Adding Trees to a Terrain
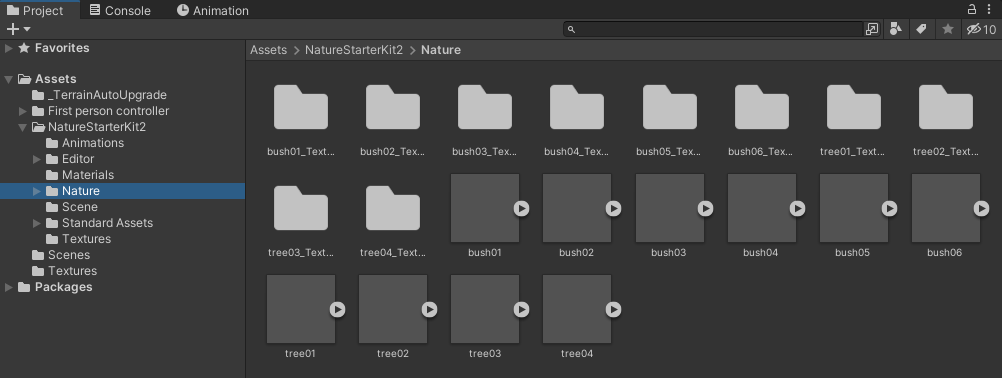
It's pretty much the same thing with trees, as with grasses - you paint them into your scene. If you have a look in the Project area at the bottom of Unity, in the Nature folder, you'll see items for bushes and trees:
So, make sure your terrain is selected in the Hierarchy. Now click the Paint Trees button in the Inspector:
![]()
![]()
You should see this:
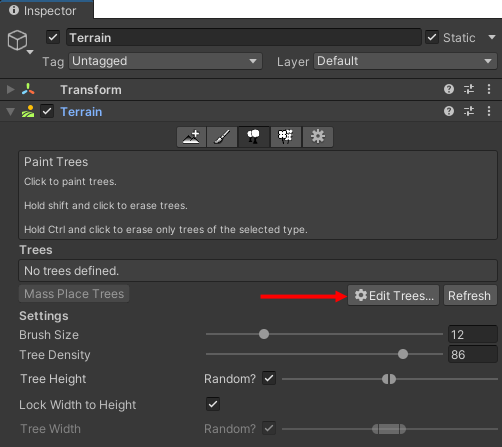
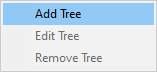
Click the Edit Trees button to see this menu:
Click on Add Tree. You'll then see a dialog box popping up. This one:

Click the tiny circle to the right of Tree Prefab, as indicated by the red arrow in the image above. You'll then see this box appear:
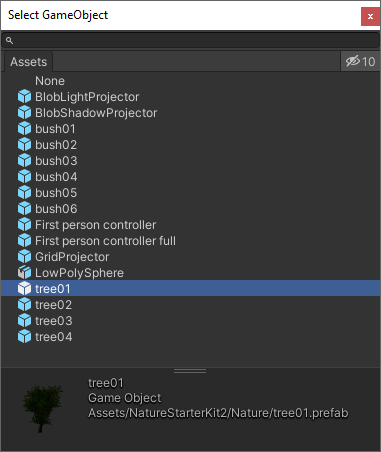
Double-click one of the 4 tree prefabs to select a tree and close the dialog box down. You'll then be back to the Add Tree box:
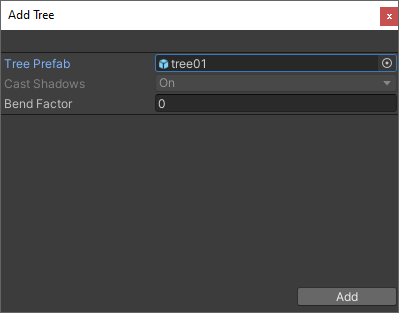
Click the Add button in the bottom right to be taken back to the Inspector. Which should look like this:
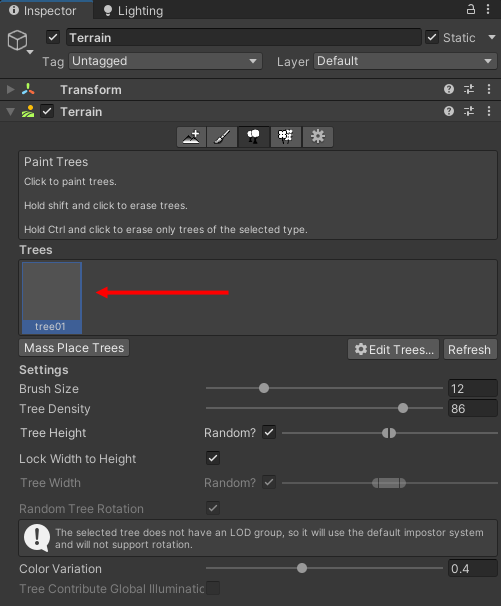
Notice the button that says Mass Place Trees. If you were to click this, you'd see this box appear:
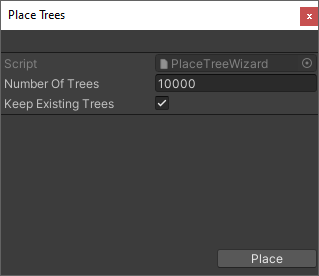
If you were to click the Place button at the bottom, you'd end up with 10,000 trees, the default, in your Scene. You can change the default number of trees to anything you like. It's a good way to quickly place trees in your Scene, but they will end up in odd places, like on the top of mountains. To remedy that, you can erase trees quite easily: just hold down a SHIFT key on your keyboard and then left-click the tree you want to get rid of.
Another way to add trees it to paint them in, just like you did for the grass. Select a Brush Size by adjusting the slider. You can set the Tree Density, as well. This is how many trees you get with a single click.
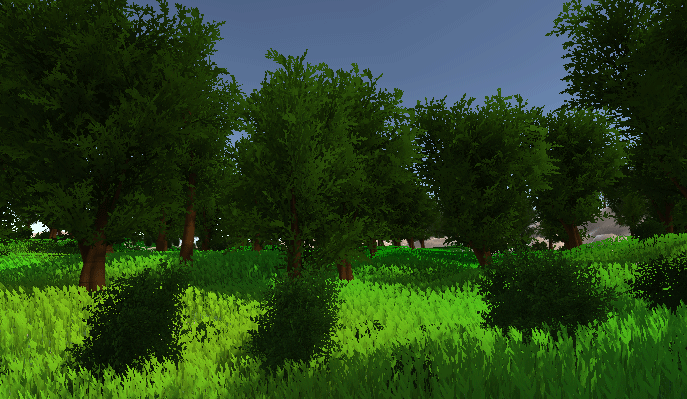
Once you've added some trees, they'll look like this in Game view:

Now, in the Inspector, click the Edit Trees button again. Add one of the other type of trees. Paint some in, just like you did for tree01. However, you need to knock the Brush Size and Tree Density sliders right down, otherwise you won't get any trees where other trees are. (1 and 10 seem to work OK.) And don't forget to actually select a tree before painting!
Exercise
Using the same techniques, add some bushes to your Scene. It will then
look something like this:
In the final lesson below, we'll add wind, a skybox, and some water.