Home and Learn: Android Course
Creating the Android Activity Project
In this tutorial, you will create an app with two Activities. A button on the first Activity will be used to launch the second one. You will then learn how you can get back to the first Activity.
Create a new Empty Views Activity project for this, just like you did in a previous lesson. You can give it any name you like, but we've called ours Two Activities. Make sure that Java is the selected language, rather than Kotlin. When you click Finish, you should see a project just like the last one.
(If you get any errors creating the project, see this page from an earlier lesson.)
Select the activity_main file in the editor so that it is displayed rather than the Java file. Android Studio should show you a Design and Blueprint view of your app. The app itself will just be a "Hello World" TextView:

Now turn on AutoConnect in the toolbar: (In the previous section, we had this turned off.)
![]()
The AutoConnect icon is the one to the right of the eye. Make sure there is no line through the little magnet. You should see a caption appear saying "Disable Autoconnection to Parent". When AutConnect is turned on, Android Studio will add the constraints we need. It does a god job for simple designs like this one.
Click your TextView to select it, and you'll see the jaggy lines, indicating that constraints have been added to it: (You won't see any toolbars in later versions of Android Studio.)

There is a constraint from the top of the TextView to the top edge of the screen. There are also constraint from the left, right and bottom of the TextView to the sides. This will keep the TextView in the middle.
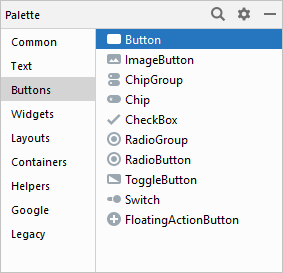
Now locate the Palette on the left of the Design View. Select the Button view:
Hold down your left mouse button on the Button View. Kept it held down and drag a button on to your white design surface. Drag your button to just below the Text View, which is included by default when you create a new project:
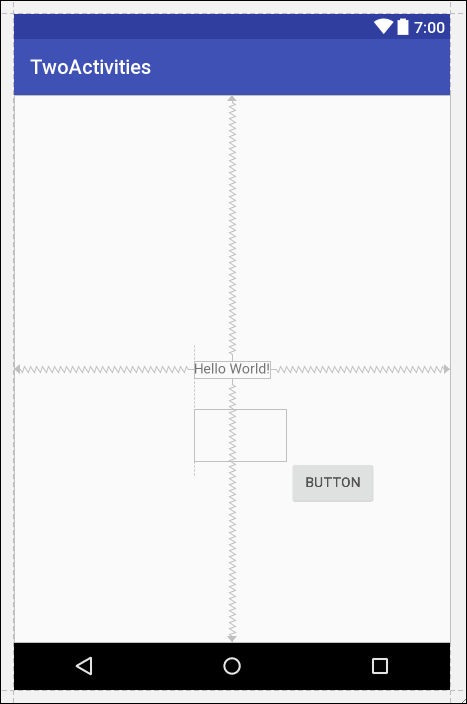
Let go of your left mouse button and the designer will look like this:

Notice the new jaggy lines around the button. These are showing you were the constraints are. Because AutoConnect is turned on, Android Studio has guessed that you want to constrain the button to the left and right of the screen. However, it has no vertical contraints, and you might see a red warning triangle. To add vertical contraints, click the wand icon in the toolbar:
![]()
Android Studio will add a vertical contraint to the top of your TextView:

If you need to increase or decrease the size of your button, you can use the blue sizing-handle squares. (But this gives you a hardcoded value for the size. We like to avoid doing this as it doesn't get you a responsive design. A responsive design will adapt itself no matter what the screen size is. And we're just using the button to launch a second activity, so the button formatting we did in the previous lesson is not relevant here. Feel free to format your button like we did before, though.)
Android Button Text
We can change the text on the button. With the button selected, have a look at the Attributes area on the right:

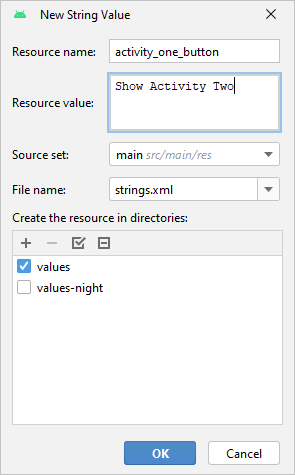
Click the small button just to the right of the textbox, indicated by a red arrow in the image above. This brings up the Resources dialogue box you met in the previous section. In the top left, click the plus symbol and then String Value from the menu that appears.
For the Resource name, type activity_one_button. For the Resource value, type Show Activity Two:
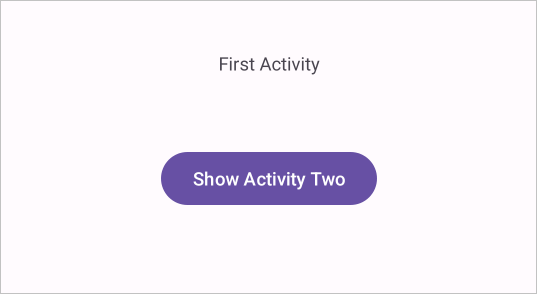
Click OK on the dialogue boxes to return to Android Studio. The button in your designer will then look like this:

Exercise
Add a new string value for the Text View, just like you did for the button.
For the Resource name, type first_activity_label. As the Resource
value, type First Activity. When you're done, your TextView will
look like this:
OK, now let's get some coding done. In the next lesson, you'll learn how to code for Android button clicks.
< Activity Intro| Android Button Clicks >
Back to the Android Contents Page