Home and Learn: VB Net Course
The Database Wizard in VB NET Express
The first part of the tutorial is here: Database project for Visual Basic .NET Express users
Let's make a start on our Database project. Create a new project and give it the name AddressBook.
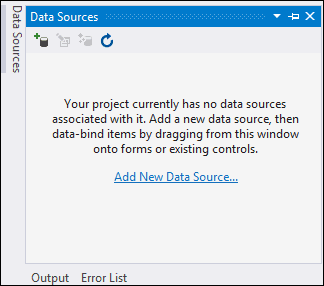
We need to select a Data Source. So click on Data Sources on the left of the Toolbox (If you can't see the tab, click View > Other Windows > Data Sources):
![]()
(In Visual Studion 2015/2017, click Data Sources again to get the Toolbox back.)
The Data Sources tab should look like this:
To Add a New Data Source, click on the link "Add New Data Source". When you do, you'll see the following:

You want to connect to a Database. So select this option, and click Next. You'll see this screen appear:

Select DataSet and click Next. You'll then see a Choose Your Data Conection screen:
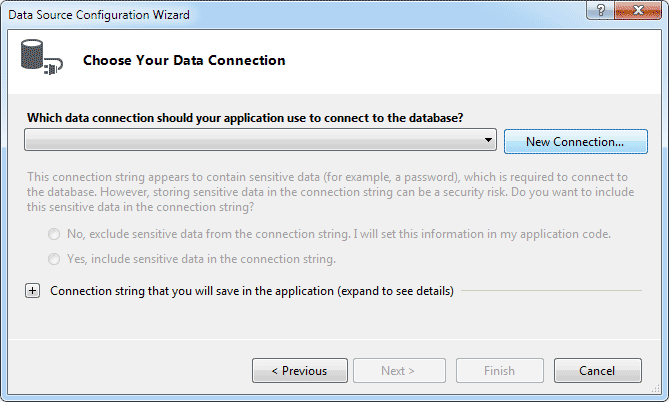
Click the New Connection button and another dialogue box pops up - - the Add Connection dialogue box:
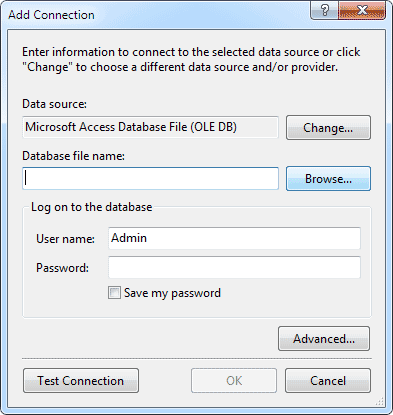
If your Data Source doesn't say Microsoft Access Dataabase File (OLE DB) then click the Change button to see this screen:

Select Microsoft Access Database File, then click Continue (or OK in some version of Visual Studio). You'll be returned to the Add connection dialogue box.
Click the Browse button and navigate to where on your computer you downloaded our Access Database called AddressBook.mdb:

Click Test Connection to see if everything is OK, and you'll hopefully see this:

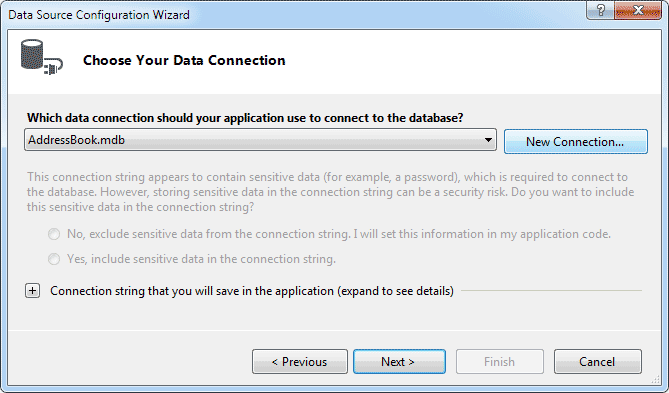
Click the OK button, then click the OK button on the Add Connection dialogue box as well. You will be returned to the Data Source Configuration Wizard, which should now look like this:
Click Next to move to the next step of the Wizard. You may see a message box appear, however. Click No on the message box to stop VB copying the database each time it runs. You should then see this:
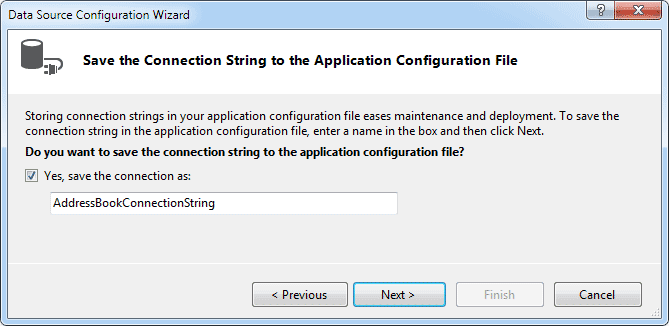
Make sure there's a tick in the box for "Save the connection", and then click Next:

(If you can't see all the fields, click the arrow symbol on the left, next to Tables.)
Here, you can select which tables and fields you want. Tick the Tables box to include them all. (You can give your DataSet a different name, if you prefer. The name AddressBookDataSet is one the wizard comes up with.) Click Finish and you're done.
When you are returned to your form, you should notice your new Data Source has been added:
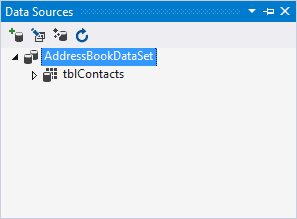
The Data Sources area now displays information about your database. Click the arrow symbol next to tblContacts:
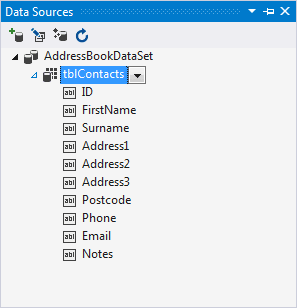
All the Fields in the Address Book database are now showing.
To add a Field to your Form, click on one in the list. Hold down your left mouse button, and drag it over to your form:

In the image above, the FName field is being dragged on the Form. Your mouse cursor will change shape.
When your Field is over the Form, let go of your left mouse button. A textbox and a label will be added:

There are two other things to notice: a navigation bar appears at the top of the form, and a lot of strange objects have appeared in the object area at the bottom:

We'll explore the Objects in a later section. But notice the Navigation bar at the top of the form. Run your programme by hitting the F5 key on your keyboard. You should see this:

Click the Navigation arrows to scroll through the database, where it says 1 of 5. When you've played around with the controls, stop the form from running, and return to Design View.
Drag and Drop more Fields to your form. But don't align them yet. We'll see an easy way to do this. But once you've dragged the fields to your form, it might look like this:

I'm sure you'll agree - that's a very untidy form. But there's a very easy way to align all your controls. Try this:
- Click on a label with your left mouse button
- Hold down the Ctrl key on your keyboard, and select a second label
- With the Ctrl key still held down, click each label in turn (leave the Notes label unselected)
- When all the labels are selected, click on the Format menu at the top
- From the Format menu select Align > Lefts. The left edges of the labels will align themselves
- From the Format menu select Vertical Spacing > Make Equal. The space between each textbox will then be the same
- Now do the same with the textboxes (but leave the Notes textbox unselected)
For the Notes Textbox, set the MultiLine property to True and resize the textbox. With your new controls added, and nicely aligned, press F5 to run your form. Your form might then be something like this:

Click the Navigation icons to move backwards and forwards through your database.
In the next part, you'll move away from the Wizards and learn how to add your own programming code to open up and manipulate databases.
Click here for the next part -->
Back to the VB NET Contents Page