Home and Learn: Games Programming Course
Create a Basic Box Car in Unity 3D
In this lesson, you'll create a rudimentary vehicle that you can move around. You'll also create a basic obstacle course so that you can get some practise with the techniques you learned in the previous lesson: moving, scaling, and rotating. You'll also learn how to duplicate objects and how to group them. You'll also get a look at how to create a material so that you can add some colour to your game. And you'll finally get to do some programming. Off we go then!
Creating a Basic Box Car
We're going to be creating a rudimentary driving game in Unity. So, obviously we need a car. The car we'll build will be just a simple box car made out of cubes and cylinders. It will look something like this, when you're done:

Pretty basic, hey! But it will give you some practise with the various toolbar icons, and grouping simple shapes.
You can either create a new project for this, or use the project you started in the previous section. To create a new project, click File > New Project from the menu at the top of Unity. Once you've clicked File > New Project, you'll see the Unity Hub dialog appear, the same one as last time. We'll use the project started in the previous section, though.
Locate the Project area at the bottom of Unity:
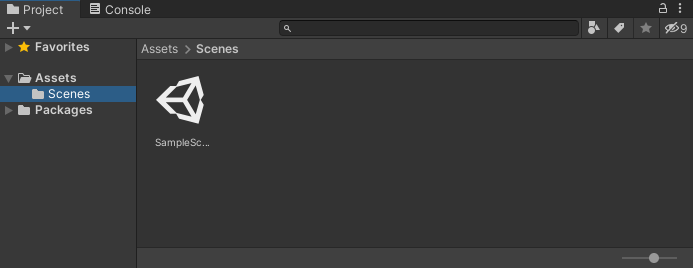
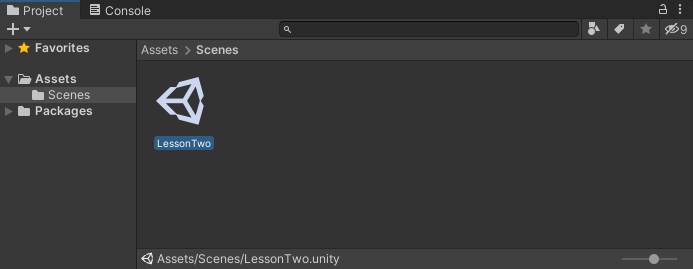
By default, Unity names the scene you get with a new project Sample Scene. You can rename it, though. To do so, right click on Sample Scene. From the menu that appears, select Rename. The Sample Scene icon will turn blue, ready for you to type a new name. You can call it anything you like. But we've called ours Lesson Two:
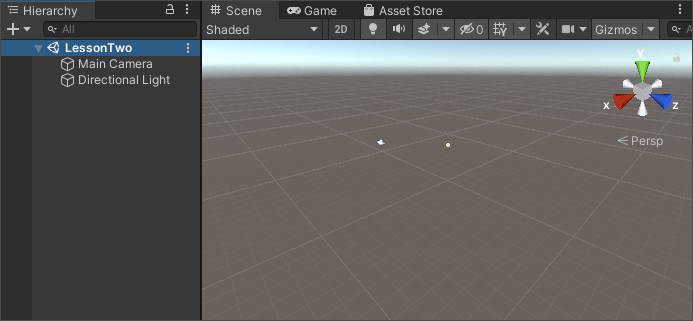
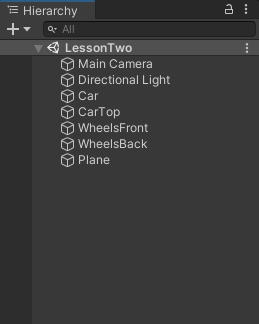
If you have a look at the Hierarchy on the left, you'll see that the top item is now also called LessonTwo:
Now let's add a cube to the scene. (Or just keep the one you had from last time.)
If you haven't got a cube yet, from the menu at the top of Unity, click on the Game Object menu item. From the menu, select 3D Object > Cube.
The default name for your cube will be just Cube. If you added another, it would be Cube2, then Cube3, etc. But you can rename your game objects. You can rename your cube, either from the Hierarchy or the Inspector. In the Hierarchy, just right-click on Cube. From the menu that appears, select Rename. Then type a new name for it. Call it Car.
To rename using the Inspector, look at the top of the Inspector. You'll see it says Cube:

This is a text box. So, click inside the text box. Delete the word Cube, then type Car instead. Press the enter key on your keyboard to complete the rename:

Double-click on your Car cube to zoom in. (Or use your mouse wheel.)
We'll use this first cube as the main body of the car. So it needs to be elongated. Change the values for the Scale in the Transform area of the Inspector to these values:
X: 1
Y: 0.5
Z: 2
The Transform area should look like this:

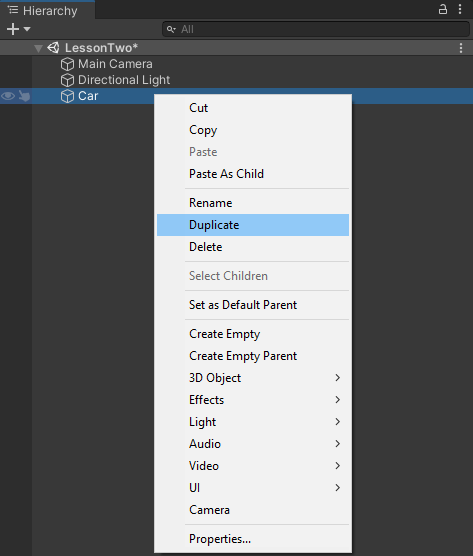
Now let's duplicate this cube.
In the Hierarchy window, make sure your car is selected. Right-click and select Duplicate from the menu:
(A shortcut to duplicate game objects is to press the CTRL + D on your keyboard, when you have an object selected.)
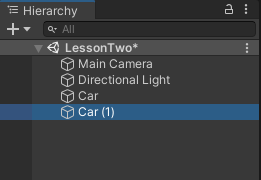
You should now have an item called Car (1) in your Hierarchy:
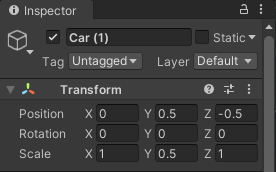
With Car 1 selected change the following values in the Transform area of the Inspector:
Position
Y: 0.5
Z: -0.5
And change the Scale values to these:
X: 1
Y: 0.5
Z: 1
Your Transform area for Car 1 should look like this:
The Car in the Scene should look like this:

Incidentally, if there's a Camera icon blocking your view, you can hide the Camera in Unity. You might see this:

To hide the camera, locate the Gizmos panel at the top right of the scene:

Click the white arrow to the right of Gizmos to reveal a dropdown box (the image below shows the area at the top):
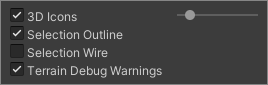
You can either adjust the slider to the left to make the camera smaller or uncheck the 3D Icons box. Adjusting the slider seems to give you better results.
Now let's add some wheels to our box car.
For the wheels, we can just add some cylinders.
From the menu at the top of Unity, click the Game Object item. From the Game Object menu, select 3D Object > Cylinder.
Now you need to move this cylinder into position. This means resizing, rotating and moving the cylinder. If you've stuck to the same measurements as in these tutorials, then set the following values for the cylinder's Transform in the Inspector:
Position
X: 0
Y: -0.1
Z: 0.7
Rotation
X: 90
Y: 0
Z: 90
Scale
X: 0.4
Y: 0.66
Z: 0.5
Here's what your Inspector should look like:

If your front wheels look all wrong, then use the techniques you've learnt so far to manoeuvre them into position. (The Move tool, the Rotate tool, and the Scale tool.)
To get a second set of wheels, duplicate the first set just like you did when you duplicated the cube. Now, in the Scene, use the blue arrow to move them to the back of the box car. (We moved ours to a Z Position of -0.7 instead of the 0.7 we used or the front wheels. The other values should be the same.)
But your box car should now look like this:

Now let's add a surface for our box car to sit on.
Planes in Unity
A plane is another 3D game object you can add to your scene. These are usually used as a foundation you can build your scene on. They are quite easy to add.
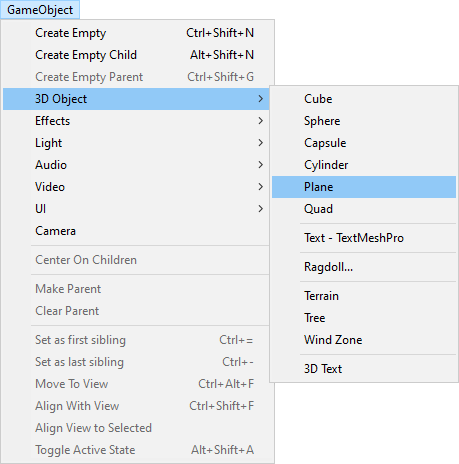
From the menu at the top of Unity, click on the Game Object item. From the Game Object menu, select 3D Object > Plane:
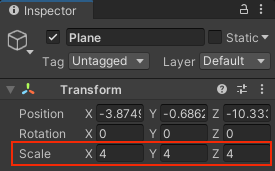
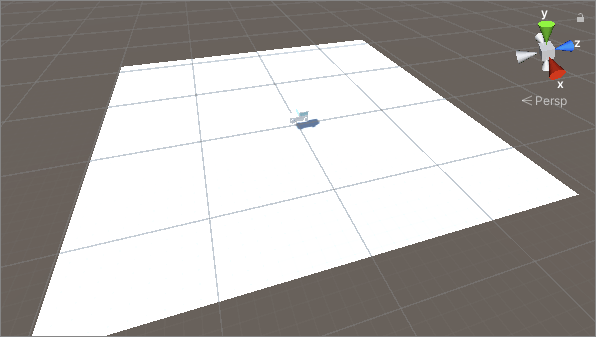
When you click on Plane, you should see a thin white square appear under your car. You can make a plane as big as you want. They can be huge for things like RPG games. But we only need something small. So, with your Plane selected in the Hierarchy, change the Scale in the Transform area of the Inspector to 4 for the X, Y and Z values:
Your scene should look like this:
However, if you zoom in on your car (double-click it in the Hierarchy) you'll see that it's hovering above the plane. To fix this, you can either lower the car or raise the plane. We'll raise the plane.
With your plane selected in the Hierarchy, change the Y Position in the Transform area of the Inspector to -0.3. The X and Z can both be on zero, if they are not already.

(If your car is still not sitting on your plane, raise or lower it until it is.)
Grouping Game Objects in Unity
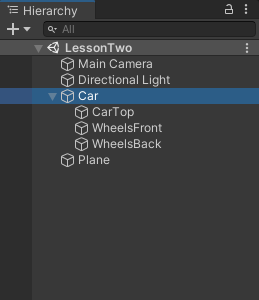
Let's rename a few of our game objects so we know what's what. In the Hierarchy, click on Car (1) to select it. This should be the top of your car. Using the techniques you learned earlier, rename this to CarTop. Click on Cylinder and rename this to WheelsFront. Now click on Cylinder (1) and rename this WheelsBack. Your Hierarchy should then look like this:
If you were to click on the Car object right now and tried to move it, it would just move the bottom of the car. The car top and the wheels would stay where they were. To solve that, you can group your objects.
So, in the Hierarchy, hold your left mouse button down on the CarTop object. Keep it held down and drag the CarTop object onto the Car object:

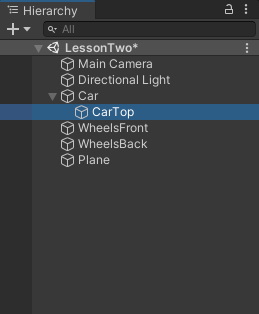
When you let go of your left mouse button, the CarTop will become a child of the Car object. It will be indented, and Car will have an arrow beside it:
Now do the same for the wheels. Drag WheelsFront onto Car, then drag WheelsBack onto Car. When you're done, your hierarchy will look like this:
(You can click the arrow to the left of Car to show or hide the objects under the Car item.
Car is known as the parent object. The three items under it are children of the Car object. If you move the Car, the child objects will move with it. When we come to move the car with code, we don't need to move every child and the car. We just need to move the parent object and the children will move with it.
Now let's add a bit of colour to our world.
Unity Materials
If you select the Plane object, then look at the Inspector, you'll notice that there's no direct way to change its colour. That's because things like colour changes are done through materials. The idea is, you create a material, apply a colour to that, and then apply the entire material to a game object or objects. Let's see how it works.
In the Project area at the bottom, click on the Assets folder. On the right of the folder list, in the bigger area, you'll see that the Assets folder contains another folder called Scenes. The scene you're working on is in this folder. It doesn't have to be, though. If you were really messy, you could just dump everything in the Assets folder without creating other folders to hold things like your scenes, your materials, and your scripts. We'll be nice and tidy, though. So let's create a folder for our materials.
Right-click on the Assets folder. You'll see a menu appear. From the menu, select Create > Folder:

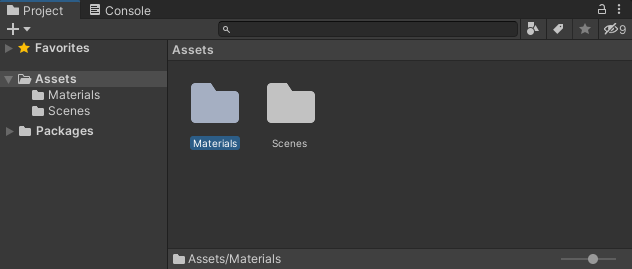
A new folder will be created inside the Assets folder. With the new folder highlighted, type a new name for it. Call it Materials. Your Project area will then look like this:
You can either double-click a folder name in the big area to move inside of it. Or left click in the small area on the left to move inside of a folder.
To create a material, either right-click when you're inside of the Materials folder, or right-click the folder name itself. From the menu that appears, select Create > Material:

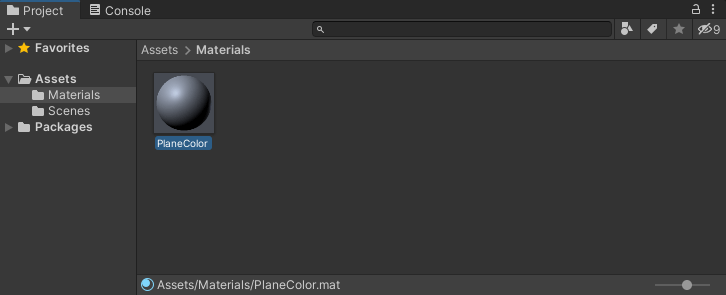
When you create a material, you'll see an icon appear inside your folder. Type a new name for the material. Call it PlaneColor. The icon will then change to a grey sphere:
Now look at the right-hand side of Unity. You'll see that the Inspector has lots of new items to choose from:

To add a colour to your material, the item you want is Albedo. But first, notice the sphere at the bottom. Now click the icon that looks like two semi-circles, one on top of the other:
![]()
Clicking the icon will cycle you through all the various shapes that you can create with Unity. Stop when you get to the Plane:

Now locate the Albedo item at the top of the Inspector:

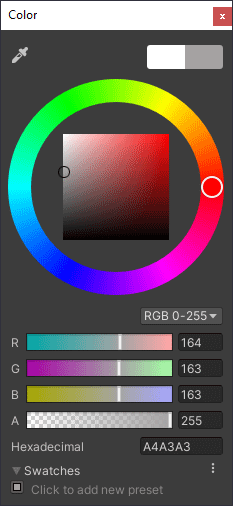
Click on the white square to bring up a color box:
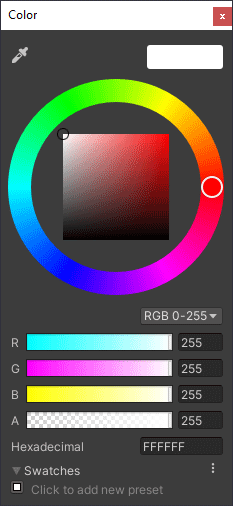
Select a colour from the dialogue box. The plane is going to be our road, so we've went for a grey color. Notice the Hexadecimal box at the bottom. You can type a new colour in here. Our grey colour has a Hex value of A4A3A3:
To apply your colour to a game object, you can either drag the material onto the object in the scene, or drag it onto the game object in the Hierarchy:
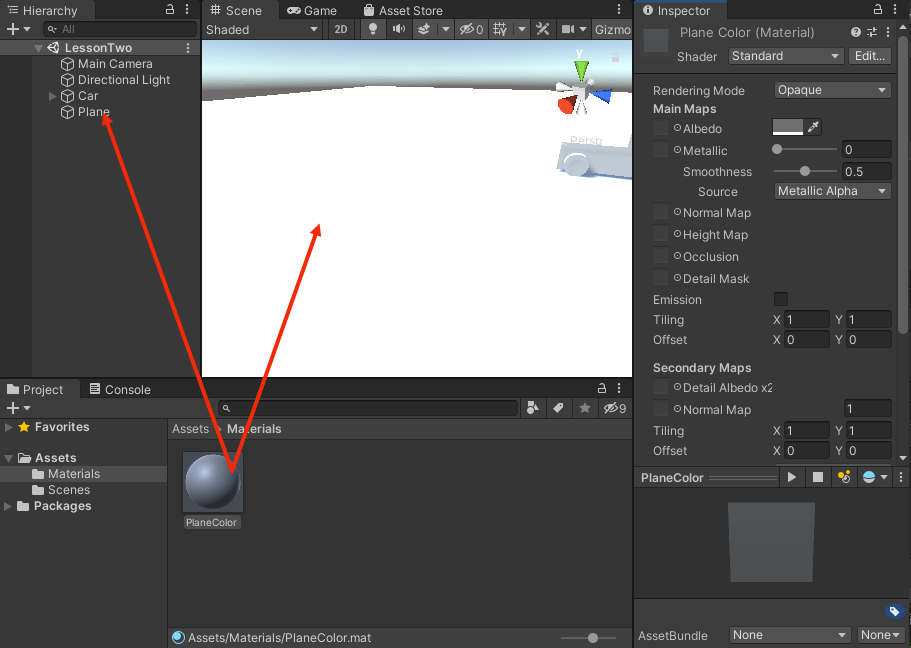
Your plane will then be coloured:

Now try these exercises.
Exercise
Using the techniques you've just learned, create a material for the
car. Add a colour to your material and apply it to the car top and car
body.
Exercise
Create a material for the car's wheels. Add a colour and apply it.
Exercise
Create some windows for your car. To do this, you can duplicate the
top of the car, then resize and move them into place. Create a material
for your windows and colour them.
When you've finished the exercises, your car might look something like this:
Congratulations! You have now created your very own box car. All right, it looks like something Homer Simpson might design, but you did it all yourself. And you now have some very useful Unity skills. So, well done! By now, though, you're probably dying to get the damn thing to move. We'll do that next, as we tackle some coding.
An Introduction to Coding in Unity -->
<--Back to the Unity 3D Course Contents Page