Home and Learn: Games Programming Course
Fire a Gun in VR
In the previous lesson, you learned how to grab things in VR when we grabbed a gun and started shooting. In this lesson, you'll learn how to shoot a weapon in Unity 3D. It's not specifically VR, but it's handy to know how to do it.
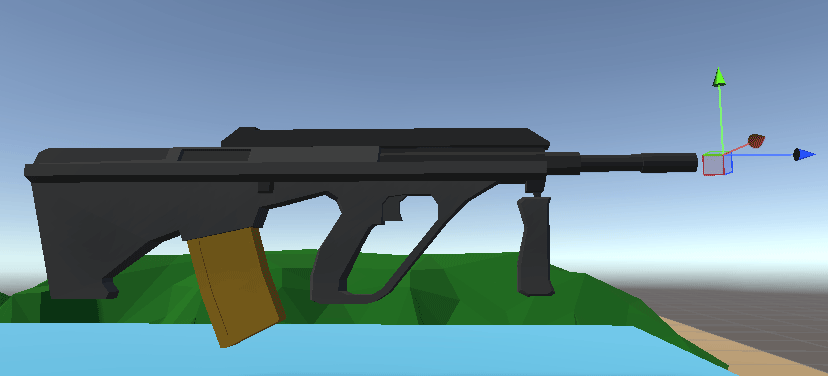
The first thing we'll do is to add a bullet point to the end of the gun. Later, we'll create prefab bullets that will soot out of this bullet point.
Select your rifle game object in the Hierarchy on the left of Unity. Right click and add another empty game object. Call it BulletPoint:

Position it so that it's at the end of the barrel:
Now we need to create a bullet. We can just use a sphere.
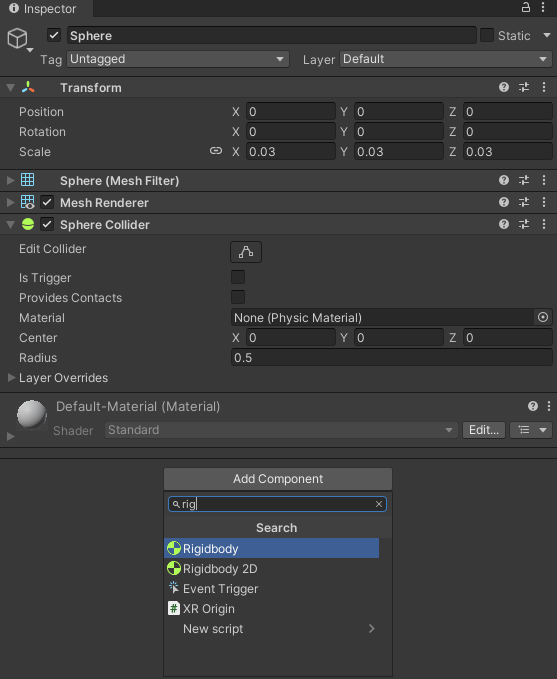
Right click in the Hierarchy. From the menu, select 3D Object > Sphere. In the Inspector on the right, change the Transform values to these:
Position X, Y, Z - all to zero
Scale X, Y, Z - all to 0.03
For the bullet to move, it needs a RigidBody. In the Inspector on the right, click the Add Component button for your sphere. Add a RigidBody:
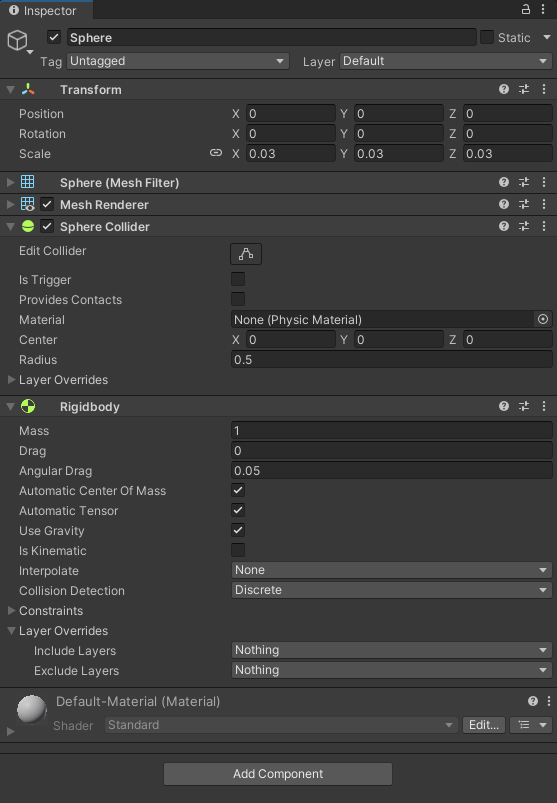
You can leave the RigidBody on its defaults. But the Inspector for your sphere should look like this:
Now to write a script.
Bullet Script
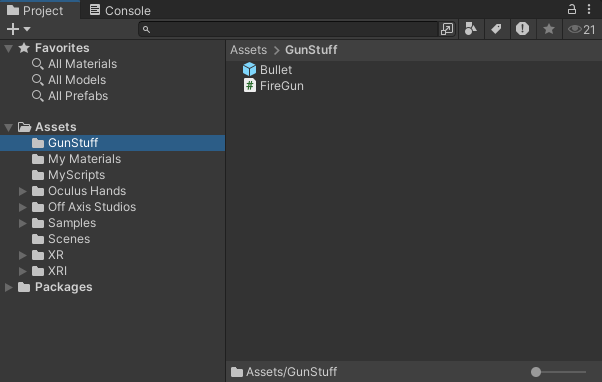
Create a folder for yourself in the Project area at the bottom of Unity. Call it GunStuff. Inside of this folder, right click. From the menu, select Create > C# Script.
Call the script FireGun. Double click the new script to open it in your coding editor. Select all the code and delete it. Replace it with this:
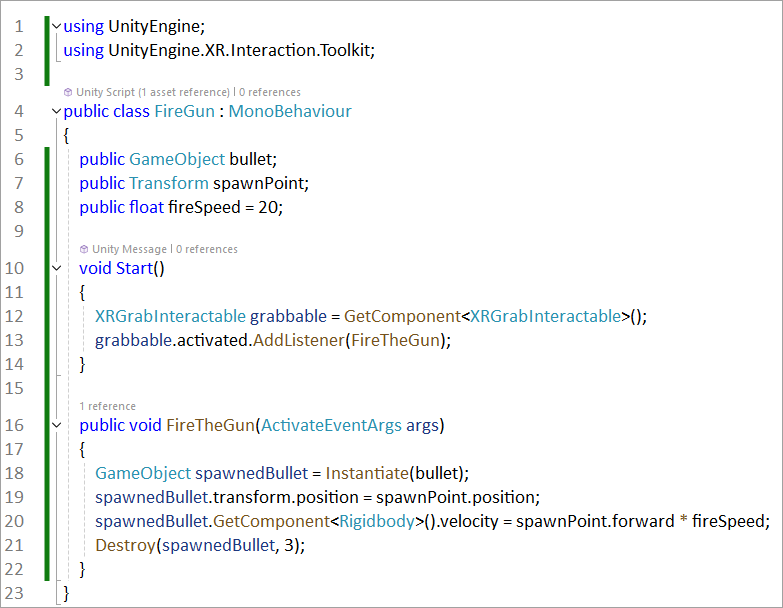
Line 2
Add the reference to the Interaction Toolkit.
Lines 6 to 8
Set up some variables - a GameObject called bullet, a Transform
called spawnPoint, and a float called fireSpeed. They are
all public so that they will show up in the Inspector. But we spawn a
bullet object and set a speed.
Lines 12 and 13
Get the XR Grab Interactable script from the gun. Line 13 then
uses this:
grabbable.activated.AddListener(FireTheGun);
The activated property gets the trigger on your controller. We add an event called FireTheGun. This is a method we set up and named ourselves, rather than anything built-in to Unity.
Lines 16 to 21
The FireTheGun method is a public void one. The first thing it does is
to Instantiate the bullet Game Object we have called spawnedBullet.
Line 19 then sets the position of the spawnedBullet to the position of
that spawn point we created on the end of the rifle. Line 20 adds a Rigidbody
to the bullet and moves its velocity in a forward direction. How fast
the bullet moves is determined by the value in fireSpeed. We set
this to a default value of 20 at the top of the code. Line 21 destroys
the bullet after 3 seconds. You can change this to anything you like.
Save you code and go back to Unity. In the Hierarchy, renamed you Sphere to Bullet. Now drag and drop your Bullet in the Hierarchy into your GunStuff folder in the Projects area at the bottom of Unity. This will create a prefab that we can Instantiate in our code:
You don't need your Bullet sphere in the Hierarchy anymore so you can delete it there. (But don't delete it in your GunStuff folder.)
Now to add the script to the gun.
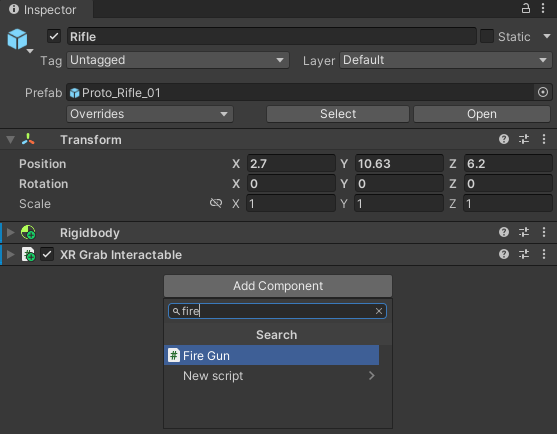
Select your rifle in the Hierarchy. In the Inspector on the right, click the Add Component button. In the search box, type fire. You'll see your script:
Select the script to add it as a component of the rifle. There are two slots we need to fill. Both say None, at the moment:
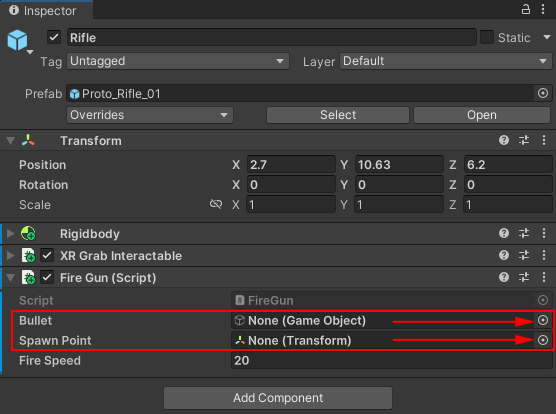
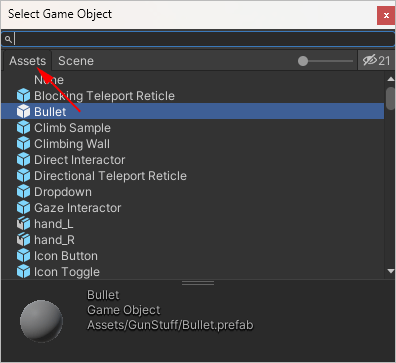
Click the circles indicated by the red arrows in the image above. Add your Bullet object. When you see the Game Object popup, click the Assets folder then select your Bullet:
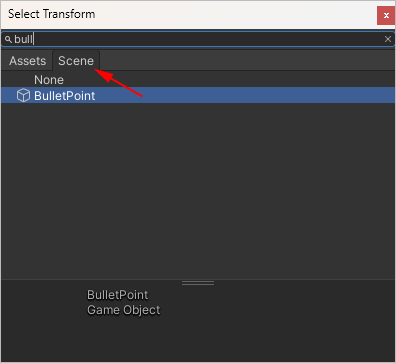
For the Spawn Point, when you click the circle, select your BulletPoint from the Transform popup: (BulletPoint is the empty game object at the end of the gun, remember.)
Your Inspector should look like this:
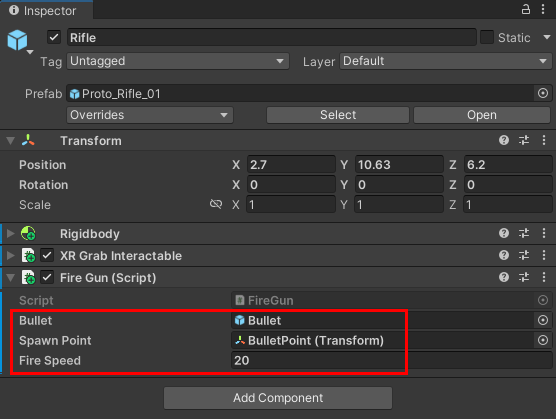
You can change the speed of the bullet by typing a new value for Fire Speed.
But try it out. Put your headset on, pick up the rifle and start firing. You should see bullets shooting out of your gun when you pull the trigger on your controller.
More to Come
<--Back to the Unity 3D Course Contents Page