Home and Learn: Android Course
Landscape Layout for the GridView
n the previous lesson, you attached your Custom Adapter to the GridView. You saw that it worked OK in portrait mode. In landscape mode, however, it still had two columns. What we'd like is to have four columns in landscape mode.You'll see how to do that in this lesson.
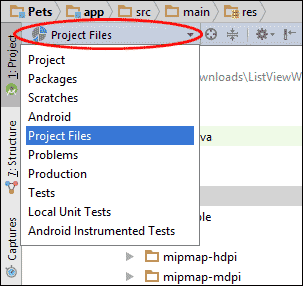
Return to Android Studio.We'll create a layout-land folder under res. It's easier to go to Project Files, for this:
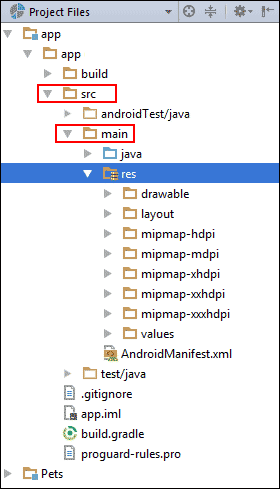
Click on app in the Explorer window, then expand src. Under the src folder, expand main. Now click on res:
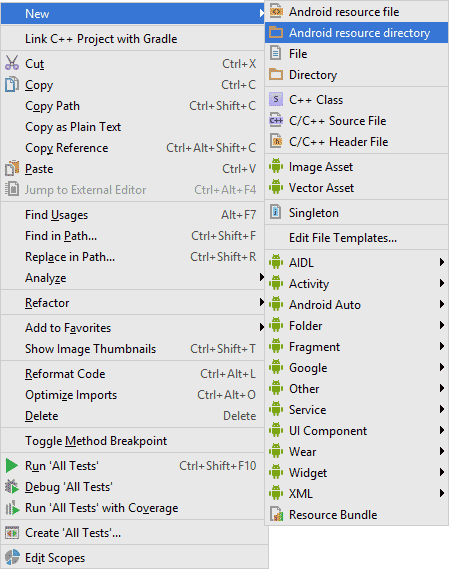
Now right-click res. From the menus that appear, select New > Android resource directory:
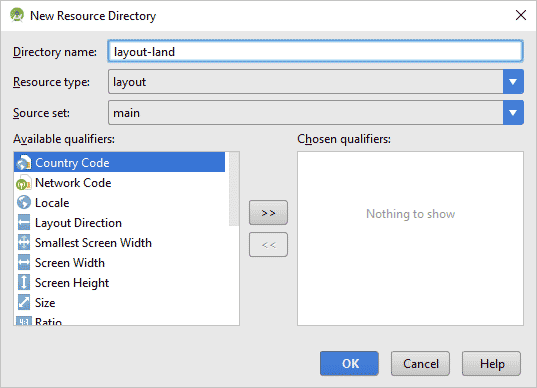
From the dialogue box that appears, select layout from the Resource type dropdown list. Then type layout-land for the Directory name: (Don't forget the hyphen between layout and land.)
Click OK and you should see a new folder under res:
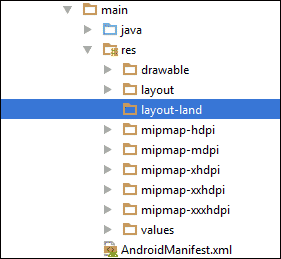
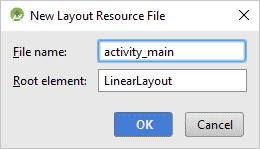
Right-click the layout-land folder and select New > Layout resource file. You'll see a small dialogue box appear. Type activity_main as the File name: (We explained about having two activity_main.xml files in a previous section.)
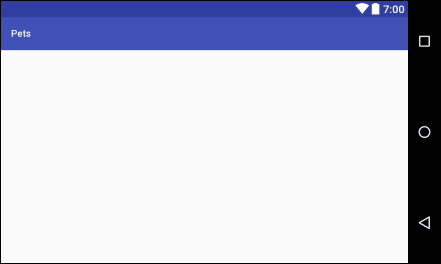
You should see a new layout appear in the Design view of Android Studio. Notice that your second activity_main file already appears in landscape form, so you don't have to do anything to rotate it:
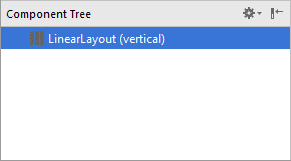
Have a look at the Component Tree and you'll see that we have a LinearLayout:
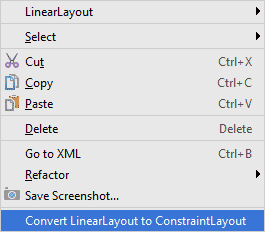
Right-click LinearLayout. From the menu that appears, select Convert LinearLayout to ConstraintLayout: (A ConstraintLayout makes it easier to get the design you want.)
In the Palette area in earlier versions of Android Studio, click on the Containers category, then locate GridView:

In later versions, the GridView has moved to the Legacy category:

Drag a GridView onto either the white layout or the Component Tree. Click the button in the layout toolbar again for Infer Constraints (the yellow plus symbol, in earleir versions of Android studio, and the wand in later versions). This will fix the GridView to the edges of the screen with a default margin of 8dp. As the ID for your GridView, type petsGrid. This is the same name as the original GridView, the one for portrait view:

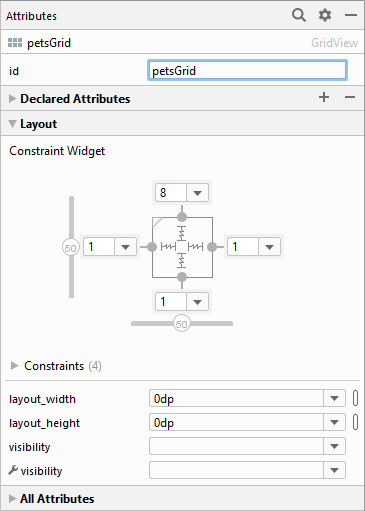
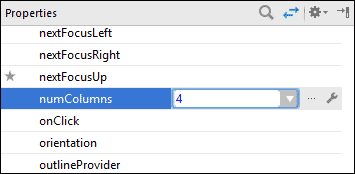
We now need to set the number of columns to four. At the bottom of the properties area, click the link for View all properties in earlier versions of Android Studio. In later versions, expand the All Attributes item. Locate the numColumns property and type 4 for this (we typed 2 last time):
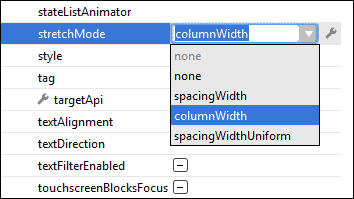
Another property you can set here is for stretchMode. Set it to columnWidth:
If you have a look at your layout, you should see this (later Android Studio versions will see just a plain white screen):
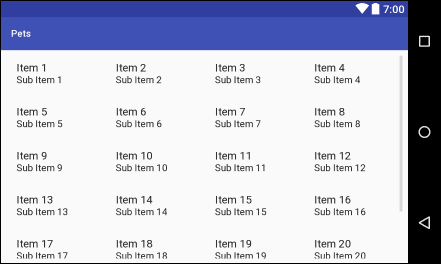
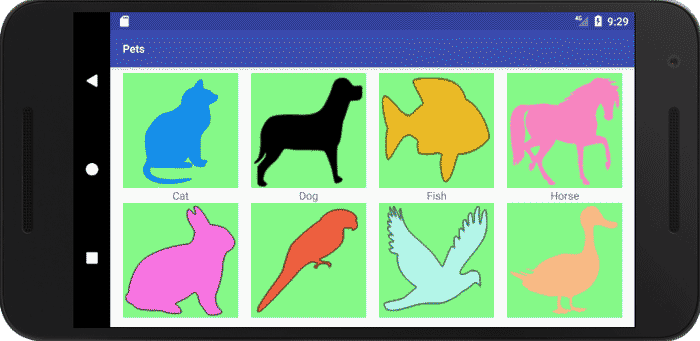
And that's it - we're done with the landscape layout for activity_main. Run your app again. Rotate the device to see four columns of grid items:
In the next lesson, we'll start on the WebView, which is where we want to go when a grid item is tapped. We need to create an assets folder to store the HTML pages.
< Set the Custom Adapter| Create an Assets Folder in Android >
Back to the Android Contents Page